This is an archived tutorial from the kirupa.com legacy collection. It covers software that may no longer be available, but it is kept online because the ideas still hold up.
Flash CS4, much like its predecessors, is a great tool
for creating animations. In this tutorial, I will show you
how to create a simple animation that broadly covers the
timeline and some related features.
By the end of this tutorial, you will have learned to
create something similar to the following fading in / out
animation:
You will create something very similar to this in this
tutorial, so let's get started. Go ahead and launch Flash
CS4, and create a new file.
Let's
Get Started
The following steps will help you re-create the above
animation:
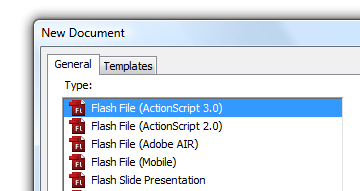
- Launch Flash CS4 if you have not already. The New
Document window will appear. From this window, select
Flash File (ActionScript 3.0) and click OK:
- Once you have done that, the New Document
window will disappear and you will see a blank design
surface that you can work in. The size of your design
area is a little large, so let's change that.
On the right, you should see your Properties pane. Click
on the Edit button next to Size: 500 x 400 px:

- Once you have clicked the Edit
button, the Document Properties window will appear.
Under Dimensions, enter 400 for the width and 250 for
the height:
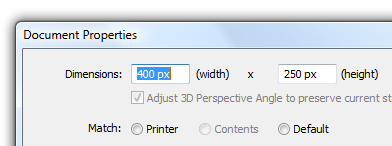
After you
have entered those values, press OK to close the Document
Properties window and to have your design area resized to
400 x 250.
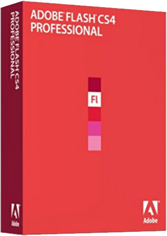
- Ok, now we have our design area setup. It
is time to actually begin creating the animation. First
off, copy the following image and paste it anywhere
inside your Flash document:
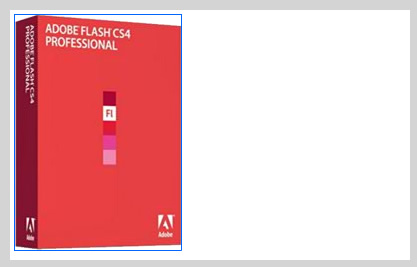
- Once you have pasted this file, make sure
it is positioned towards the left edge of your design
area:
- With your image in the right location,
take a look at your timeline - the large area towards
the bottom of your Flash window with all of those
numbers and grids.
Find the keyframe (the
solid circle) on Frame 1 of your Layer 1 layer:
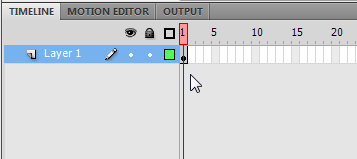
- Once you found that keyframe, right-click
on it and select Create Motion Tween:
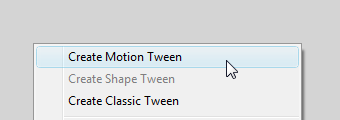
- A brief moment later, you will see more
frames added with your playhead moving to Frame 24, the
last frame in our sequence:

Your playhead
is the red rectangle with a vertical line. It is used to
indicate where in your animation your design surface is
currently at.
- With your playhead on Frame 24, look at
your stage. Your image is currently on the left edge.
Select it, and using your arrow keys, move it towards
the right edge:
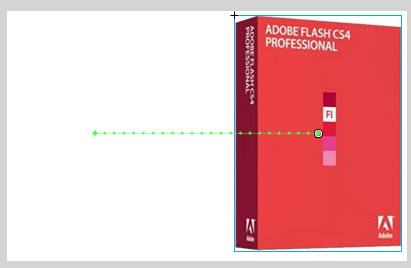
- With your image now on the right edge,
press your Enter key. When you press Enter, notice that
you are seeing the box animate from the left-hand side
of your stage to the right-hand side.
You can
also preview frame-by-frame by clicking on your playhead
and dragging it to the frame you want to preview:
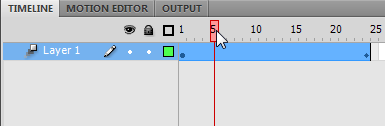
Anyway, so far so good. You
started out with a static image, and now you are able to
create a quick animation that slides your image from one
side of your stage to another.
- Currently, this animation is a little too
fast. Let's fix that by increasing the number of frames
it takes for our animation to complete. To do that,
hover over the right-most edge of your frame sequence
(at Frame 24). Your mouse cursor will change to display
the horizontal resize cursor:
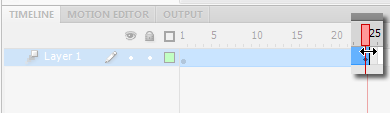
Once you see
that cursor, click and drag to the right until you hit Frame
50:
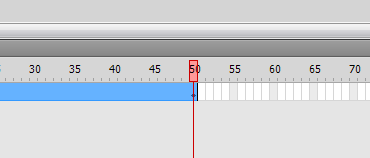
- Now that you are at Frame 50, if you
happen to preview your animation again, you will notice
that it takes about twice as long for the animation to
move from one edge of the screen to the other.
If you want to preview your animation independent of
your stage, press Ctrl + Enter where your animation will
be displayed in the Flash Player window.
- Getting back to my example, I actually have the
image fading in and then fading out. Currently, your
image is visible throughout the entire animation. Let's
fix that. While you are at Frame 50, make sure your
image is selected and look over in the Properties pane.
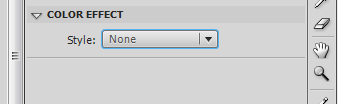
You should see the Style drop-down inside the Color
Effect category:
- Click on the Style drop-down, and select
the menu that appears, select the entry for Alpha. Once
you have done that, you will see the Alpha slider appear
below it. Slide that slider all the way to the 0
position:
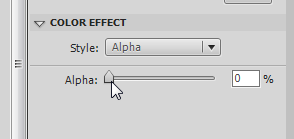
Notice that
once you have done that, the image on your stage is now
invisible:
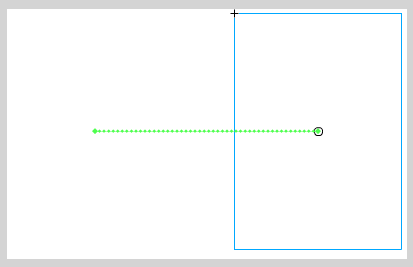
- If you happen to play back your
animation, you will see that it starts out as visible
and then becomes invisible. This is good, but we want it
to start out invisible, fade in to visibility, and then
fade back into invisibility towards the end.
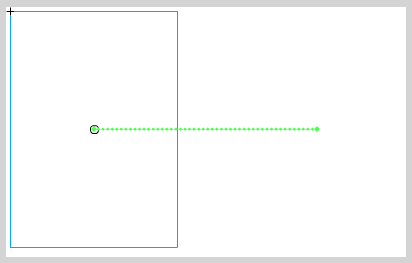
To fix this, drag your playhead to Frame 1. Once you are
at Frame 1, make sure your image is selected. From the
Properties panel, repeat what you did in Steps xiii and
xiv to set the Alpha of your image at Frame 1 to be 0 as
well:
- If you preview your animation now, notice
that you nothing is displayed. This doesn't seem like we
are heading in the right direction, does it? Actually,
we aren't doing too bad.
We have our starting and
ending state of our image set. It is fully invisible at
Frame 1 and Frame 50. What we need to do is make sure it
is fully visible somewhere in-between those two frames.
Click on Frame 25 to move your playhead slider to that
location:
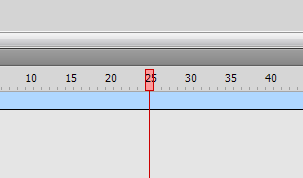
- Once at Frame 25, click on your image
again. Because your image is invisible, click somewhere
in the middle of the green transition dots to select
your invisible image.
With your image
selected, look at the Color Effect category of your
Properties pane. You should see the Alpha slider already
displayed. Move the Alpha slider all the way from 0 to
100:
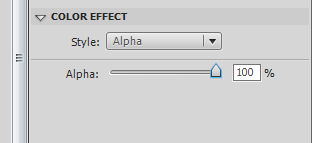
- Right now, if you look at your stage,
notice that your image is fully visible:
Better yet, preview your
animation now. Notice that you have created the animation
that you set out to create! You have an image that starts
out invisible, becomes fully visible, and then disappears
again.
This is a Little Different...
If you are familiar with creating animations in earlier
versions of Flash, you may find the information in this
tutorial to be a bit different than what you may expect.
That will be covered towards the end.
One of the first things you will notice about Flash CS4 is
that tweening objects is a little different. In the past,
you would basically do the following: place object, insert
keyframe at starting point, insert keyframe at ending point,
modify the object, insert keyframe, right click on first
keyframe and select Create Motion Tween.
Just a final word before we wrap up. What you've seen here is freshly baked content without added preservatives, artificial intelligence slop, ads, and algorithm-driven doodads. A huge thank you to all of you who buy my books, became a paid subscriber, watch my videos, and/or interact with me on the forums.
Your support keeps this site going! 😇

 Tutorials
Books
Videos
Forums
Tutorials
Books
Videos
Forums


