 Tutorials
Books
Videos
Forums
Tutorials
Books
Videos
Forums


This is an archived tutorial from the kirupa.com legacy collection. It covers software that may no longer be available, but it is kept online because the ideas still hold up.
Flash CS4, much like its predecessors, is a great tool for creating animations. In this tutorial, I will show you how to create a simple animation that broadly covers the timeline and some related features.
By the end of this tutorial, you will have learned to create something similar to the following fading in / out animation:
In the above animation, an image of the Flash CS4 box fades into view and fades out of view while sliding from left to right. You will create something very similar to this in this tutorial, so let's get started.
Let's
Get Started
The following steps will help you re-create the above
animation:
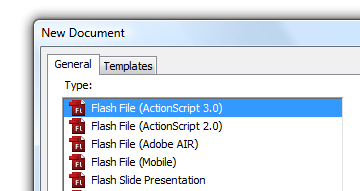
[ select Flash File (ActionScript 3) from the new Document window ]

[ click on the Edit button in your Properties pane ]
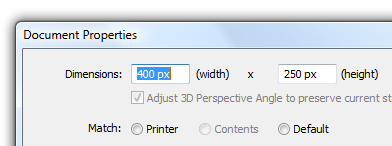
[ set your stage's width to 400 by 250 ]
After you have entered those values, press OK to close the Document Properties window and to have your design area resized to 400 x 250.

[ copy this image and paste it into your Flash document ]
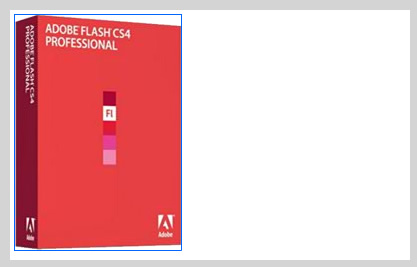
[ move your image to the left edge of your stage ]
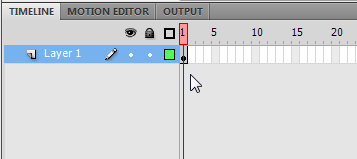
[ there should be a keyframe on Frame 1 of Layer 1 ]
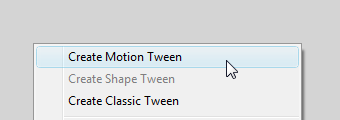
[ creating a tween is an important part of having your animation work ]

[ move your playhead to the last frame of your tween ]
Your playhead is the red rectangle with a vertical line. It is used to indicate where in your animation your design surface is currently at.
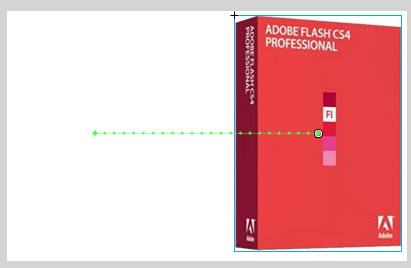
[ while at Frame 24, move your image to the right edge of your stage ]
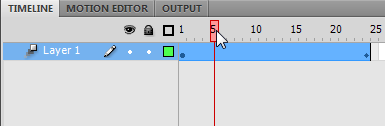
[ drag the playhead to see your stage preview your animation ]
Anyway, so far so good. You started out with a static image, and now you are able to create a quick animation that slides your image from one side of your stage to another. There is more left to do, though, and we will do that in the next section.
In the previous section, you started creating your animation. We got up to the part where we have our image sliding from left to right. In this page, let's continue making some more modifications to our animation.
Let's pick up from where we left off:
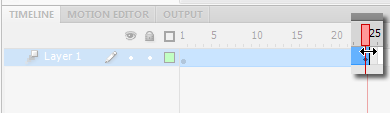
[ drag your tween's last frame to the right to increase the duration of your animation ]
Once you see that cursor, click and drag to the right until you hit Frame 50:
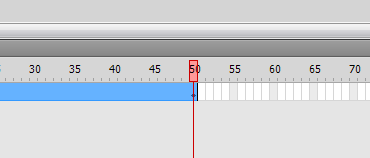
[ don't stop dragging until you hit frame 50 ]
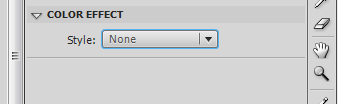
[ find the Style drop-down under the Color Effect category ]
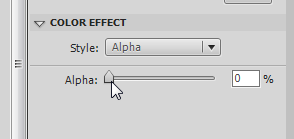
[ set your image's Alpha property to be 0 percent ]
Notice that once you have done that, the image on your stage is now invisible:
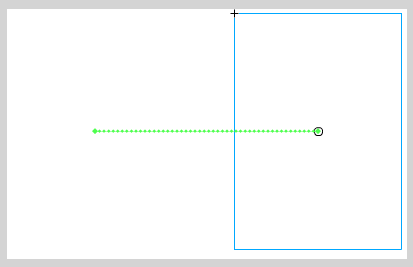
[ setting the Alpha to 0 makes your image invisible ]
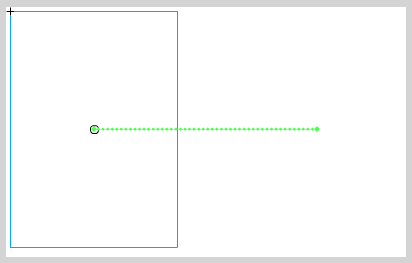
[ your image at the starting point is also invisible with an Alpha of 0 ]
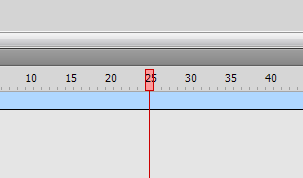
[ move your playhead to the center of your tween at around Frame 25 ]
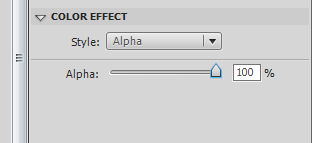
[ this time, set your Alpha property to 100 ]
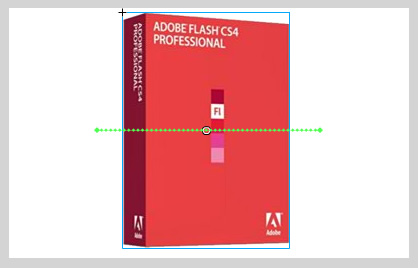
[ with an Alpha of 100, your image is now fully visible ]
Better yet, preview your animation now. Notice that you have created the animation that you set out to create! You have an image that starts out invisible, becomes fully visible, and then disappears again.
This tutorial was a broad overview of some of the animation features you have in Flash CS4. If you are familiar with previous versions of Flash, none of the terminology in here was particularly new. What was new is how you actually created your animation.
In the past, you had an instance of your object at your starting point and another instance of your object at the end point. You also inserted two keyframes to represent that. The tweening system calculated the differences between those two objects and presented them to you.
By default, animations you now create in Flash CS4 are property-based where the properties of your object are modified over a period of time. You have the same object throughout the lifespan of your tween, and at various points in time, the properties that make up your object are altered instead of the actual object itself. In our example, it was our image's X and Alpha properties that were changed over a period of time. That seems trivial and the end result doesn't look dramatically different, but this is a major change that this tutorial does not even attempt to address.
Future tutorials will focus on that change and other parts of the animation functionality in CS4, so with that, here is the source file for the animation you just created:
Just a final word before we wrap up. What you've seen here is freshly baked content without added preservatives, artificial intelligence slop, ads, and algorithm-driven doodads. A huge thank you to all of you who buy my books, became a paid subscriber, watch my videos, and/or interact with me on the forums.
Your support keeps this site going! 😇


:: Copyright KIRUPA 2026 //--
