|
by
kirupa | 23 October 2008
Flash CS4 introduces the Bone tool for creating
inverse kinematic (IK) animations. If you are not
familiar with IK animations, to summarize it broadly, it is
a way of creating animations that simulate moving limbs or
joints where interactions between various connected
components is needed.
In this tutorial, I will explain how to create these IK
animations by creating joints on a single, solid shape. You
can see an example of this in the following animation where
I simulate blades of grass (probably from another planet!)
moving:
You will create something very similar to this in this
tutorial, so let's get started. Go ahead and launch Flash
CS4, and create a new file.
What we want to do is draw out this weird curly blade of
grass. There are several ways you can do this. For me, the
easiest way is to draw a closed shape of the grass blade
using my pencil tool and then filling it in with a solid
color.
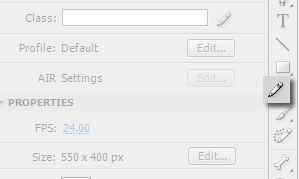
To do this, first select your Pencil Tool from your Tools
panel located on the right-hand side of your window:
[ select the Pencil tool to draw your shape ]
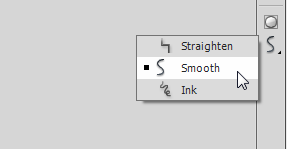
Once you have selected your Pencil Tool, set your Pencil
Mode to Smooth. You can find the Pencil Mode menu at the
very bottom of your Tools panel:
[ setting the Pencil Mode to smooth will make your lines
seem more fluid ]
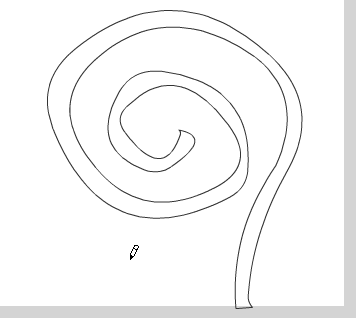
Once you have set your pencil mode to Smooth, it is time
to start drawing your shape's outline. There isn't an easy
way to describe how to do this, but just imagine there is a
stencil / cut-out of this blade of grass and you are
following the outline of it:
[ pretend you are tracing a solid shape by using the pencil
tool ]
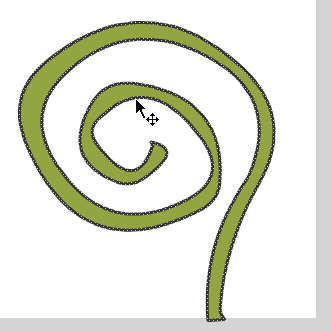
Do make sure that the shape you have drawn is fully
closed. If there are any open regions or gaps, then you will
unable to give your shape a fill color. Speaking of which,
use your Paint Bucket tool to give your blade of grass a
different fill color.
I am going to go with a slightly faded green color:
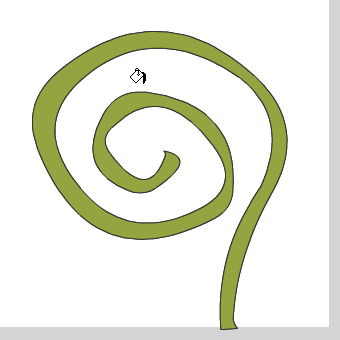
[ give your shape a fill color ]
Once you have done this, let's remove the outline from
this shape. Make sure your Selection Tool is active from
your Tools panel, and
with your mouse cursor, try to double-click over the outline
of your shape. Once you do that, you will find your entire
shape's outline selected:
[ double click on the outline to select it for deletion ]
With your shape's outline selected, hit the Delete key to
remove the outline. In the end, all you should see is your
shape.
Ok, in this page we made a great deal of progress by
getting this weird shape drawn. In the
next page, let's
actually look at setting the joints and creating the IK
animation.
Onwards to the
next page!
|


