|
by
kirupa | 17 August 2009
Whenever you click on something, there is a very good
chance that what you clicked on is a button. This is not
something specific to just Flash - almost all applications
use buttons for doing something. Given how common place they
are, lets use this tutorial as a way of familiarizing
ourselves with buttons in Flash!
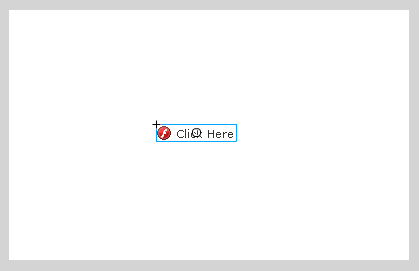
By the end of this tutorial, you will have created
a button that looks and functions similar to the following:
[ Hover over and click on the button ]
In the above example, I have a small button made up of
some
image and text. Play with the button by hovering over it
with your mouse and clicking on it. There are two things I want you to notice.
First, notice that the look of the button changes as you mouse
over and click it. Second, depending on whether you are
mousing over or clicking, some text below changes to display
what action you just performed.
In this and the following pages, you'll learn how to do
everything seen in the above example from actually creating
your button to writing the code. Let's get started:
- Launch Flash CS4, and Create a new Flash document.
Feel free to tweak some settings such as the stage size,
frame rate, etc., but none of that is important for this
tutorial. Just make sure that you have a blank artboard:

[ is there nothing sweeter than a blank stage? ]
- What you are going to do next is add an
image. If you need an image, I am using the Flash icon
from the Silk Icons set, so feel free to use it:

You cannot copy and paste an
image into Flash from your browser. Instead, you have to
save the image to your hard drive and then insert it by
dragging/dropping from your hard drive and into your
document or by going to File | Import | Import to Stage.
Your perfectly empty stage now contains a lonely image:
[ your stage now has the image you inserted ]
- Next, let's add some text. Use the Text tool from
your Tools panel and write something generic like Click
Here:
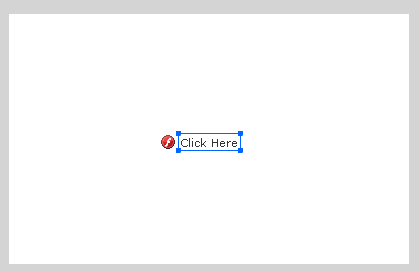
[ write some text to go along with the image ]
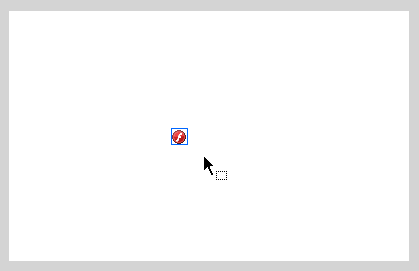
- Right now, you should have two elements on your
artboard - the image and the text. What we want to do is
convert both of these elements into a single button.
Doing this is fairly straightforward. First, select both
your image and your text:
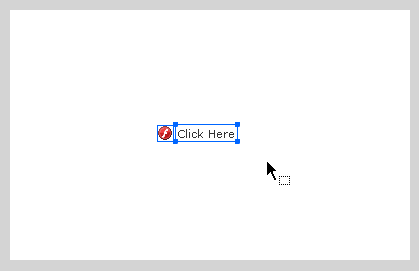
[ select both your image and text ]
With both of these elements
selected, hit F8 or go to Modify | Convert to Symbol to
launch the Convert to Symbol dialog. In this dialog, for the
name, write simpleButton, and under Type,
select the Button type:
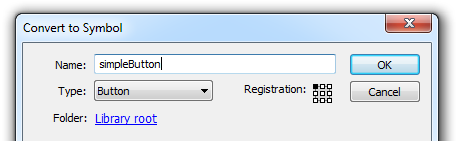
[ give your new symbol the type Button and name simpleButton
]
Once you have done this hit OK
to accept the changes you have made and to close the Convert
to Symbol dialog.
- Right now, nothing much will seem to have changed.
If you look closely, the two elements you had selected
before have been condenesed into just a single element:
[ your selection has been condensed into one element now ]
Looking in your Properties
panel paints a much clearer picture.
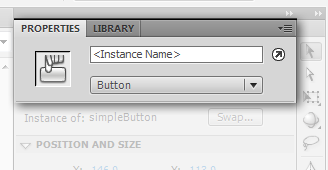
[ the properties inspector is more clear ]
What you have selected is now a
button - as you would have expected after having completed
the previous step.
- Ok, great. You now have a button. Press Ctrl + Enter
to test your application and to see your button at work.
When you hover over your button, notice that your mouse
cursor changes from an arrow to a hand:
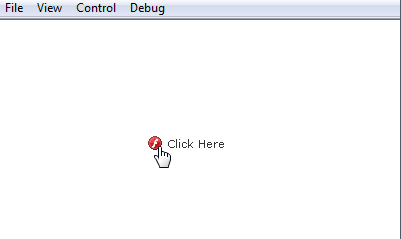
[ you have a very simple button ]
The only visual indicator you have
that this is a button is the mouse cursor changing. We want
go a bit further, so let's
look into that starting on the
next page.
Onwards to the
next page!
|


