|
by
kirupa | 17 October 2009
In Silverlight and
WPF, there are several ways you can create
animations. One way that has been covered before on
this site involves creating a storyboard and using
Expression Blend to visually create your animation.
This approach is great for majority of all
animations you would ever want to create. There are
exceptions where this solution doesn't work as well
as you would like.
Animations that are
more random or will have a certain degree of
variability don't fit well inside the box defined by
Storyboards. For example, here is an example of an
animation where the circles move around a
centerpoint with a random speed each time you
refresh the page:
[ the circles...they are
spinning! ]
Something similar to
what you see above works best when created in code,
and this tutorial will show you one way of going
about doing that.
Before we write some code
and perform other acts of magic, we first need to
create a new project and draw a circle. The
following steps will help you to do that:
-
First, go ahead
and launch Expression Blend and create a new
Silverlight 3 Application + Website
project. Give your application any name you want
as well.
If you don't have
Expression Blend or Silverlight installed, jump
over to my
Getting Started page to get up and running.
-
Once your project
has been created, you will see a blank design
surface where you can draw and do all kinds of
things. What we want to do is first draw a
circle. From the Tools panel (usually found on
the left), click on the Shapes menu (usually
defined by a rectangle) and select the Ellipse
tool:
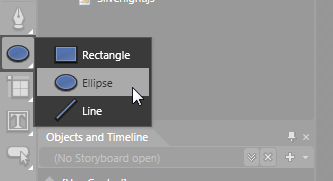
[ expand the Shapes menu to select the Ellipse ]
-
Once you have
selected the Ellipse tool, your Tools menu will
display the Ellipse tool by default instead of
the Rectangle you had earlier. Simply
double click on the Ellipse tool to insert a
circle into your design surface.
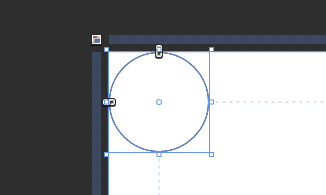
[ insert an Ellipse - by default, it will be a
circle ]
-
The circle that
you just inserted probably doesn't look very
pretty, so feel free to make some tweaks as you
wish using the properties found in the Propeties
Panel's Brushes category:
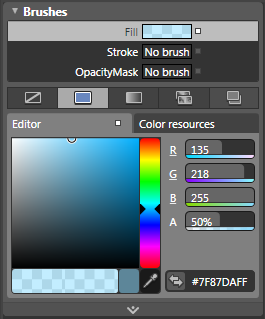
[ my circle is blue and partially transparent ]
-
At the very least,
make sure your circle is a blue-ish color so
that it is visible and kinda matches the
screenshots. As you can tell
from the screenshot of my Brushes category, I
made my circle a light blue with a 50% opacity
and no Stroke. The final result is as follows:
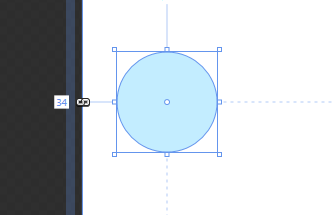
[ what my circle looks like ]
Ok, now that our
circle is finished, an important first step has been
completed. The next step is to make our circle into
something that can store some code, and we'll look
at the savory details on the
next page.
Onwards to the
next page!
|


