 Tutorials
Books
Videos
Forums
Tutorials
Books
Videos
Forums


This is an archived tutorial from the kirupa.com legacy collection. It covers software that may no longer be available, but it is kept online because the ideas still hold up.
I am not sure why, but ever since the first hello, world example made its way into the world in the 1970's, it seems customary to start an introductory tutorial by having you create a small Hello World application. Nostalgic reasons aside, an application as simple as the one you will create in this tutorial is a great way to become familiar with bits and pieces of the language and tools.
In this tutorial, I will show you how you can use Expression Blend to create a small Silverlight 2 application that does nothing more than print Hello World to the screen:
[ what you will have created by the end of this tutorial ]
The following steps will explain how to to create something similar to what you see above:
Before you begin, make sure you have ready my earlier Getting Started article and have Expression Blend 2 SP1 installed.
Launch Expression Blend 2. A Welcome Screen should appear, and from this screen, click on the New Project link:
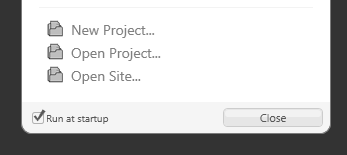
[ from the Welcome Screen, click the New Project link ]
If you do not see a Welcome Screen, then go to File | New Project instead. The end result is the same.
After clicking on New Project, the New Project window appears. From this window, select the button for Silverlight 2 Application, for Name enter HelloWorld, and ensure the Language is set to Visual C#:
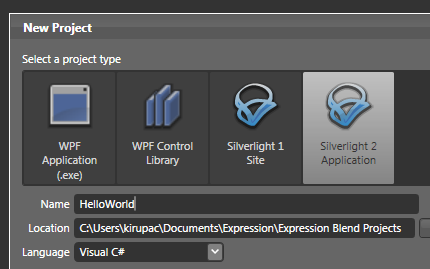
[ you want to create a new Visual C# based Silverlight 2 Application ]
Click OK to both close your New Project window as well as create your new project with the specified values.
You should now see a large area with a big white rectangle-like shape in the middle This area overall is known as the Artboard, and it is here where you will design your Silverlight application:
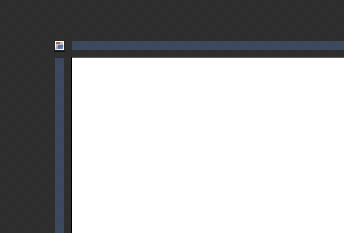
[ meet the Artboard - it is your friend! ]
What we want to
do first is add some text to our Artboard. To do
that, you use what is known as a
Control.
Controls are UI elements that provide you custom functionality that you can just use out
of the box.
To display text, you have
some controls that allow you to...display text! In your
Toolbox (the strip of icons on your left), find
the icon that contains a T inside it and click
it:
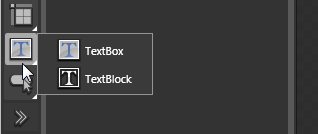
[ click on the Text controls category in your Toolbox ]
From the menu that appears, select the TextBlock item. Once you select your TextBlock item, it will seem like nothing happened, but don't worry. Something did happen that isn't immediately evident.
Move your mouse over your design area, and notice that your mouse cursor currently displays in a shape resembling a crosshair. When you see something like that, you know something must be up:
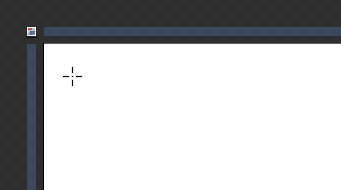
[ your mouse cursor changes into a crosshair-like shape ]
Position your crosshair towards the top-left of your design area like you see in the above image and click-and-drag to draw out your Textblock control:
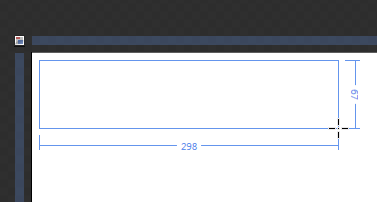
[ you can draw out controls just like you would draw anything else ]
Make your textblock large enough and release your mouse button press to have your textbox actually be drawn. You should see something similar to what is shown in the following image:
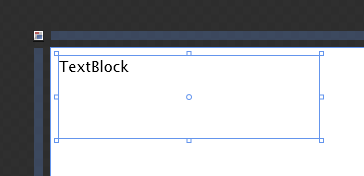
[ your new control has been created ]
All right! You created a new project and inserted a textblock control. This seems like a good point to take a small break. We'll pick up from here in the next section!
In the previous section, we started creating our Hello World app and made quite a bit a progress by drawing a textfield on our design surface. In this page, let's pick up from where we left off and continue making more modifications:
First, let's customize our text a little bit. Select your textblock, and make sure you are displaying your Properties panel by clicking on the Properties tab found towards the top-right of your window:
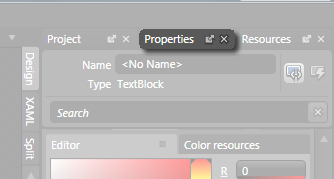
[ click on the Properties tab to see all of the properties available for your textblock ]
Your Properties
panel contains all of the various knobs and
buttons you can tweak to modify your selected
control. The Properties panel is also categorized
to help you find similar sets of properties.
We want to change both the font used and the
font size, so let's find the Text category where
we can accomplish both of those tasks:
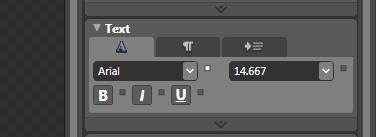
[ find the Text category which contains....text properties! ]
From your Text category, find the font size drop-down menu. Click on that menu and select a large number such as 36:
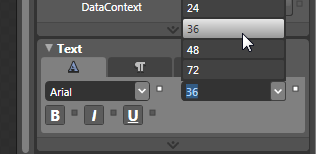
[ change your font size to 36 ]
From this same
area (to the left of your font size drop-down
menu), you will also see a drop-down menu to
select which font your text will be displayed
in. The default is usually Arial, but let's
change it to Trebuchet MS.
Click on the
font drop-down menu, and select Trebuchet MS:
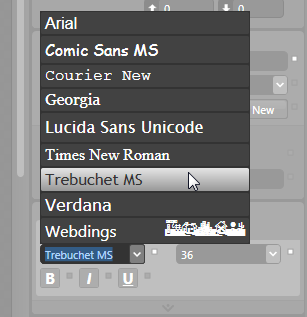
[ select the Trebuchet MS font ]
After having made both your font and font size changes, your textblock's text will look a little bit different now:
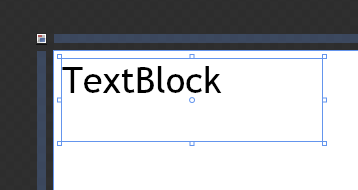
[ your textblock's text reflects the new font modifications you made ]
All this time, we
have been making modifications to a textblock
control that displays the text
TextBlock. Let's change our text
to actually say hello, world.
In your
Properties Panel, find your Text property. It
will be located inside the Common Properties
category which is located directly above your
Text category:
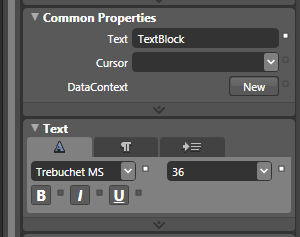
[ find the Text property under Common Properties ]
Change the displayed TextBlock text to instead say hello, world. Once you have done that, press Enter to accept your changes. Your textblock will now look like the following:
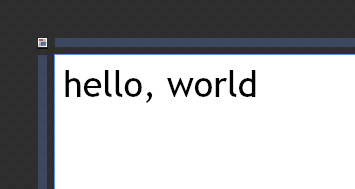
[ your textblock no longer says TextBlock ]
If you are curious to see how this looks in your browser, simply hit F5 or go to Project | Test Solution. A few seconds later, your browser will launch with your hello, world text displayed:
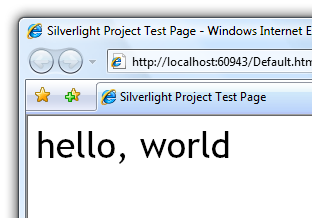
[ you can preview your creation in your browser ]
We are making great progress, and the light at the end of the tunnel is now visible! We'll wrap things up in the next section!
In the previous section, you modified your textblock to say hello, world, and you also changed the font and font size. The last few things we are going to focus on are making some minor visual tweaks.
First, let's resize our application, because currently we are taking up a lot of space. The easiest way to resize your application is to look in your Objects and Timeline panel and select the object marked UserControl:
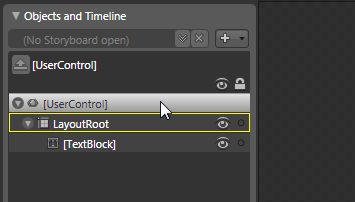
[ your UserControl is almost like the root element ]
With your UserControl object selected, look in the artboard, and find a corner with the resize adorner displayed. Once you have found a resize adorner, click on it with your mouse and begin dragging:
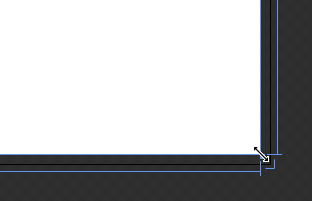
[ your resize adorner allows you to drag your selected object to a new size ]
Continue dragging your resize adorner inward to make your application's width and height smaller:
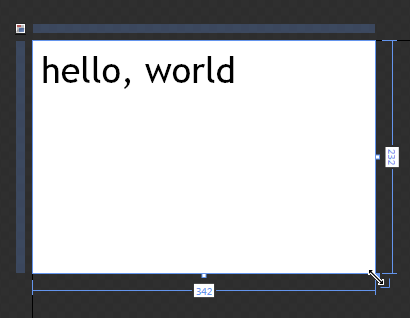
[ my application is now significantly smaller! ]
The size you choose to resize to is entirely up to you, but I'm going to keep it at a smaller size as shown above.
The next thing we will do is change the background color of our application. From the Objects and Timeline panel, select the control labeled LayoutRoot:
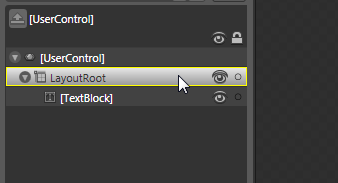
[ LayoutRoot is actually a Grid control, but I'll discuss that at a later time ]
Once you have selected LayoutRoot, look in your Properties panel and find the category marked Brushes:
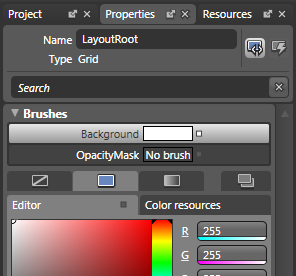
[ your Brushes category allows you to play with colors ]
Select the Background brush (it should be selected by default already as shown in the above image), and use the Color Editor to pick a color that you like. Lacking creativity at this moment, I'll pick a light-gray color:
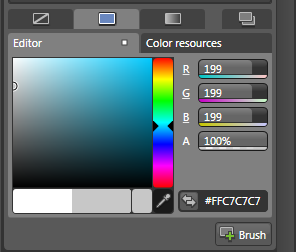
[ select a single color that you would like to use ]
Notice that whatever color you pick, the background of your application changes to reflect that:
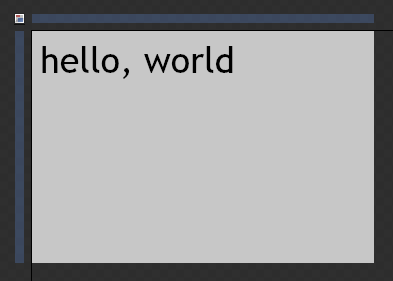
[ black text on a gray background - very colorful! ]
While you can actually do more than just have a single, solid-color background, we'll keep it simple this time around.
The very last thing we are going to do is move our textblock to the center of our application. This is actually a lot easier than you may think. Simply click on your hello, world text block and just drag it towards the center of your application:
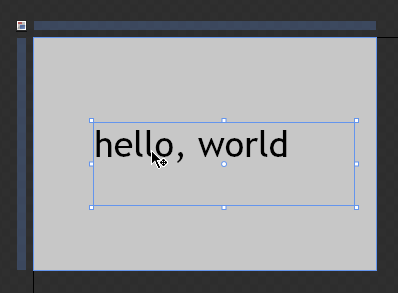
[ dragging things around is a quick and dirty way of positioning items ]
And now - we are done with our little hello, world application. Hopefully the past few pages gave you a quick glimpse of Expression Blend and how to use it to create a very simple application.
If you are curious to see how my version of this application looks like, feel free to download and extract the Blend / Visual Studio 2008 solution files below:
Just a final word before we wrap up. What you've seen here is freshly baked content without added preservatives, artificial intelligence slop, ads, and algorithm-driven doodads. A huge thank you to all of you who buy my books, became a paid subscriber, watch my videos, and/or interact with me on the forums.
Your support keeps this site going! 😇


:: Copyright KIRUPA 2026 //--