 Tutorials
Books
Videos
Forums
Tutorials
Books
Videos
Forums


This is an archived tutorial from the kirupa.com legacy collection. It covers software that may no longer be available, but it is kept online because the ideas still hold up.
In one of my earlier tutorials, I showed you how to create a very simple animation using Expression Blend. What I did not show was what went on behind the scenes to actually get your animation to play. In this short article, I will describe what goes on behind the scenes so that you have a better idea of animation in Silverlight.
In case you have not done so, do finish the earlier tutorial I mentioned in the first line of this article. It will provide you with more context on where the information you will see here is coming from.
In case you did not know earlier, Expression Blend is primarily a UI for writing XAML, an XML based markup language. All of the various things you do in the app are represented behind the scenes as nothing more than XAML content. Your animation is no different.
If you click on the XAML tab in Expression Blend, you will see the XAML that makes up your current application:
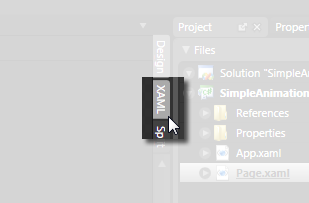
Once you have done that, you will see your design surface disappear and your XAML editor appear. The XAML code that I am most interested in looking at is the item inside the UserControl.Resources area found towards the top of your application:
For the sake of simplicity, let me break the hierarchy down a bit:
SplineDoubleKeyFrame
SplineDoubleKeyFrame
SplineDoubleKeyFrame
If you look at
Just a final word before we wrap up. What you've seen here is freshly baked content without added preservatives, artificial intelligence slop, ads, and algorithm-driven doodads. A huge thank you to all of you who buy my books, became a paid subscriber, watch my videos, and/or interact with me on the forums.
Your support keeps this site going! 😇


:: Copyright KIRUPA 2026 //--