|
by
kirupa | 2 November 2008
One of the many things
you can do in Silverlight is create animations. This
tutorial will take you through a quick tour of how
to use Expression Blend to d that. You will learn
how to create some content for
your animation, how to animate your content, and finally - how to add some code to
make your animation play!
This article discusses how to
create applications using Silverlight 2. If you do not know how to get started, the
Getting Started Page should help you get setup for Silverlight design and development.
By the end of this
tutorial, you will have created a slightly less
interactive version of the Silverlight application
that you see below:
[ click on the Play button to
see the animation you will be creating ]
The following steps
will explain how to to create something similar to
what you see above:
-
Before you begin,
make sure you have
ready my earlier
Getting Started article and have Expression
Blend 2 SP1 installed.
-
Launch Expression
Blend 2. A Welcome Screen should appear, and
from this screen, click on the New Project
link:
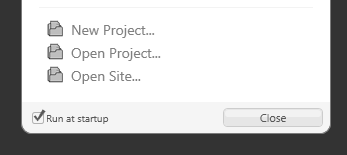
[ from the Welcome Screen, click the New Project
link ]
If you
do not see a Welcome Screen, then go to File | New
Project instead. The end result is the same.
-
After clicking on
New Project, the New Project window
appears. From this window, select the button for Silverlight 2
Application, for Name enter
SimpleAnimation, and
ensure the Language is set to Visual C#:
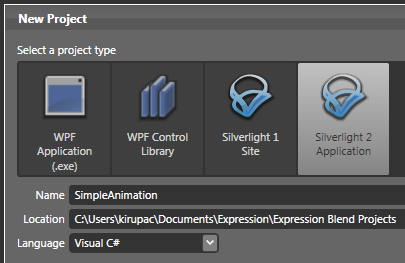
[ you want to create a new Visual C# based
Silverlight 2 Application ]
Click
OK to both close your New Project window as well as
create your new project with the specified values.
-
You should now see
your Artboard display, and it is here where you
will do most of your work:

[ meet the Artboard - it is your friend! ]
-
What we want to do
first is add the a circular shape that you will
be animating. Select the Ellipse tool from your
Toolbox:
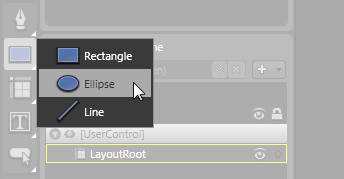
[ the Ellipse tool allows you to draw
ellipses...such as circles! ]
-
With your Ellipse
tool selected, draw a circle on your Artboard.
Hold down the shift-key to make sure your
circular shape is indeed a circle with the same
width and height:
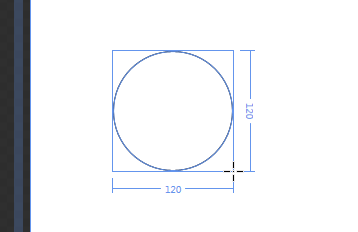
[ draw a circle by using the Ellipse tool and
holding down the Shift key ]
-
Make sure your
circle has a light-blue fill color and no
stroke. You can modify those properties in the
Brushes panel in your Properties Inspector:
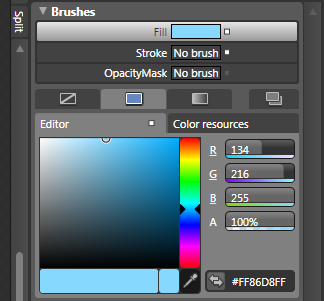
[ give your circle a solid, light-blue colored Fill
and no Stroke ]
Once
you have made those changes, your circle will look
as follows:
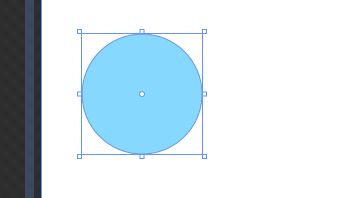
[ nothing too fancy, but a blue circle nonetheless ]
Ok, you have made
quite a bit of progress on this page. You created a
new Silverlight 2 application and drew a circle! In
the
next page, you will learn how to animate this
circle.
Onwards to the
next page!
|


