|
by
kirupa | 26 May 2009
Dragging and dropping
files is a fairly common task that you engage in
frequently - whether you realize it or not. If you
work with images a lot, you've probably dragged some
images into an open instance of Adobe Photoshop and
had those dragged files be automatically opened.
Notepad is another great example. Dragging and
dropping any files into Notepad will result in
Notepad (often humorously) trying to make sense of
the data - even if it the data isn't exactly text
based.
There are many more
examples, but regardless of your particular fond
drag-and-drop recollection, someone somewhere had to
customize their application to allow you to drop
files into them. In this tutorial, I will show you
how you can create one such application that does
something when files are dropped into it.
More specifically, you
will create an application that looks as follows:
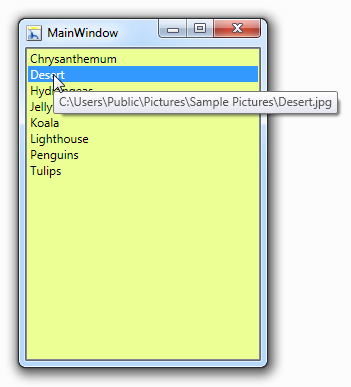
When this application
is running, you can drag some files and drop them
onto the big green area. The names of the files you
dropped will appear, and selecting and hovering over
each file entry will display the tooltip of the
file's location on disk.
What
you are going to do is recreate what I described in
the above example. It will be simple WPF application
that contains a ListBox. As you drag and drop files
into the ListBox, those files' names will be
displayed inside it with an associated tooltip being
set as well.
The first step in
making all of this is having our basic UI created.
Let's get started:
-
Launch Expression
Blend and create a new WPF Application. It
doesn't really matter what name you give your
application.
-
After you have
created your application, you will see a blank
window. This window is a bit large for what we
are going to do, so let's make it smaller.
Select your Window and set its Width and Height
to 350 and 250 respectively;
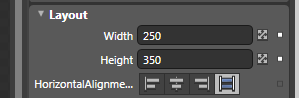
[ set your Window's dimensions via the Layout
category ]
After changing the height, your window should look
like the following:
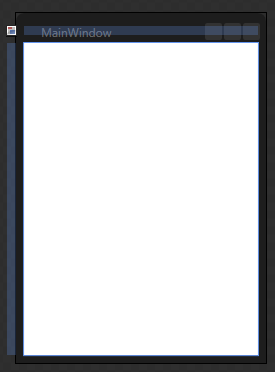
[ notice that your window is now much smaller ]
-
Now that your
window is sized correctly, let's go ahead and
add your Listbox control. From Blend's Asset
Library, search for ListBox. Once you have found
the ListBox, drag and drop the ListBox icon into
your design surface to insert it:
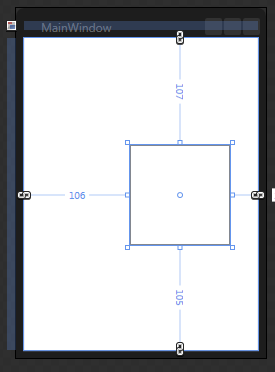
[ you have just inserted a ListBox ]
That
small square is actually your ListBox. I know it
doesn't look like much right now, but rest assured
that it is not a white square. If you are still
skeptical, you can verify by looking in your object
tree and seeing your Listbox appear:
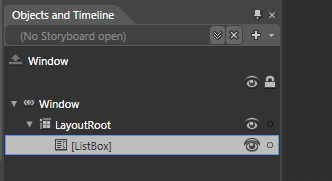
[ notice that your ListBox now
appears ]
-
Let's make a few
minor tweaks to our ListBox. First, let's give
it a slightly different color so that it is more
noticeable. Ensure your Listbox is selected,
look in your Brushes category in the Properties
pane, select the Background brush, and give it a
light green-ish color:
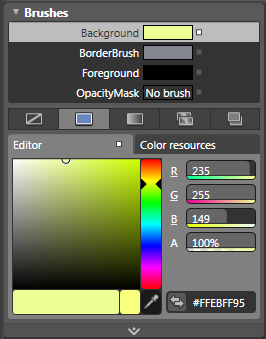
[ give your ListBox a light green color ]
-
Your listbox
should now sport a light green background. The
last thing we are going to do is make our
listbox larger. With your Listbox control
selected, on the design surface, drag the corner
adorners to resize the ListBox to hit the edges
of your Window:
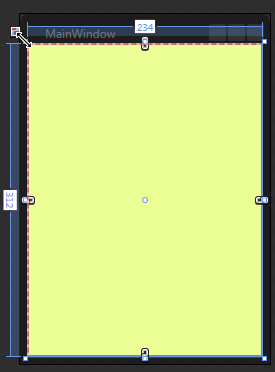
[ your ListBox is now green! ]
-
If you test your
application right now by pressing F5, you will
basically see something that looks as follows:
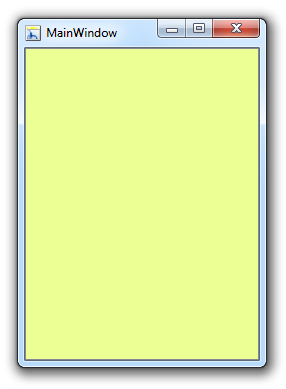
[ what your app looks like right now ]
Ok, so far, you have
just created the UI, and your app does not do
anything else. Very soon, and by very
soon, I mean, starting on the
next
page, we will make your application useful.
Onwards to the
next page!
|


