|
by
kirupa | 25 April 2009
For most of the
Silverlight and WPF tutorials on this site, I have
shown you how you can use Expression Blend to easily
create an application. This often involved drawing
out a control, such as a button, and adding some code
to make it do something on your design surface (also
known as the artboard):
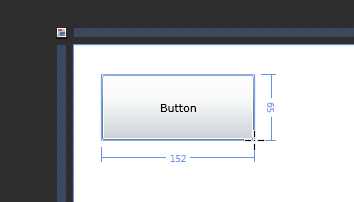
[ look, there is a button! ]
When designing UI,
this is great. You get to visually place and arrange
things that are meant to be visually noticed, and
for anything else behind the scenes, you can write
some code such as making the button do something
when Clicked.
In this article, I am
going to explain something completely different. I
am going to show you how you can use code to add and
use controls and other elements. All you will see in
Expression Blend is a blank slate!
Since I
have already spoken about the button and invited it
to this party, I figure we'll make the most of it
and use it in our examples. First, create a new
Silverlight or WPF project in Expression Blend. Once
you have created your new project, you shouldn't
really see anything on your artboard:
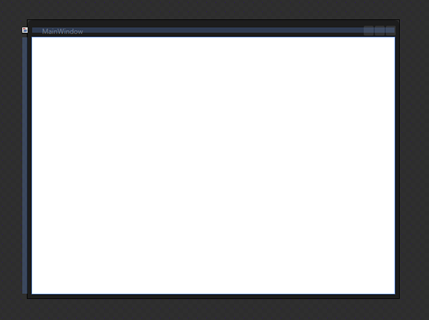
[ a new project creates an eerily empty artboard ]
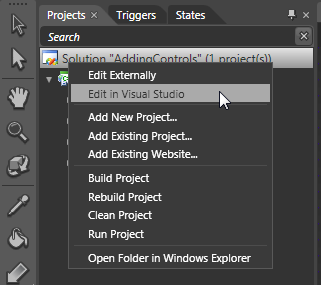
What I want you to do
is open this solution in Visual Studio. Go to your
Projects panel, right click on the Solution icon,
and select Edit in Visual Studio:
Once you have selected
Edit in Visual Studio, a few moments later, Visual
Studio will open this exact same project. From
Visual Studio's Solution Explorer panel, expand
either Window1.xaml or
MainWindow.xaml and open the
C# code file by double clicking on it:
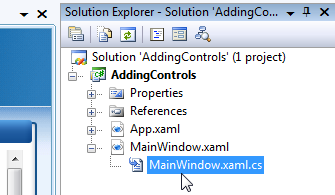
[ open the code-behind file for your XAML file ]
After double-clicking
on the code file, you will see the code that powers
your app. Much like what you saw earlier in Blend's
design surface, there really isn't much to look at
since this is a new project with nothing done to it:
- /// <summary>
- /// Interaction logic
for MainWindow.xaml
- /// </summary>
- public
partial
class
MainWindow
:
Window
- {
- public
MainWindow()
- {
- this.InitializeComponent();
-
- // Insert code
required on object creation below this
point.
- }
- }
Let's fix that by
adding some code. Add the following non-grayed out
lines below the "Insert code required..." text in
your code file:
- public
partial
class
MainWindow
:
Window
- {
- public
MainWindow()
- {
- this.InitializeComponent();
-
- // Insert code
required on object creation below this
point.
-
- Button
clickMeButton
=
new
Button();
- clickMeButton.Content
=
"Click Me";
-
- this.LayoutRoot.Children.Add(clickMeButton);
- }
- }
Don't worry about what
the code actually means. In time all will be
explained to you. Just hit F5 and run your
application. After a few anxious moments where
everything gets built, your application will appear.
Depending on whether you created a WPF or
Silverlight app, you will see one of the following:
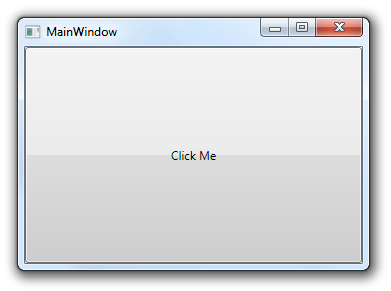
[ a giant button fills your WPF window ]
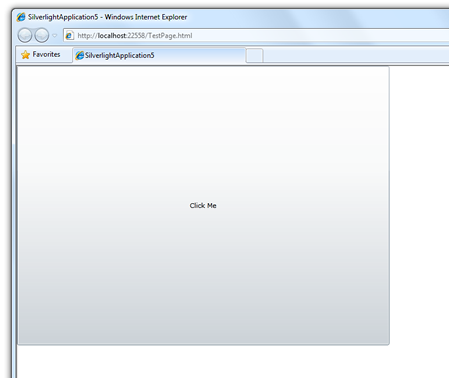
[ a
fairly large button fills up your browser in
Silverlight ]
Once you have
marveled at your creation, close your application
window or browser. Jump back into Expression Blend
where the XAML file for the code-behind file you
just edited is open. Notice that you still see the
same thing...which is nothing:
[ despite what you see when previewing your app,
Blend shows nothing! ]
The reason you are not
seeing anything in Blend is because everything you
did was done programmatically via the C# code file.
Your XAML file, the file that Blend primarily edits,
has no idea about what is going on. While this
disconnect between the XAML file and the C# file may
seem odd, they are actually more related than you
may realize. In the next few sections, let's look at
various aspects of programmatically adding a control
such as sizing, positioning, adding event handlers,
and more.
Onwards to the
next
page!
|


