 Tutorials
Books
Videos
Forums
Tutorials
Books
Videos
Forums


This is an archived tutorial from the kirupa.com legacy collection. It covers software that may no longer be available, but it is kept online because the ideas still hold up.
Expression Blend is a program that allows you to easily create the user interface for applications based on Windows Presentation Foundation (WPF). In this introductory tutorial, I will explain not only how to use Blend, but also how to draw and modify a shape's various properties such as color, outline, etc. using Brushes.
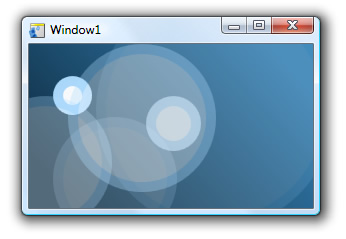
At the end of this tutorial, you will have created something that looks like the following image:
Let's get started:
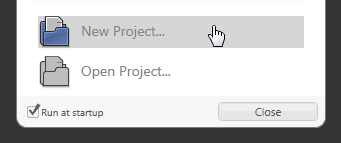
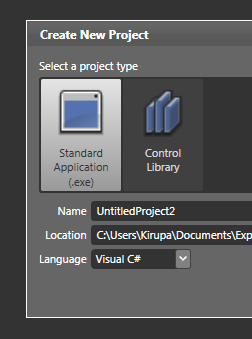
Press OK to close the Create New Project window and clear the stage for your newly created project.
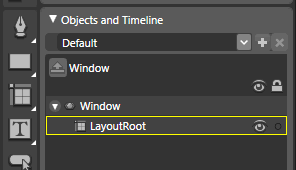
This area provides you with a listing of all of your objects and controls on the stage, and this area makes it easy to select a particular object if it is buried below other objects.
Define control.
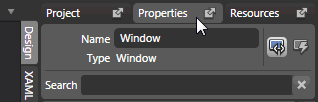

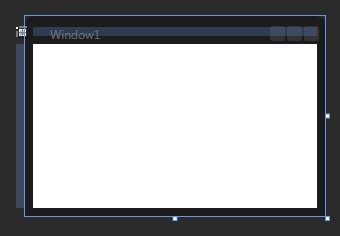
In the fields for Width and Height, enter 300 and 200 respectively. You will notice your window's size has changed to fit the new values:
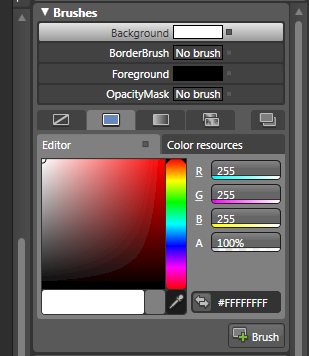
We want to change the background color of our window. The Background property should already be selected for you (see above image), but if it isn't, select it.
What we really want is to have a gradient background color. To specify the gradient colors, click on the Gradient Brush tab located in the row with the five rectangular icons below the OpacityMask property:
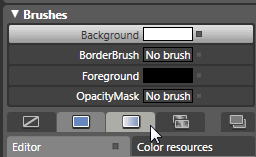
After you have clicked the Gradient
Brush property, you'll notice your Artboard update to
display your window's background color as the default
black-to-white gradient. Let's change that default color
setting to a couple shades of dark blue.
Below your color box, you should see a rectangular box
with two gradient stops on either side in black and
white. Click on the black gradient stop first:
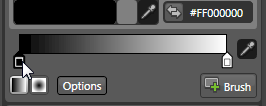
Once you have clicked on the black gradient stop, from the color box, select a dark blue-ish shade to change the current color from black to your new blue-ish color:
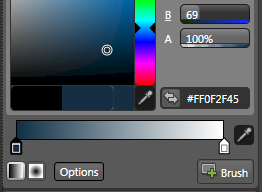
You still have another gradient stop remaining. Select the white gradient stop, as before, and change the color to a different shade of blue than the shade you selected in the above step:
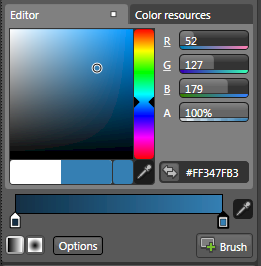
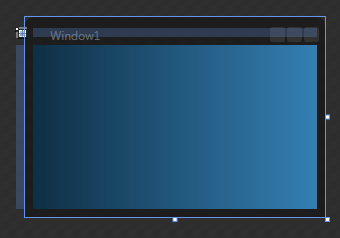
Right now, with both of your gradient colors altered from the original black and white colors, your Window's background reflects the gradient choices you made in the previous few steps:
Right now, our background gradient changes only in a left-to-right direction. Let's angle the gradient so that the color changes at an angle. To change the fill angle color, click on the Brush Transform button from your Toolbox:
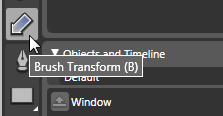
Once you have clicked on the Brush Transform button. You should see a large arrow superimposed over the area of your background in your Artboard. You can drag, rotate, and scale this arrow to adjust subtle details associated with the background:
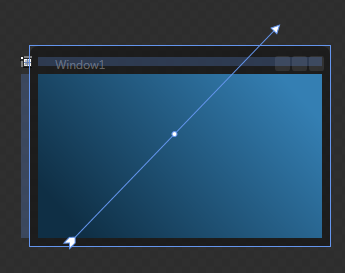
Feel free to use the Brush Transform tool to modify your gradient in any way you want. I have mine angled and stretched a little bit as shown in the above image, so feel free to apply a similar transformation if you want.
We've spent quite a bit of time making
modifications to the brush's background property, but
there are more brush properties that we haven't touched
upon. In order to use some of the other properties,
let's create a few new objects to populate on our
background.
In your Toolbox, find the Shapes button, click on the
small white arrow on the bottom-right corner of that
button to display the shapes menu, and select the
Ellipse tool:
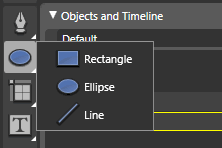
The Ellipse tool allows you to draw ellipses and its related friends, the circles.
With your Ellipse tool selected, click on your stage and drag the mouse outward to draw a circle. To make a perfect circle, hold down your Shift key. Release your mouse to stop the dragging, and you will see your circle appear on the stage:
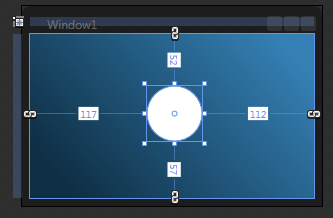
The circle you should see will feature the default colors and outlines from when last used this feature, so let's go through and customize how our circle looks. Let's first start with the background, since you should be familiar enough with this property already.
Change your circle's background color by setting it to white. You can do that by going to your Brushes panel and selecting the Solid color brush:
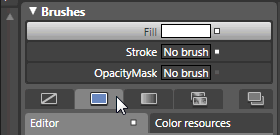
The Solid color brush applies a solid color throughout your shape or object. This is different from a gradient brush where you specify multiple color values.
Once you have selected the Solid color brush, select a white color from the color box. You will see that your circle is now colored white also.
Now, click on the Stroke property from the same Brushes panel to select it. Stroke is another term for our shape's outline:
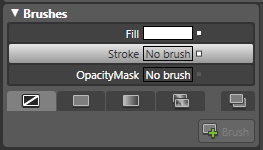
With the Stroke property selected, click on your Solid color brush again to specify the stroke color. The color box will appear after you click on Solid color, and this time pick a light blue-ish color:
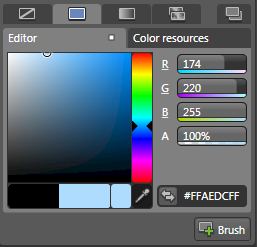
Once you have selected your light blue
stroke color, you probably won't see the effects of it
actually. The reason is that the stroke thickness is too
small to be noticed over our background. To fix that, we
need to increase the stroke thickness
Find the Appearance panel (it should be below your
Brushes panel) and in the StrokeThickness field, enter a
value of 10:
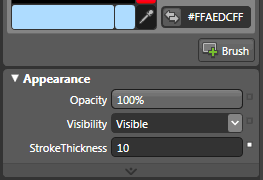
After entering a value of 10 for StrokeThickness, you will see that your circle now has a thick light-blue outline (stroke):
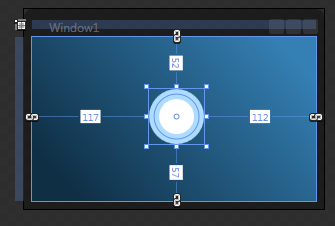
Right now, your circle is fully
visible. What we really want is a slight transparency
applied to the entire circle to make it blend better
with the background. To adjust the background for the
entire circle, you will need to alter the OpacityMask
property.
Select your OpacityMask property from the Brushes panel
and select Solid Color Brush:
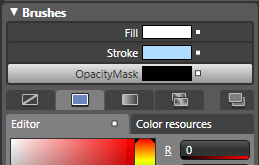
Your OpacityMask helps determine how visible (or how transparent) your selected object is. You can try the colors of your selected object using the displayed color box, but nothing will happen. The main thing the OpacityMask property looks at is the Alpha property (A):

Click on the A (Alpha) field and enter a value of 60:

After entering 60 for your circle's Alpha, you will see your circle becoming partially transparent. This means that part of your background is now visible through your circle itself:

The last thing we are going to do is copy and paste a few more circles and scale them. Make sure your circle shape is still selected in your Artboard, press Ctrl + C (or go to Edit | Copy) and press Ctrl + V (or go to Edit | Paste).
While it may be difficult to see, a copy of your original circle has now been placed perfectly on top of your original circle. Click on the circle and drag your mouse to move the circle to a new location:

When you pasted your circle, I mentioned that it was difficult to notice that because they are perfectly placed on top of each other. While that is true when observing the Artboard, when you look at your Objects and Timeline tree, you will see two copies of your Ellipse shape representing our two circles:
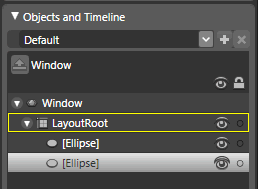
The timeline makes it easy to know exactly which objects are currently placed on your stage, and that is helpful when trying to select objects covered up by another object or selecting an object that is completely transparent/invisible.
Make sure your newly pasted and moved
circle is selected if it already isn't. Notice that a
box outline with eight small squares is displayed around
your selected circle in the Artboard. You can click on
any of the boxes and drag the mouse to skew and scale
your circle's shape.
What we want to do is make our circle bigger. You can do
that by clicking on any of the corner boxes and dragging
your mouse outward:
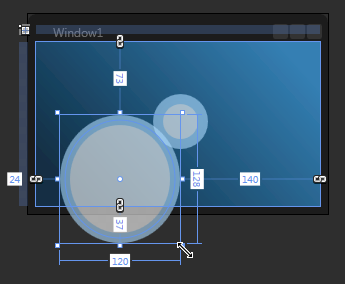
When scaling using this approach, you might find that the scale isn't even. Unless you are dragging outward in a perfect 45 degree angle, your scaling will skew your object to be more horizontal or vertical than you want to. To fix that, hold down your Shift key when dragging or prior to releasing your drag action. Holding down your shift key sets the horizontal and vertical scale values to be the same:

An optional step is for you repeat the
above Copy, Paste, and Scale process to have a lot more
circles populate your screen. Feel free to adjust the
transparency for your circles as needed also.
Here is how my Artboard looks like after having
copied/pasted and altered a few more circles:
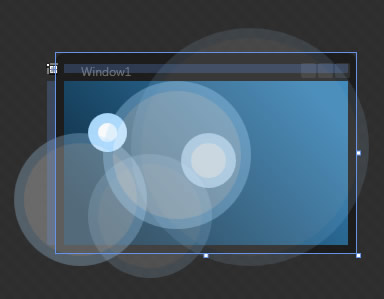
The final step is for you to preview your application. To preview your application, click on the Project menu and select Test Project, or you can also just press F5. After a few seconds of building your project, you will see a Windows window appear containing your project:
Just a final word before we wrap up. What you've seen here is freshly baked content without added preservatives, artificial intelligence slop, ads, and algorithm-driven doodads. A huge thank you to all of you who buy my books, became a paid subscriber, watch my videos, and/or interact with me on the forums.
Your support keeps this site going! 😇


:: Copyright KIRUPA 2026 //--