 Tutorials
Books
Videos
Forums
Tutorials
Books
Videos
Forums


This is an archived tutorial from the kirupa.com legacy collection. It covers software that may no longer be available, but it is kept online because the ideas still hold up.
If you are running Windows XP Professional, you can run your own web server without having to download any extra software. IIS is required for running ASP.net applications, and in this tutorial I will explain both how to setup IIS and configure it for running .NET 2.0 apps in your browser.
Before we begin, make sure you have your Windows XP Professional installation CD. If you received your computer from an OEM who did not provide you with an installation CD, contact them to find out where on your computer the original install files are stored. Two common locations installation files can be found are either a separate partition or a hidden location like C:\Windows\Options\Cabs.
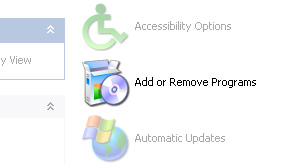
[ double click on the Add or Remove Programs icon in the Control Panel ]
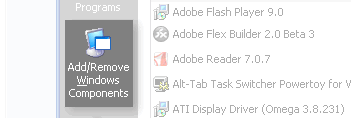
[ the Add/Remove Windows Components button ]
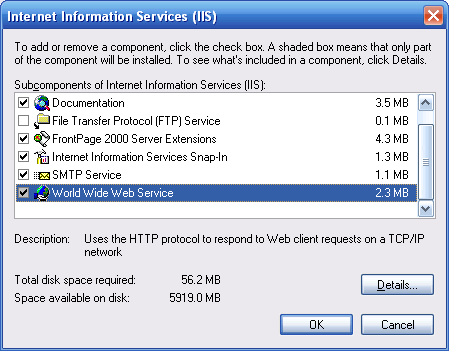
[ the IIS details window ]
Well, you have successfully installed IIS. If you want, you can start to upload your HTML files to the C:\inetpub\wwwroot directory where the localhost address points to by default. In the next section, I will explain how to setup IIS to run ASP.net 2.0 applications.
In the previous section, you set up an IIS server on your server. A large advantage of IIS is its ability to run .NET applications. In this page, I will explain how to set up your server to work with ASP.net 2.0 applications.
First, you will need to check and see if you have the .NET Framework (version 2.0) installed on your computer. The easiest way to do that would be to go back to your Control Panel's Add or Remove Programs application. If you scroll down your list of installed applications, you should see Microsoft .NET Framework 2.0 listed:
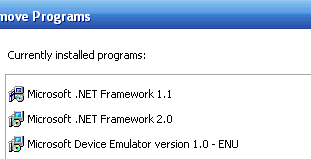
[ check to see if you have the .NET Framework 2.0 installed ]
If you see Microsoft .NET Framework 2.0 listed, great! Skip over to the next section. If you do not see .NET Framework 2.0 listed, that is no problem. The Framework is a free download, so point your browser here to download it.
Note
If you are running on a X64 system, click here to download the 64-bit version of the .NET Framework. If you are not sure about what version you are running, you are probably running X86.
After you have downloaded the installer, installed the framework, and restarted your computer, you are set to now configure IIS.
Now that you have either installed or confirmed the existence of the .NET Framework 2.0 on your computer, you will need to check if its configured to run .NET 2.0 apps. Go back to your Control Panel and double click on Administrative Tools icon. You should now see a list of icons, one of which stands for Internet Information Services (IIS):
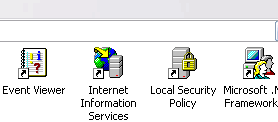
[ check to see if you have the .NET Framework 2.0 installed ]
Double-click on the Internet Information Services icon. The Management window for Internet Information Services will appear. On the left pane, you will see your computer's name listed. Expand the node by clicking on the plus box next to your computer's name. You should now see a folder listing for Web Sites:
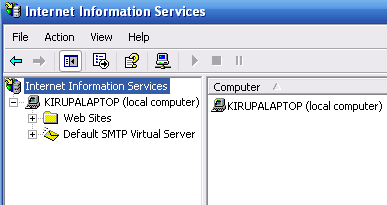
[ keep expanding the nodes in tree until you hit the Web Sites folder ]
Right click on the Web Sites folder and select Properties. The Web Sites Properties window will appear. Click on the tab marked ASP.net. Under the ASP.net Version drop-down menu, select the version corresponding to 2.0:
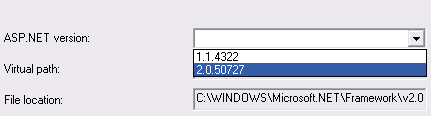
[ keep expanding the nodes in tree until you hit the Web Sites folder ]
Click OK after selecting 2.0.x under the ASP.NET version drop-down menu. You now have a web server capable of running .NET 2.0 applications.
Just a final word before we wrap up. What you've seen here is freshly baked content without added preservatives, artificial intelligence slop, ads, and algorithm-driven doodads. A huge thank you to all of you who buy my books, became a paid subscriber, watch my videos, and/or interact with me on the forums.
Your support keeps this site going! 😇


:: Copyright KIRUPA 2026 //--