by kirupa |
23 April 2007Expression Blend is a program that
allows you to easily create the user interface for
applications based on Windows
Presentation Foundation (WPF). In this
introductory tutorial, I will explain not only how to use
Blend, but also how to draw and modify a shape's various
properties such as color, outline, etc. using Brushes.
In many design programs, you directly
manipulate the colors and related properties of an object.
In WPF, you don't interact directly with colors. You use
intermediary objects called Brushes instead, but the steps
needed to change, for example, the color of something is
just the same in Blend as it is almost all other programs.
The end result and the steps taken to get there are the
same, but the details vary. Future tutorials will touch upon
the details, but this introductory tutorial will not.
This is an introductory tutorial requiring no prior
experience with any of the products or terms I mentioned in
my previous paragraph. By the end of this tutorial, you will have created
something that looks like the following image:
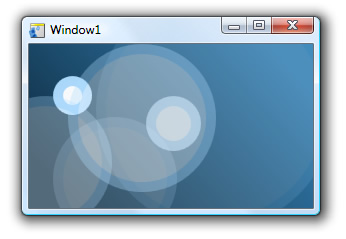
[ what your finished project looks like ]
Let's get started:
- Launch Expression Blend. If you do not have Blend
installed on your computer, you can download a
fully-functional evaluation version by clicking
here.
When the application loads,
you should see a Startup window (if you have it
enabled). From this Startup window, click on the New
Project link:
[ select New Project from the startup window ]
- After clicking on New Project, the Create New
Project window will appear. Select Standard Application
(.exe) as your Project Type, give your project a unique
name, and make sure the language is set to C#:
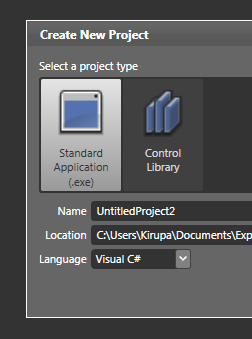
[ create a new Standard Application (.exe) ]
Press OK to close the Create New Project
window and clear the stage for your newly created project.
- What you see now is your main design area also known
as the Artboard. It is where you will create, make, and
break your designs. In our first order of business,
let's change the size of our stage by making it smaller.
Towards the left side of your screen, you should see a
panel titled Objects and Timeline:
[ easily view all objects in your Artboard using the Objects and Timeline panel ]
This area provides you with a listing of
all of your objects and controls on the stage, and this area
makes it easy to select a particular object if it is buried
below other objects.
So far, you have just created a new project in Blend. In
the
next page, let's add figure out how to spruce up our
empty, default project.
Onwards to the
next
page!
|


