Remapping is when we transform a value from one range to another. If this totally makes sense to you, then allow me to quickly give you the code. Meet the remap function:
function remap(value, istart, istop, ostart, ostop) {
  // Ensure values are numerical to avoid potential errors
  value = Number(value);
  istart = Number(istart);
  istop = Number(istop);
  ostart = Number(ostart);
  ostop = Number(ostop);

  // Perform the mapping calculation
  return ostart + (ostop - ostart) * ((value - istart) / (istop - istart));
}

// Some examples of this function being used!
let example1 = remap(50, 0, 100, 0, 2000);
console.log(example1); // 1000

let example2 = remap(15, -100, 100, 0, 100);
console.log(example2) // 57.5

let example3 = remap(100, 0, 2000, 0, 50);
console.log(example3) // 2.5
If what I mentioned earlier instead sounds a bit cryptic, or you want to learn a bit more on why remapping values is an important technique to keep in your back pocket, then the following sections are for you.
Onwards!
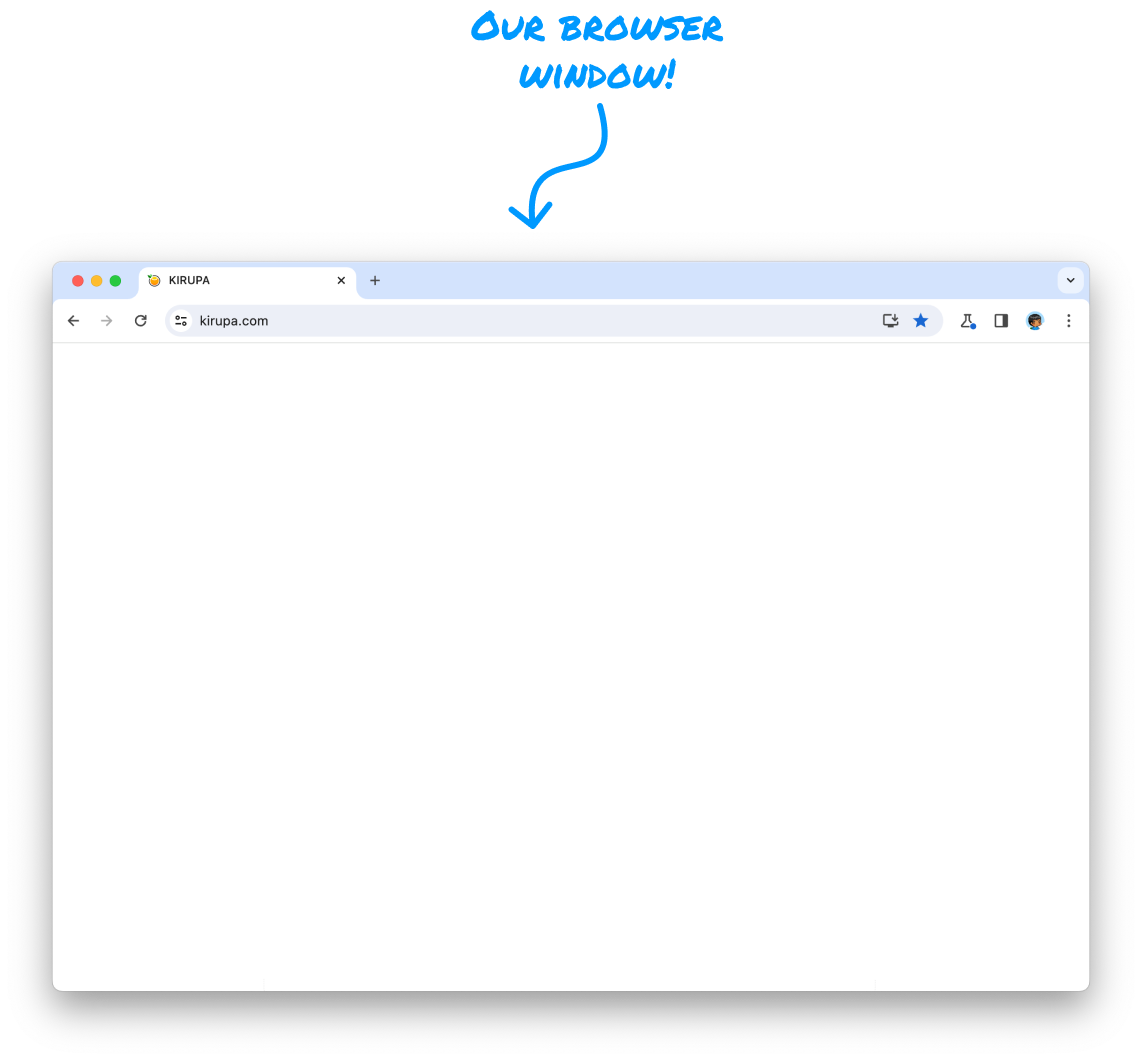
The best way to explain the need for remap is with an example. Here is the situation. We have our browser window:
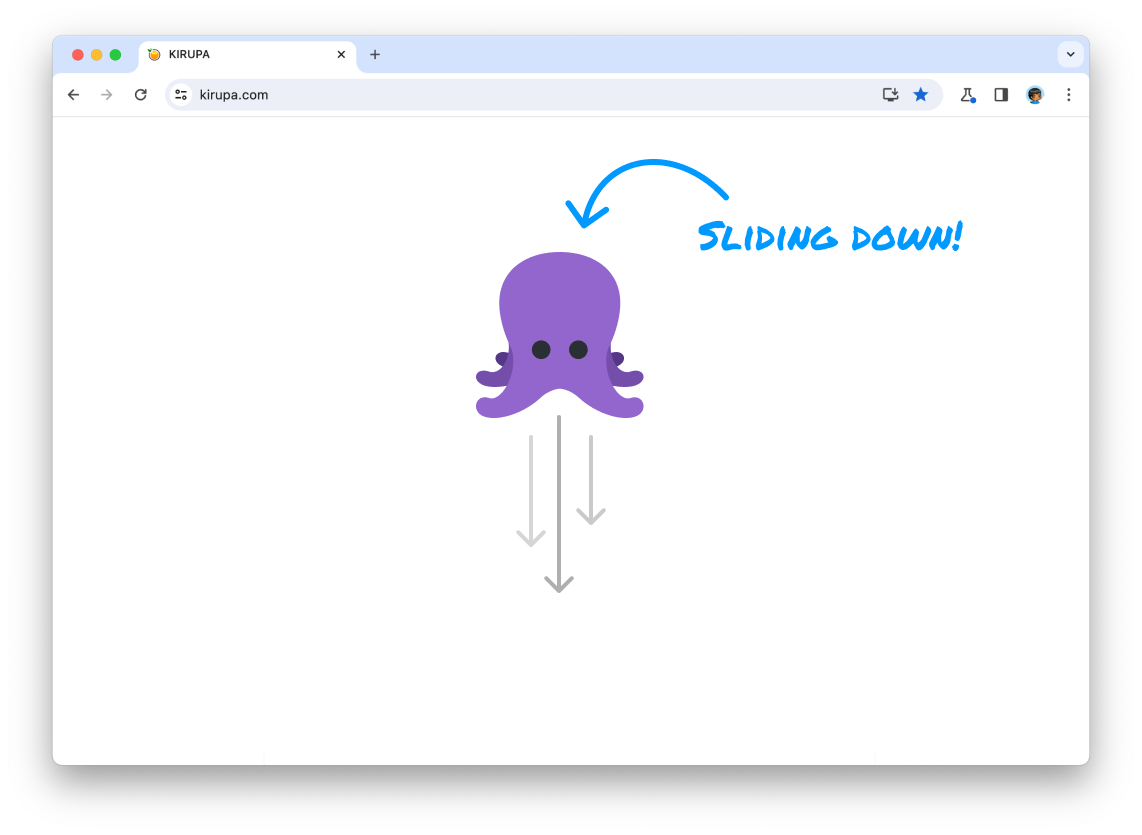
In this window, we are displaying a page where we have a picture of an octopus animating from the top of the page to the bottom of the page:
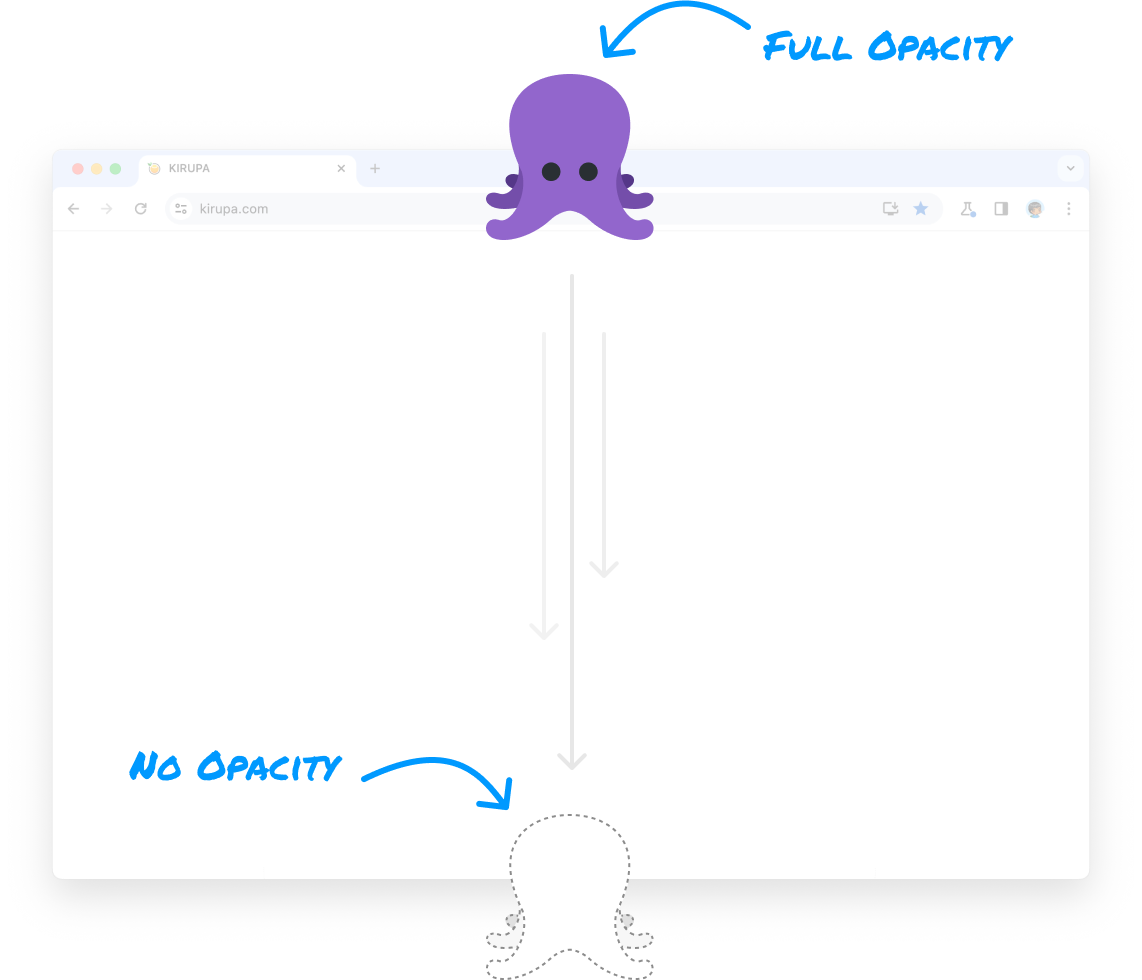
As the octopus is animating down, it becomes more transparent. Another way of describing it is that our octopus has full opacity at the top of the browser window. It has no opacity at the bottom of our browser window where it appears to be invisible:
If we had to build this animation, notice that there are a handful of values we are trying to reconcile. The main input value is our octopus's vertical position. Where it is in our window will determine the level of opacity. Our input value has a finite range. This range is entirely determined by our window's height:
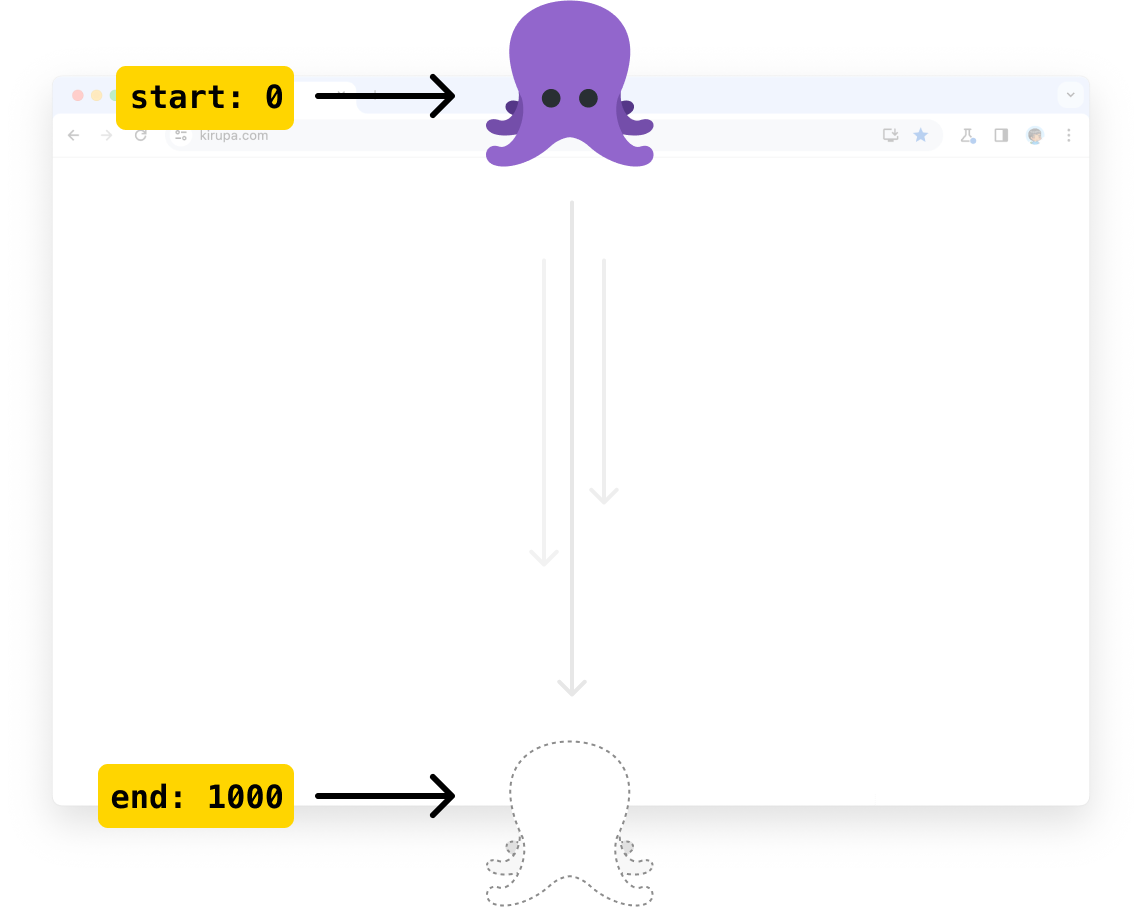
At the top of our window, the vertical position will be 0. At the bottom of our window, the vertical position will be specified by the actual window height. For simplicity, we can just say that our window has a height of 1000 pixels. There is another range of numbers at play here.
As our octopus is moving down, its opacity changes. Its opacity at the top of our window will be 100, aka fully visible. Its opacity at the bottom of the window will be 0, aka fully invisible. This can be visualized as follows:
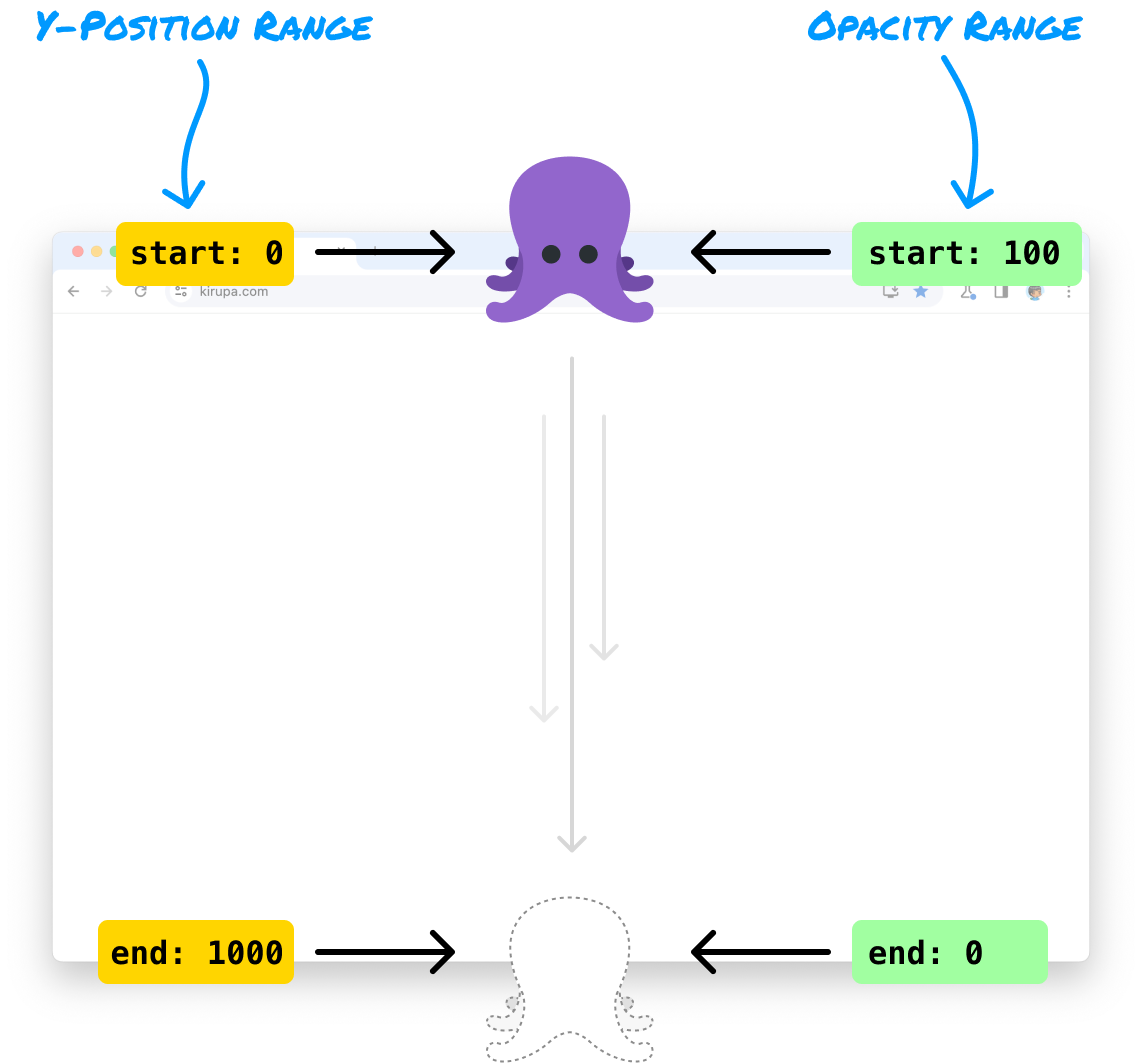
We now have two ranges of numbers. One range deals with our vertical position (aka y-position), and it goes from 0 to 1000. Our other range specifies our opacity, and it goes from 100 to 0. Our input value is our octopus's vertical position, and this is in the range of our vertical position as well. How can we ensure that, as our octopus moves from the top of our window (y-position of 0) to the bottom of our window (y-position of 1000), the opacity decreases proportionally from 100 to 0? What is the mathematical scale value we will use to translate each unit our octopus moves down to a unit of opacity change?
The answer to this question is where remapping and our remap function comes in. The remap function takes five arguments, which in the context of our octopus example is as follows:
If our octopus has a vertical position of 300 and we want to calculate what the opacity will need to be, below is an example of our remap function and the arguments we provide to calculate the remapped value:pris
function remap(value, istart, istop, ostart, ostop) {
  // Ensure values are numerical to avoid potential errors
  value = Number(value);
  istart = Number(istart);
  istop = Number(istop);
  ostart = Number(ostart);
  ostop = Number(ostop);

  // Perform the mapping calculation
  return ostart + (ostop - ostart) * ((value - istart) / (istop - istart));
}

let opacity = remap(300, 0, 1000, 100, 0);
console.log(opacity); // 70
The answer is 70. When our octopus has a vertical position of 300, it will have an opacity value of 70. The quick math behind this is as follows.
If this quick explanation wasn't very satisfactory, in the next section let's look at a more involved mathematical breakdown.
The math behind remapping is all about finding the rate of change (aka slope) for each adjustment of our input value. To expand on this, we start with our three components:
Now, let's look at the various stages these components and subcomponents will be used.
Next, to make values from different ranges comparable, we first normalize the input value within its original range:
normalizedValue = (value - istart) / (istop - istart)This results in a value between 0 and 1, representing its relative position within the original range.
Now, we adjust the normalized value to fit within the target range:
rescaledValue = ostart + (ostop - ostart) * normalizedValueThis expands or compresses the normalized value to match the proportions of the target range.
The entire remap process can be expressed in a single formula:
remappedValue = ostart + (okstop - ostart) * ((value - istart) / (istop - istart))It is this formula that we see represented in our remap function above, and even the order of operations is maintained for ease of readability.
The remap function is hugely useful since much of our time coding will involve taking an input from one range and translating it to another. This happens frequently when we are dealing with UI things, such as our animating octopus. This also crops up a whole lot when dealing with external data and ensuring we have some level of normalization of the data before it reaches our code. There are bunch more scenarios, but the three takeaways to keep in mind from a mathematical point of view are:
We are going to be seeing the remap function a whole lot, so it's good to understand both the code and a bit of the math behind why it works the way it does.
Just a final word before we wrap up. What you've seen here is freshly baked content without added preservatives, artificial intelligence, ads, and algorithm-driven doodads. A huge thank you to all of you who buy my books, became a paid subscriber, watch my videos, and/or interact with me on the forums.
Your support keeps this site going! 😇

:: Copyright KIRUPA 2025 //--