
Learn two fast approaches for quickly going from data to a boatload of DOM elements that we can see!
An important part of working with the DOM is learning how to take a bunch of data and turning them into visuals we see on screen. This general approach of having data drive what we see is a common pattern, especially as our apps get increasingly more dynamic. Let's take Netflix for example:
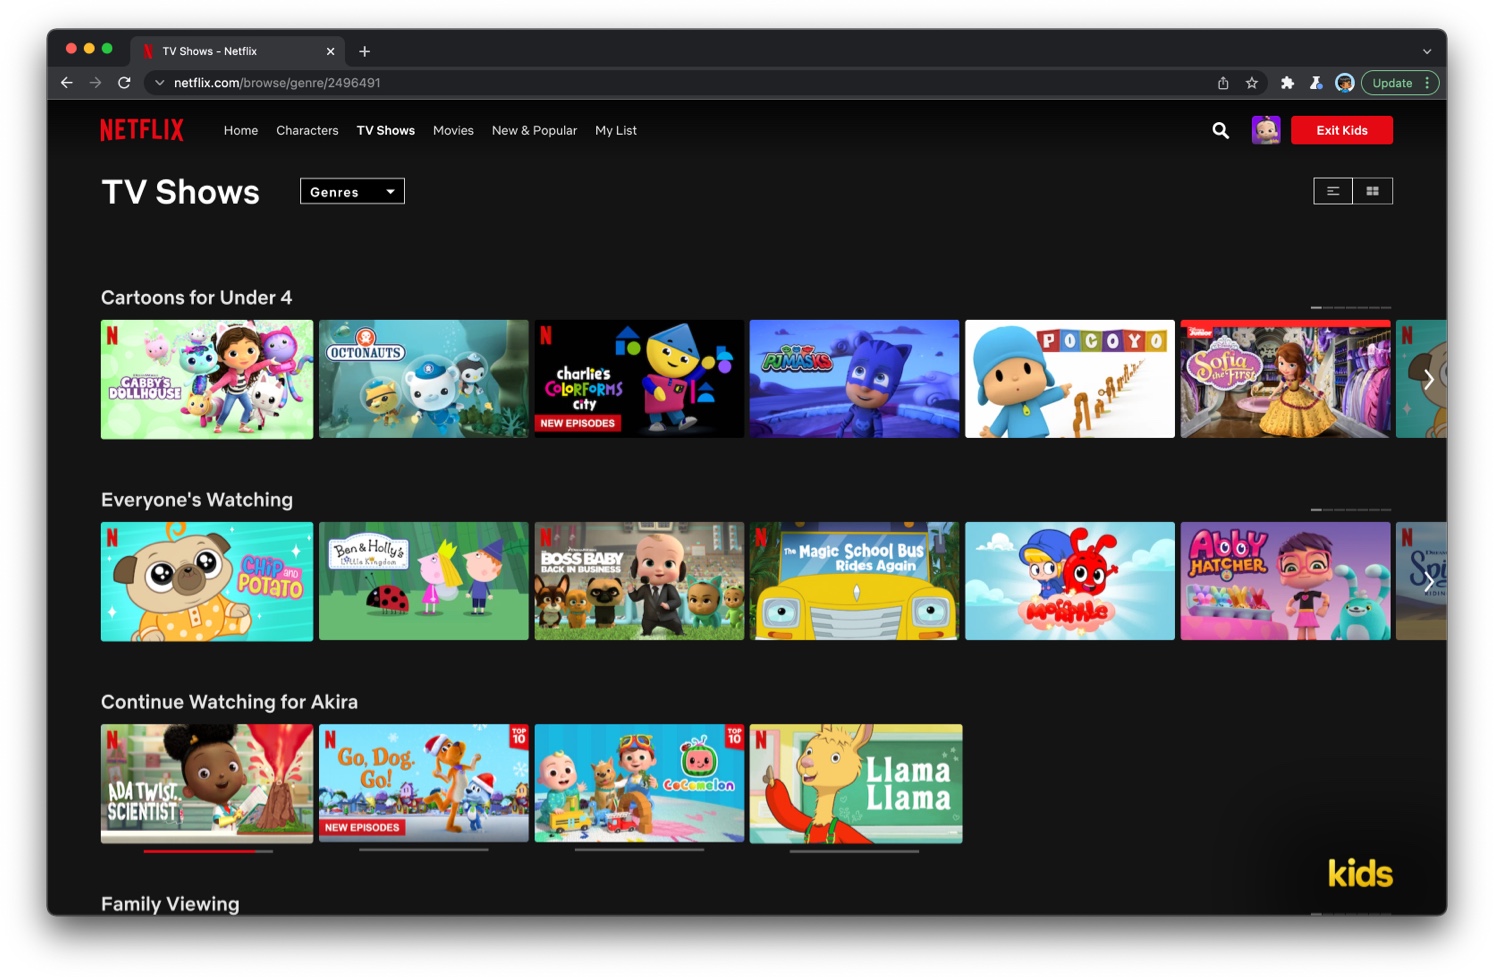
As we navigate through the Netflix app, we see a bunch of thumbnails for the videos we can watch. All of these thumbnails and related content like the headings and descriptions aren't predefined or hardcoded. The visuals are dynamically generated based on the data the server returns for each category we are navigating through.
A far less interesting example is what happens when we use the search form on this web site:
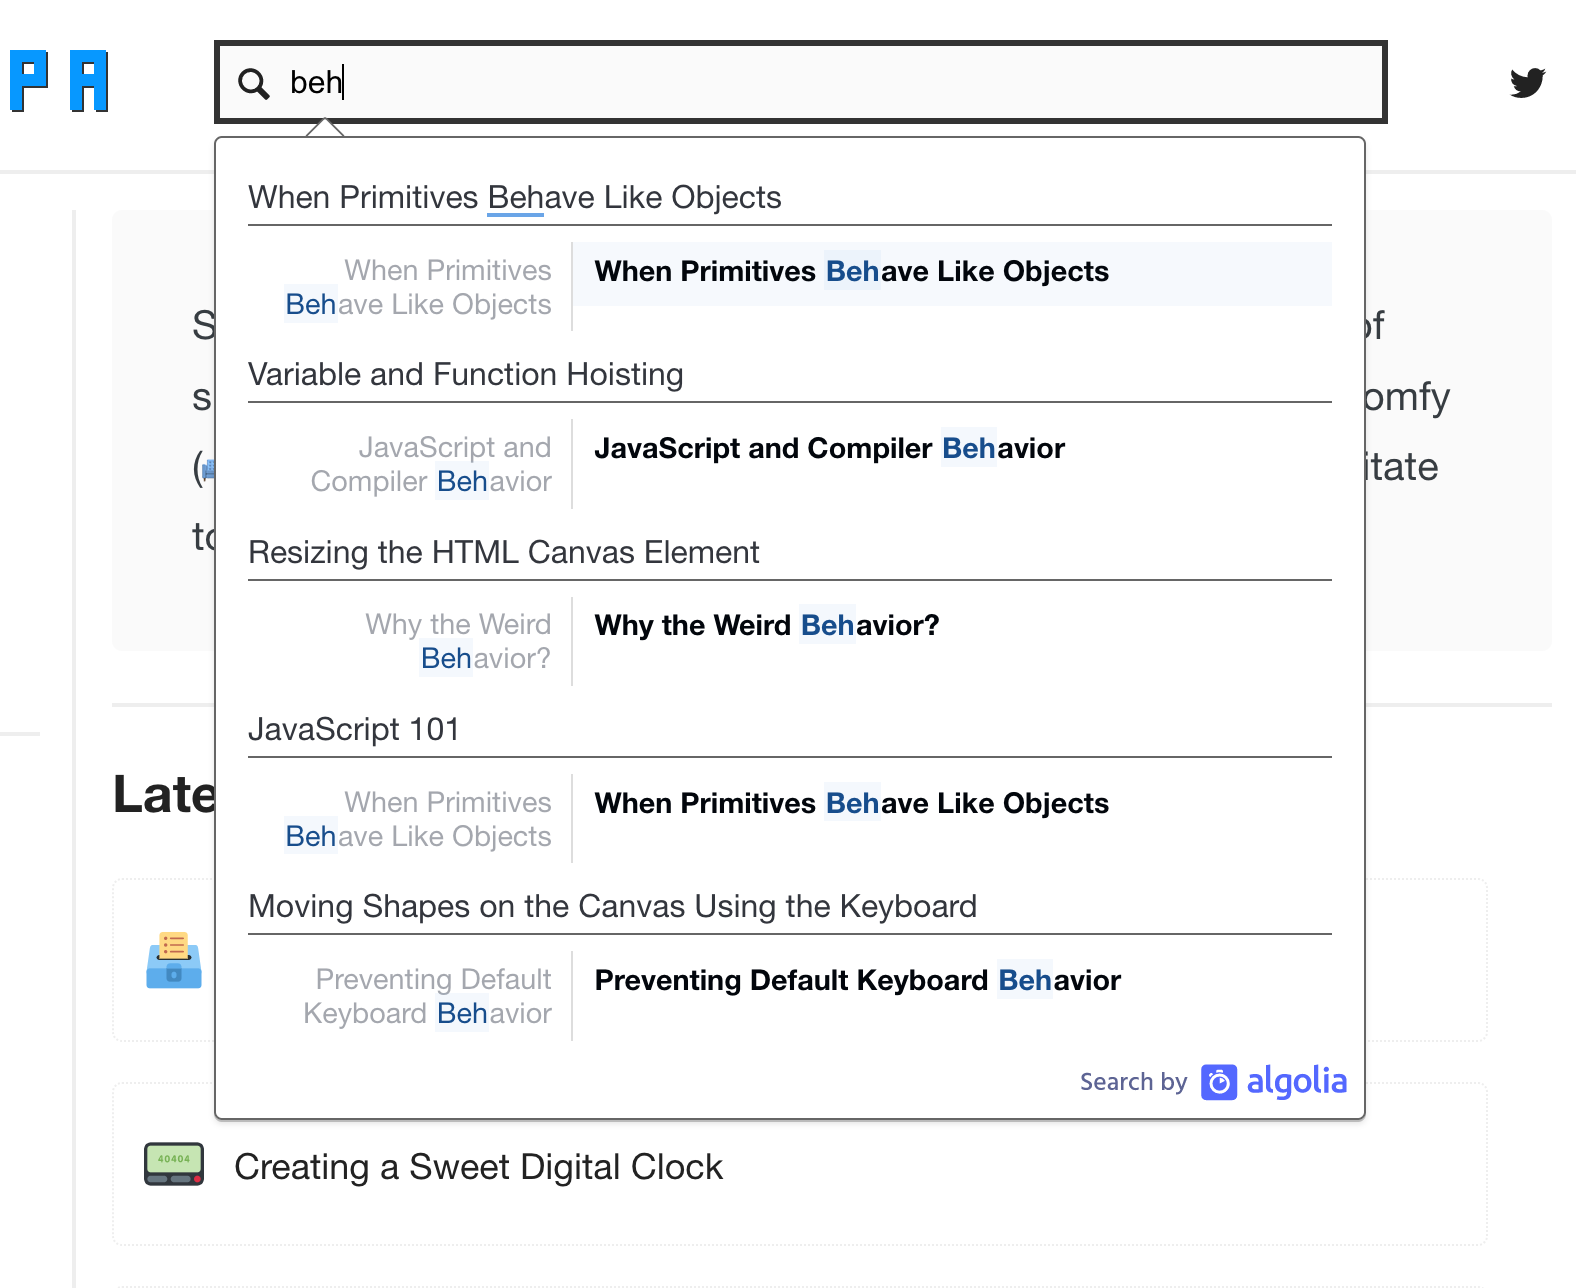
As we type into the search box, we see inline results appear that we can click on. These results are generated by the search service and we have no idea what they are until we start typing into the search box. Behind the scenes, there is a step where our search terms return some data from the server. This data is then mapped to the appropriate HTML elements and then added to our DOM where we can see and interact with the results.
In this tutorial, we’ll go deep into learning how to take some a bunch of boring old data and turn them into HTML elements that we can see and interact with. We'll look at several approaches for being able to do this while keeping an eye on performance. It's going to be a hoot!
Onwards!
In the Creating, Removing, and Cloning DOM Elements tutorial, we learned how to create and display HTML elements using JavaScript. A lot of the techniques we saw will apply here as well, but the twist is that we are optimizing for creating and displaying a really large (think hundreds or thousands!) number of elements. There is just one extra detail to keep in mind when dealing with such a large quantity of elements: for maximum performance, whether you are adding one element or a million elements, make all of your DOM updates at once. And with this nugget of wisdom imparted, it's time to learn how exactly to pull all of this off.
Before we start diving into the fun technical details, let's take a look at an example that nicely captures what we are trying to learn:
Find the Generate button and click on it. When you click on it, we have some code that dynamically creates 1000 elements and adds them to the DOM. We can see the newly added items in the scrollable region below, and we can even scroll through them with our fingers/mouse to see that all of these dynamically created items are real. We'll take this example and riff on it a bit as part of learning how to generate a bunch of elements and display them in our DOM.
In the following sections, we'll look at the techniques that we can use to get a lot of elements dynamically added to the DOM just like we saw in the above example. If you want to follow along, create a new document and add the following content into it:
<!DOCTYPE html>
<html lang="en">
<head>
  <meta charset="UTF-8">
  <meta http-equiv="X-UA-Compatible" content="IE=edge">
  <meta name="viewport" content="width=device-width, initial-scale=1.0">
  <title>Add Element</title>

  <style>
    body {
      display: grid;
      place-content: center;
	  background-color: #e8ffe7;
    }
    .topContent {
      width: 400px;
      border-bottom: 2px solid #CCC;
      padding-bottom: 30px;
    }
    h1 {
      font-family: sans-serif;
      font-size: 32px;
      font-weight: bold;
    }
    p {
      font-family: sans-serif;
      font-size: 18px;
      line-height: 1.5;
    }
    #container {
      min-height: 300px;
      height: 300px;
      border: 5px solid black;
      margin-top: 30px;
      overflow: auto;
      background-color: #f4f4f4;
    }
    .item {
      margin: 20px;
      background-color: #FFF;
    }
    .item p {
      padding: 10px;
    }

    #generateItems {
      border: 5px solid black;
      padding: 10px;
      font-size: 16px;
      font-weight: bold;
      background-color: #ffd91e;
      width: 100%;
    }
    #generateItems:hover {
      background-color: #1bf1f9;
    }

  </style>
</head>
<body>
  <div class="topContent">
    <h1>Quickly Add Elements</h1>
    <p>Click the <b>Generate</b> button below to display <i><b>ten thousand</b></i> elements that are created entirely in code! Neat, huh?</p>
    <button id="generateItems">Generate</button>
  </div>
  <div id="container">

  </div>

  <script>
    let container = document.querySelector("#container");
    let generateButton =  document.querySelector("#generateItems");

    let emojis = ["😀", "😇", "😛", "🥶", "🍊", "🥦", "🍔", "🍕", "🍰", "🐙", "🐝", "🐈"];

    generateButton.addEventListener("click", generateContent, false);

    function generateContent(e) {
      // code goes here!
    }
  </script>
</body>
</html>
Take a moment to look at what all of this HTML, CSS, and JS does. There is some basic HTML for displaying the heading text, description, and our generate button. Nothing too fancy here. To make the HTML elements look the way that they do, there are a bunch of CSS style rules.
While the HTML and CSS are very important, they aren't going to be the focus of our attention. That honor is reserved for our JavaScript:
let container = document.querySelector("#container");
let generateButton =  document.querySelector("#generateItems");

let emojis = ["😀", "😇", "😛", "🥶", "🍊", "🥦", "🍔", "🍕", "🍰", "🐙", "🐝", "🐈"];

generateButton.addEventListener("click", generateContent, false);

function generateContent(e) {
  // code goes here!
}
The JavaScript we have currently doesn't do a whole lot. It declares a few variables, references a few DOM elements, and it contains the event handler (generateContent) that gets called each time our Generate button is clicked. A lot of the work we'll be doing will go inside and around the generateContent function to create the many HTML elements that we will be adding to our DOM, so we'll be seeing a lot of this code in the following sections.
Let's start with one of the easiest and fastest approaches for adding a bunch of elements into our DOM. This approach works by setting a DOM element's innerHTML property with all of the content we want to add in the form of a string. If you are actively following along, replace the contents of generateContent with what we have below:
function generateContent(e) {
  let htmlToAdd = "";
  let numberOfItems = 1000;

  for (let i = 0; i < numberOfItems; i++) {
    let num = Math.random() * 10000;
    let emoji = emojis[Math.floor(Math.random() * emojis.length)];

    htmlToAdd += `<div class="item"><p>${emoji} ${num}</p></div>`;
  }

  container.innerHTML = htmlToAdd;
}
Take a moment to look at what we are doing. We have a loop that runs 1000 times - corresponding to the number of elements we want to add. Inside this loop, we are generating the HTML we want to add to our DOM. The way we do this is by treating the HTML we want to add as a string and concatenating it to the htmlToAdd variable:
function generateContent(e) {
let htmlToAdd = "";
let numberOfItems = 1000;
for (let i = 0; i < numberOfItems; i++) {
let num = Math.random() * 10000;
let emoji = emojis[Math.floor(Math.random() * emojis.length)];
htmlToAdd += `<div class="item"><p>${emoji} ${num}</p></div>`;
}
container.innerHTML = htmlToAdd;
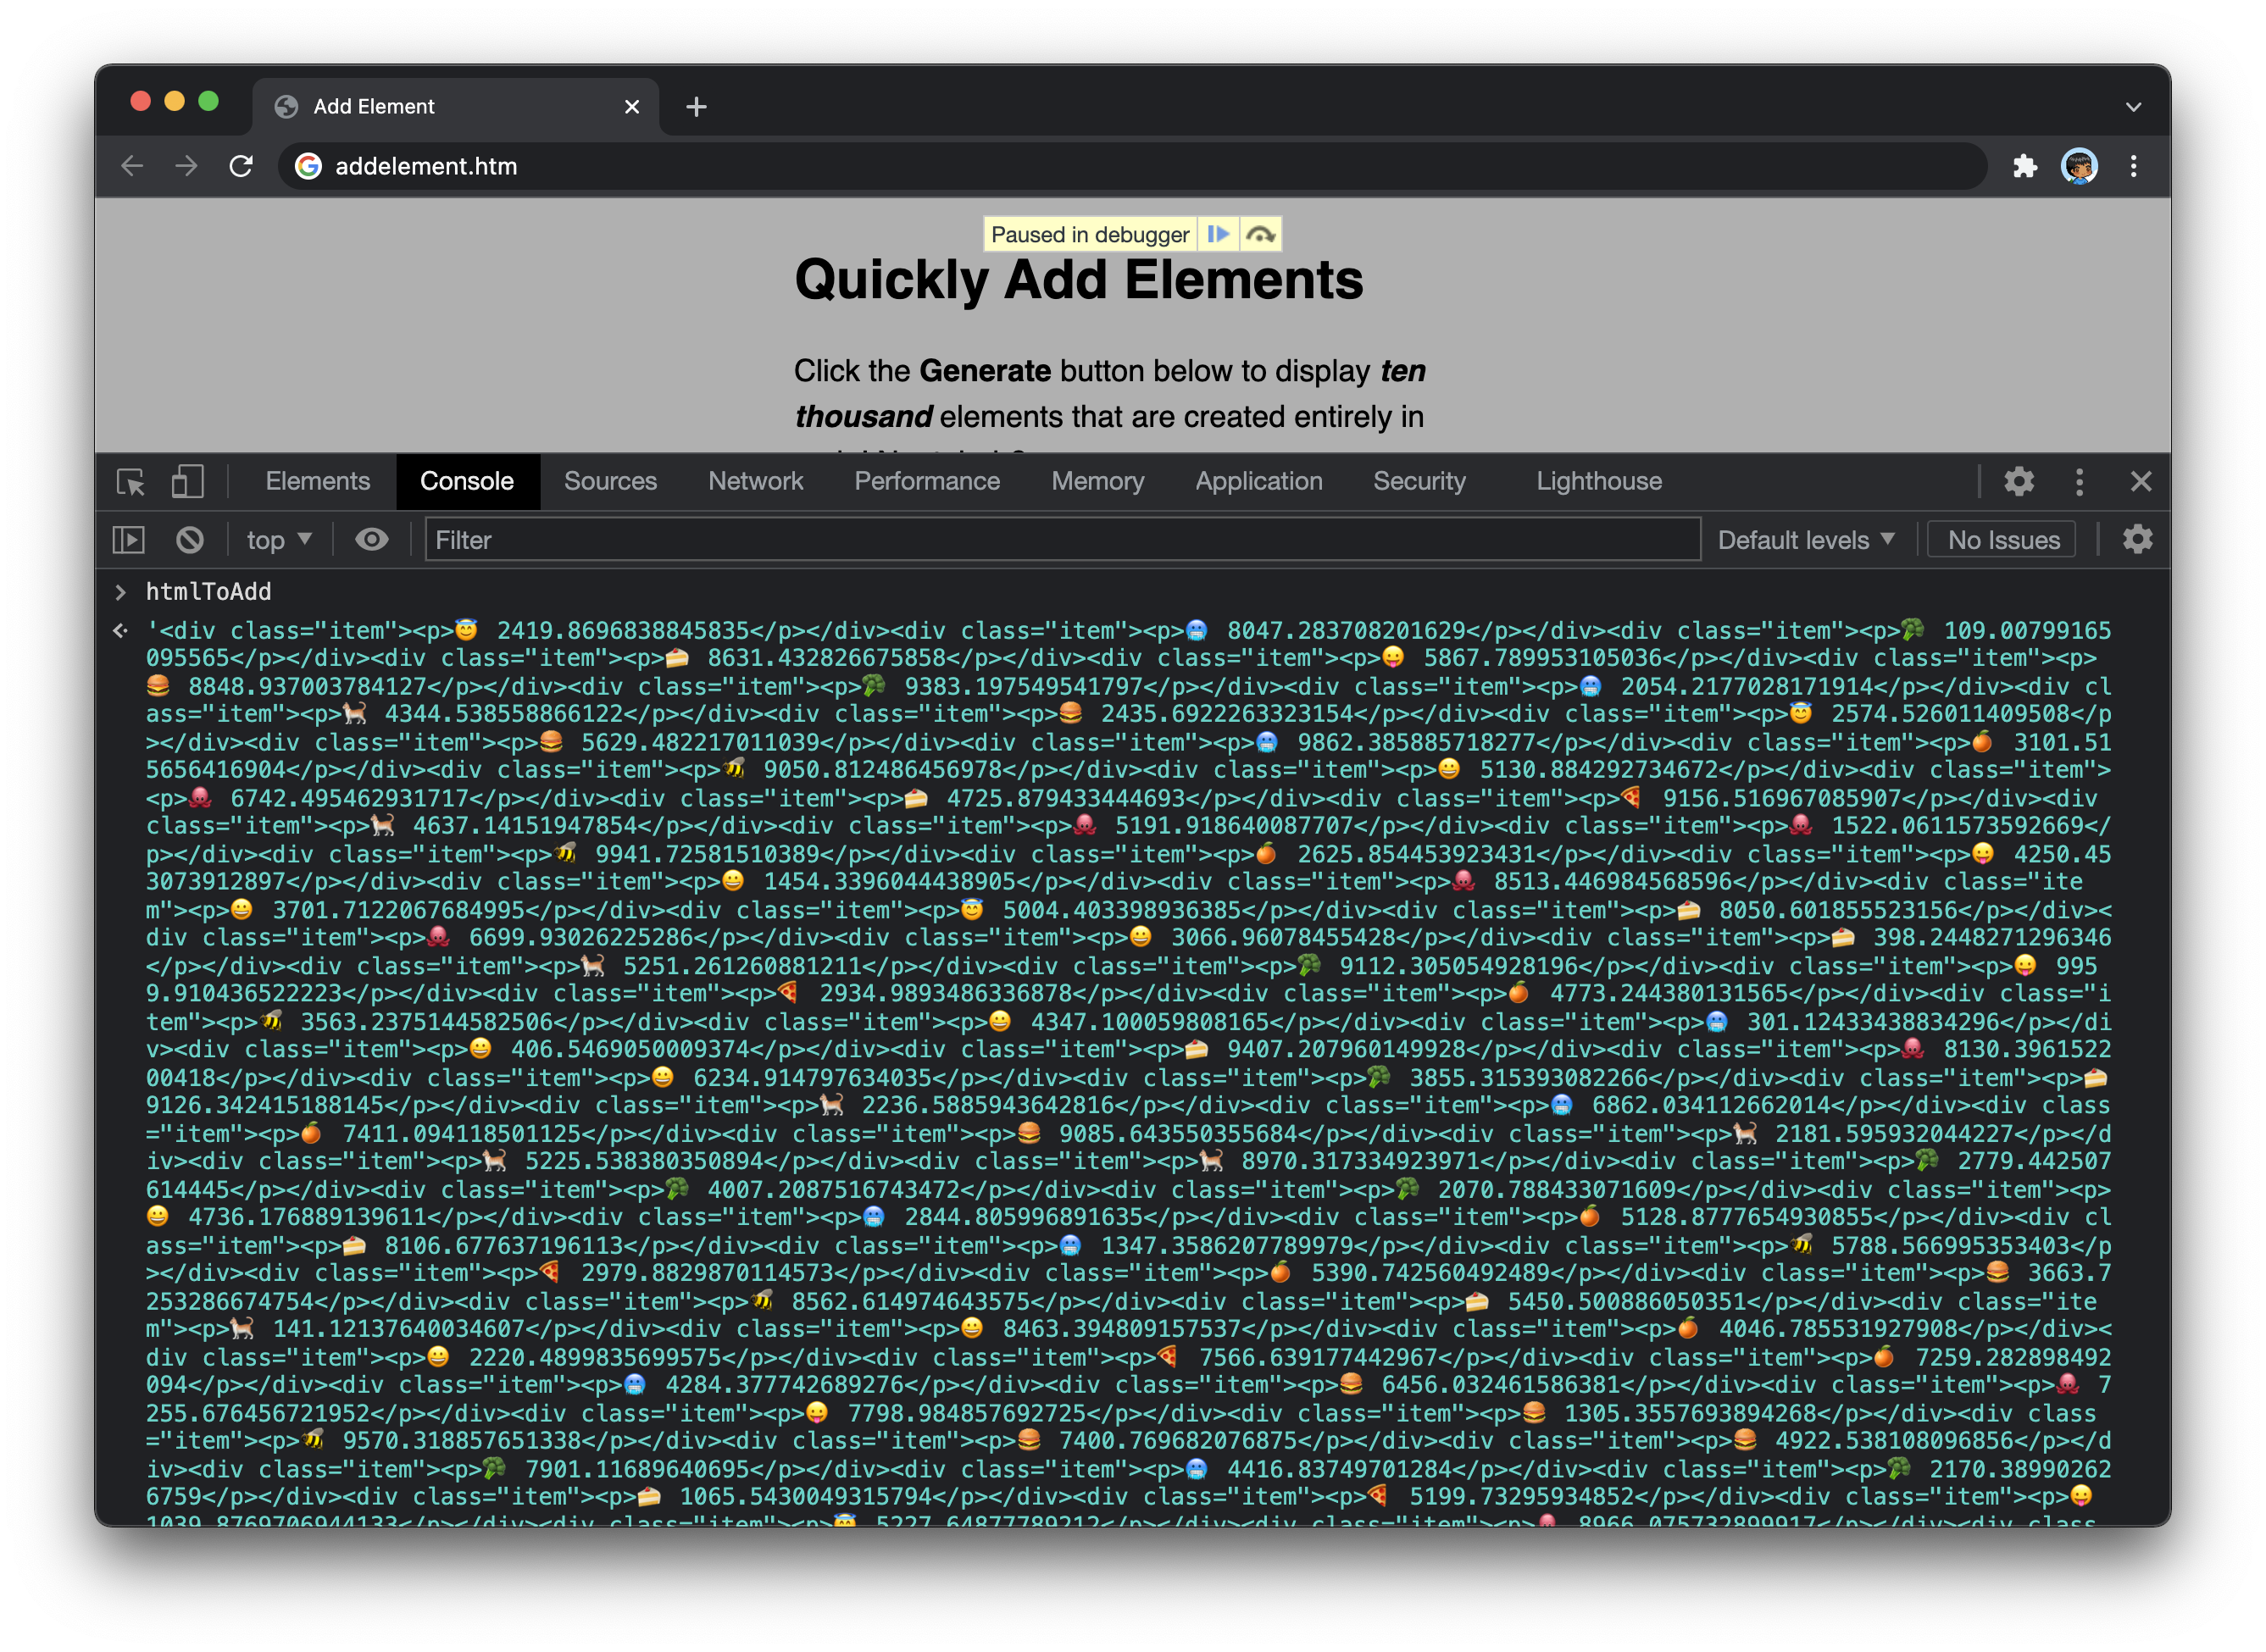
}Each time our loop runs, a new chunk of HTML in string form containing a div and p element are added to the htmlToAdd variable. By the end of our loop running, this variable will be quite large since it will contain the HTML for every element we will want to add to our DOM. Below is a console view of what the htmlToAdd variable contains:
All of this HTML in string form doesn't do much until it is actually added to a DOM element. The DOM element that will host all of this HTML will be our container element, and our last step is to set its innerHTML property to htmlToAdd:
function generateContent(e) {
  let htmlToAdd = "";
  let numberOfItems = 1000;

  for (let i = 0; i < numberOfItems; i++) {
    let num = Math.random() * 10000;
    let emoji = emojis[Math.floor(Math.random() * emojis.length)];

    htmlToAdd += `<div class="item"><p>${emoji} ${num}</p></div>`;
  }

  container.innerHTML = htmlToAdd;
}
When that last line runs, all of our HTML stored in string form is turned into actual HTML and assigned as the content to our container element. The end result is the large collection of items containing an emoji and a random number that we see.
An important detail when visualizing our data is actually figuring out what HTML elements will be used to get our data to display. For example, the HTML we generate for displaying our emoji and random number looks as follows:
<div class="item"><p>🐝 1093.9706792591553</p></div>How did we come up with this structure? There are several ways to make this work, but my recommended approach is to ignore the JavaScript for a moment and add the proposed HTML to the relevant part of our document directly:
<div class="topContent">
  <h1>Quickly Add Elements</h1>
  <p>Click the <b>Generate</b> button below to display <i><b>ten thousand</b></i> elements that are created entirely in code! Neat, huh?</p>
  <button id="generateItems">Generate</button>
</div>
<div id="container">
  <div class="item"><p>🍰 7488.253603325752</p></div>
  <div class="item"><p>🍊 6694.840973924077</p></div>
  <div class="item"><p>🥶 610.9320877589108</p></div>
  <div class="item"><p>🍊 3368.3944750666337</p></div>
  <div class="item"><p>🐝 5051.139001335616</p></div>
</div>
By using this temporary HTML structure, making changes and seeing the results is very quick. We can even use the in-browser DOM tools to make edits to the HTML and CSS in real-time. Once we are happy with the final result, we can then translate this HTML into a less fungible JavaScript-friendly approach to make it come alive with our actual data.
In the previous section, the approach we used to map our data to real HTML elements was to turn the relevant HTML into a string. In the next section, we'll look at a more traditional DOM-oriented way of going from data to HTML.
The next approach we will look at is where we create a virtual DOM element, make all of our DOM changes on it, and then assign that virtual DOM element to our real DOM once we are ready to commit. Working with a virtual DOM element is made possible thanks to the DocumentFragment object, and the following is how our generateContent method can be modified to use it:
function generateContent(e) {
  let fragment = new DocumentFragment();
  let numberOfItems = 1000;

  for (let i = 0; i < numberOfItems; i++) {
    let num = Math.random() * 10000;
    let emoji = emojis[Math.floor(Math.random() * emojis.length)];

    let divElement = document.createElement("div");
    divElement.classList.add("item");

    let pElement = document.createElement("p");
    pElement.innerText = `${emoji} ${num}`;

    divElement.appendChild(pElement);
    fragment.appendChild(divElement);
  }

  container.appendChild(fragment);
}
Our fragment variable stores a reference to our DocumentFragment object, and we treat this like we would any other DOM element. Remember, our goal is to generate HTML that looks as follows for each item:
<div class="item"><p>🐝 47.5121104</p></div>Because we are dealing with DOM elements here, we use the tried-and-true DOM methods like createElement, appendChild, and classListto generate our HTML structure and build out our DOM subtree.
Now, at the beginning I mentioned that the way to ensure we add our DOM elements quickly is to make all of our DOM updates just once. What we are seeing in this example seems counter to that, for we are creating and appending DOM elements at each iteration of our loop:
function generateContent(e) {
  let fragment = new DocumentFragment();
  let numberOfItems = 1000;

  for (let i = 0; i < numberOfItems; i++) {
    let num = Math.random() * 10000;
    let emoji = emojis[Math.floor(Math.random() * emojis.length)];

    let divElement = document.createElement("div");
    divElement.classList.add("item");

    let pElement = document.createElement("p");
    pElement.innerText = `${emoji} ${num}`;

    divElement.appendChild(pElement);
    fragment.appendChild(divElement);
  }

  container.appendChild(fragment);
}
The detail to note is that our DocumentFragment is not your typical DOM element. It isn't parented to any visual on screen, so it is a virtual element where no styles or layout get modified as a result of us changing its structure. We can't even see it! Think of a DocumentFragment as an invisible, virtual container that gives us all the handy helper methods and capabilities that regular DOM elements provide without actually creating a new DOM element. All of the DOM manipulation we are doing that would typically be expensive when done on our live DOM tree don't apply here.
Once we have finished building our DOM subtree, it's time to commit our changes to the DOM and visualize the result of all of this data being mapped to HTML elements. This step we do exactly once after our loop has finished, and the gigantic DOM subtree stored by our fragment is appended to our container element:
function generateContent(e) {
let fragment = new DocumentFragment();
let numberOfItems = 1000;
for (let i = 0; i < numberOfItems; i++) {
let num = Math.random() * 10000;
let emoji = emojis[Math.floor(Math.random() * emojis.length)];
let divElement = document.createElement("div");
divElement.classList.add("item");
let pElement = document.createElement("p");
pElement.innerText = `${emoji} ${num}`;
divElement.appendChild(pElement);
fragment.appendChild(divElement);
}
container.appendChild(fragment);
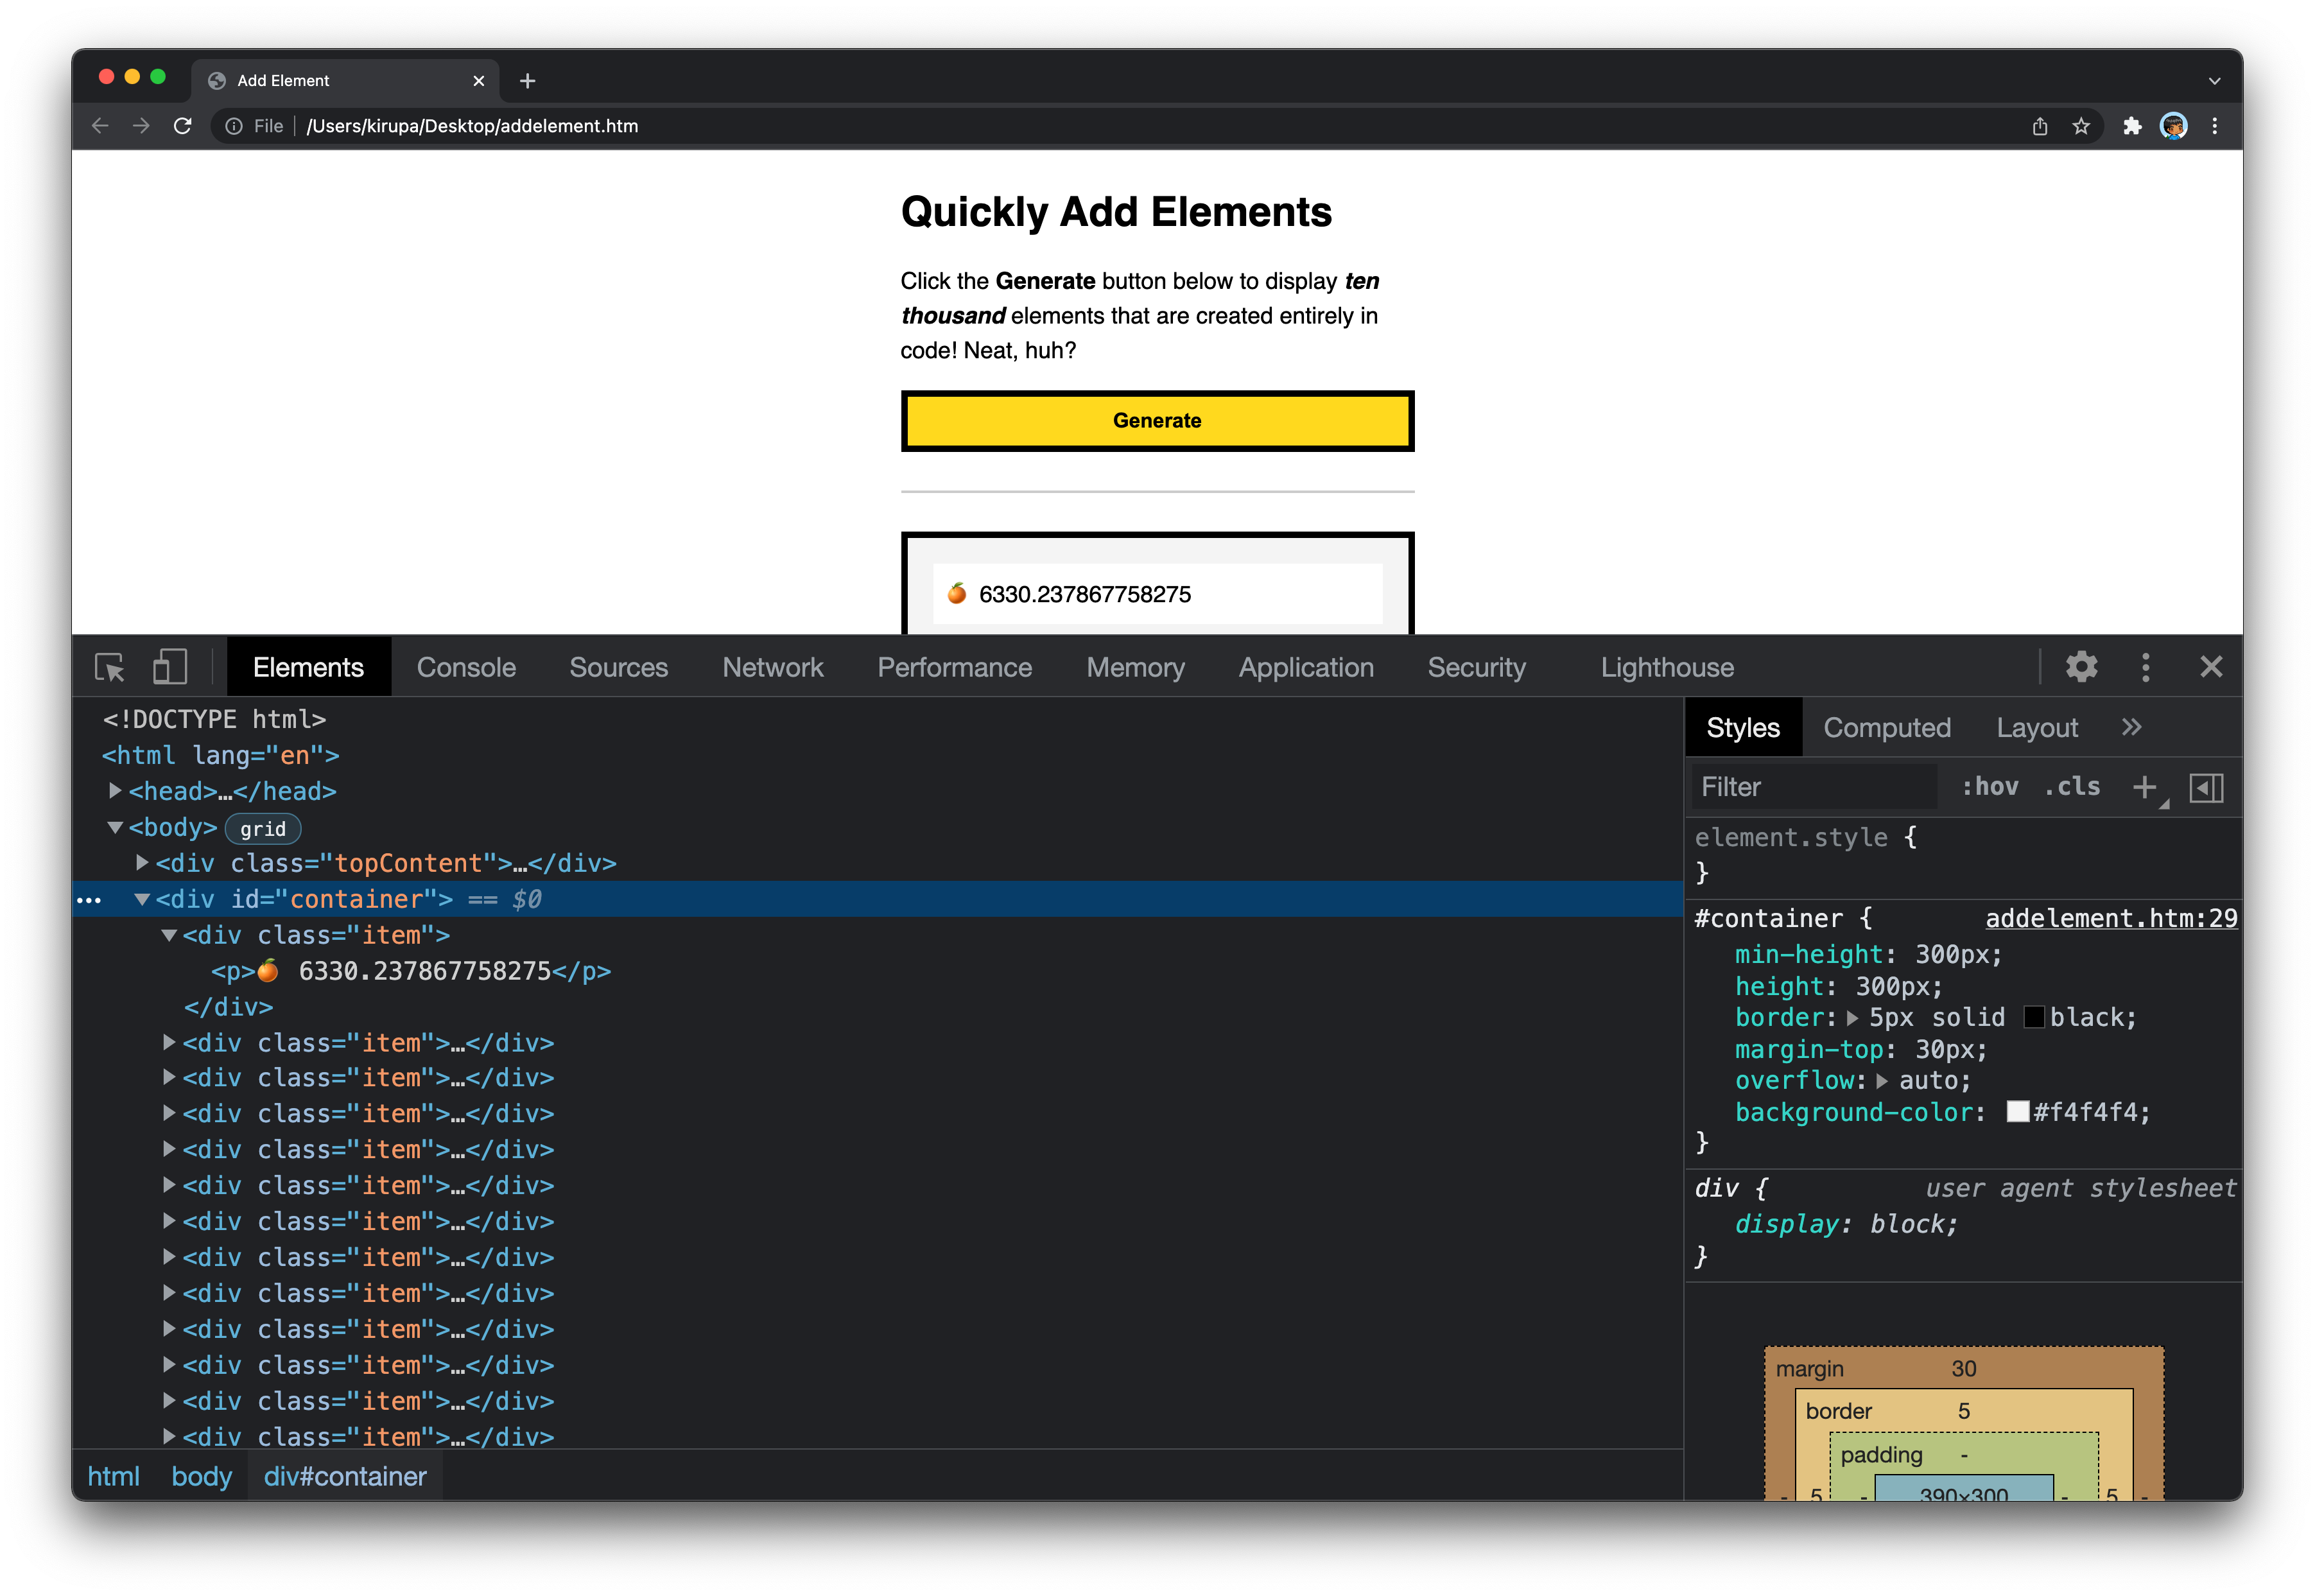
}Driving home the invisible and virtual nature of our DocumentFragment, when we append our DocumentFragment to another DOM element, the DocumentFragment disappears. Because it acted like a temporary container to help us build the DOM subtree, only the contents of the DocumentFragment survived and became a part of the parent element. If we inspect the contents of our container element, we won't see any evidence of our DocumentFragment having played a key role in helping us visualize all of this data:
We spent all this time looking at how to add a bunch of elements to our DOM. What about the opposite, where we want to remove a bunch of elements instead? Removing elements is far less glamourous, for what we are looking to do is just clear out an entire DOM subtree of content. The easiest way to do this is by relying on the replaceChildren method.
If we wanted to clear out all of the contents of our container element, here is what we would do:
container.replaceChildren();That's all there is to it. A practical use for this is actually in our current example. Each time we click on the Generate button, we don't want to keep adding a thousand elements each time. We want to clear out the current DOM elements before adding new ones. The change would be to add the above line to the top of our generateContent function:
function generateContent(e) {
  container.replaceChildren();

  let htmlToAdd = "";
  let numberOfItems = 1000;

  for (let i = 0; i < numberOfItems; i++) {
    let num = Math.random() * 10000;
    let emoji = emojis[Math.floor(Math.random() * emojis.length)];

    htmlToAdd += `<div class="item"><p>${emoji} ${num}</p></div>`;
  }

  container.innerHTML = htmlToAdd;
}
With this change, each time generateContent is called, we ensure that we are dealing with an empty container element before adding any new elements to it.
In this tutorial, we looked at two approaches for being able to dynamically generate a bunch of elements using JavaScript and add them to the DOM. One approach had us treating all of our HTML as strings and setting the innerHTML property. Another approach had us creating a virtual DOM element using DocumentFragment and creating our DOM subtree using the usual DOM manipulation methods. Both of these approaches are quite good. In my testing, the performance characteristics for both are really good with the innerHTML approach being slightly faster. Your mileage may vary, so definitely double check which happens to be faster for your situation.
Just a final word before we wrap up. What you've seen here is freshly baked content without added preservatives, artificial intelligence, ads, and algorithm-driven doodads. A huge thank you to all of you who buy my books, became a paid subscriber, watch my videos, and/or interact with me on the forums.
Your support keeps this site going! 😇


:: Copyright KIRUPA 2025 //--