Ranking right up there with life-changing inventions like the portable music player and aluminum is the humble eyedropper. The eyedropper is a tool found in many color editors that makes picking a color from anywhere on the screen a breeze:
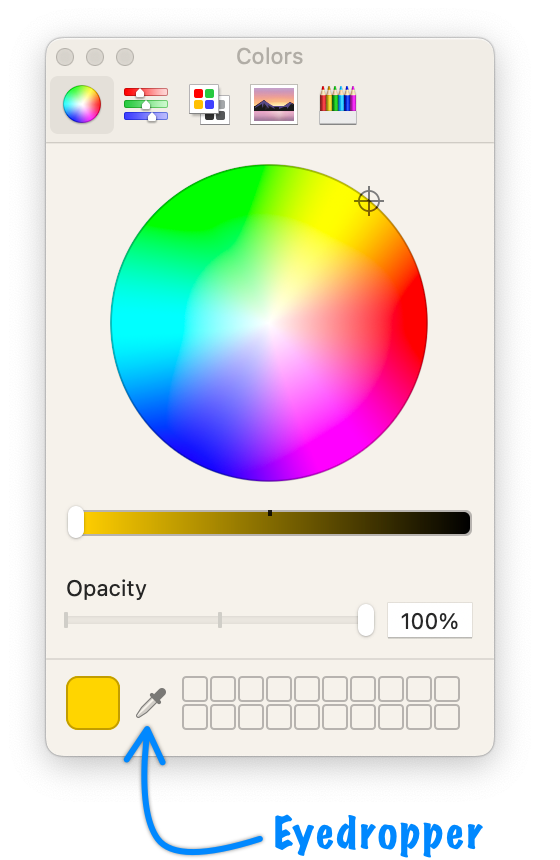
We click on the eyedropper icon, click on a pixel on the screen whose color we want, and then we can see the picked color's value appear back in our color editor. In this article, we will bring the joy and magic of the eyedropper to our web pages. We'll do so by learning how to use the fancy Eyedropper API.
Onwards!
By the end of this article, we will have learned how to create something that looks and behaves as follows (open in a new window):
When you are in a supported browser such as Chrome, you will see the Pick a Color button that brings up an eyedropper when clicked. With the eyedropper active, when you click on a chosen color, the background of the page will change to reflect the color you chose.
If you are in an unsupported browser, you'll see a message that informs you that your browser doesn't support the EyeDropper API yet:
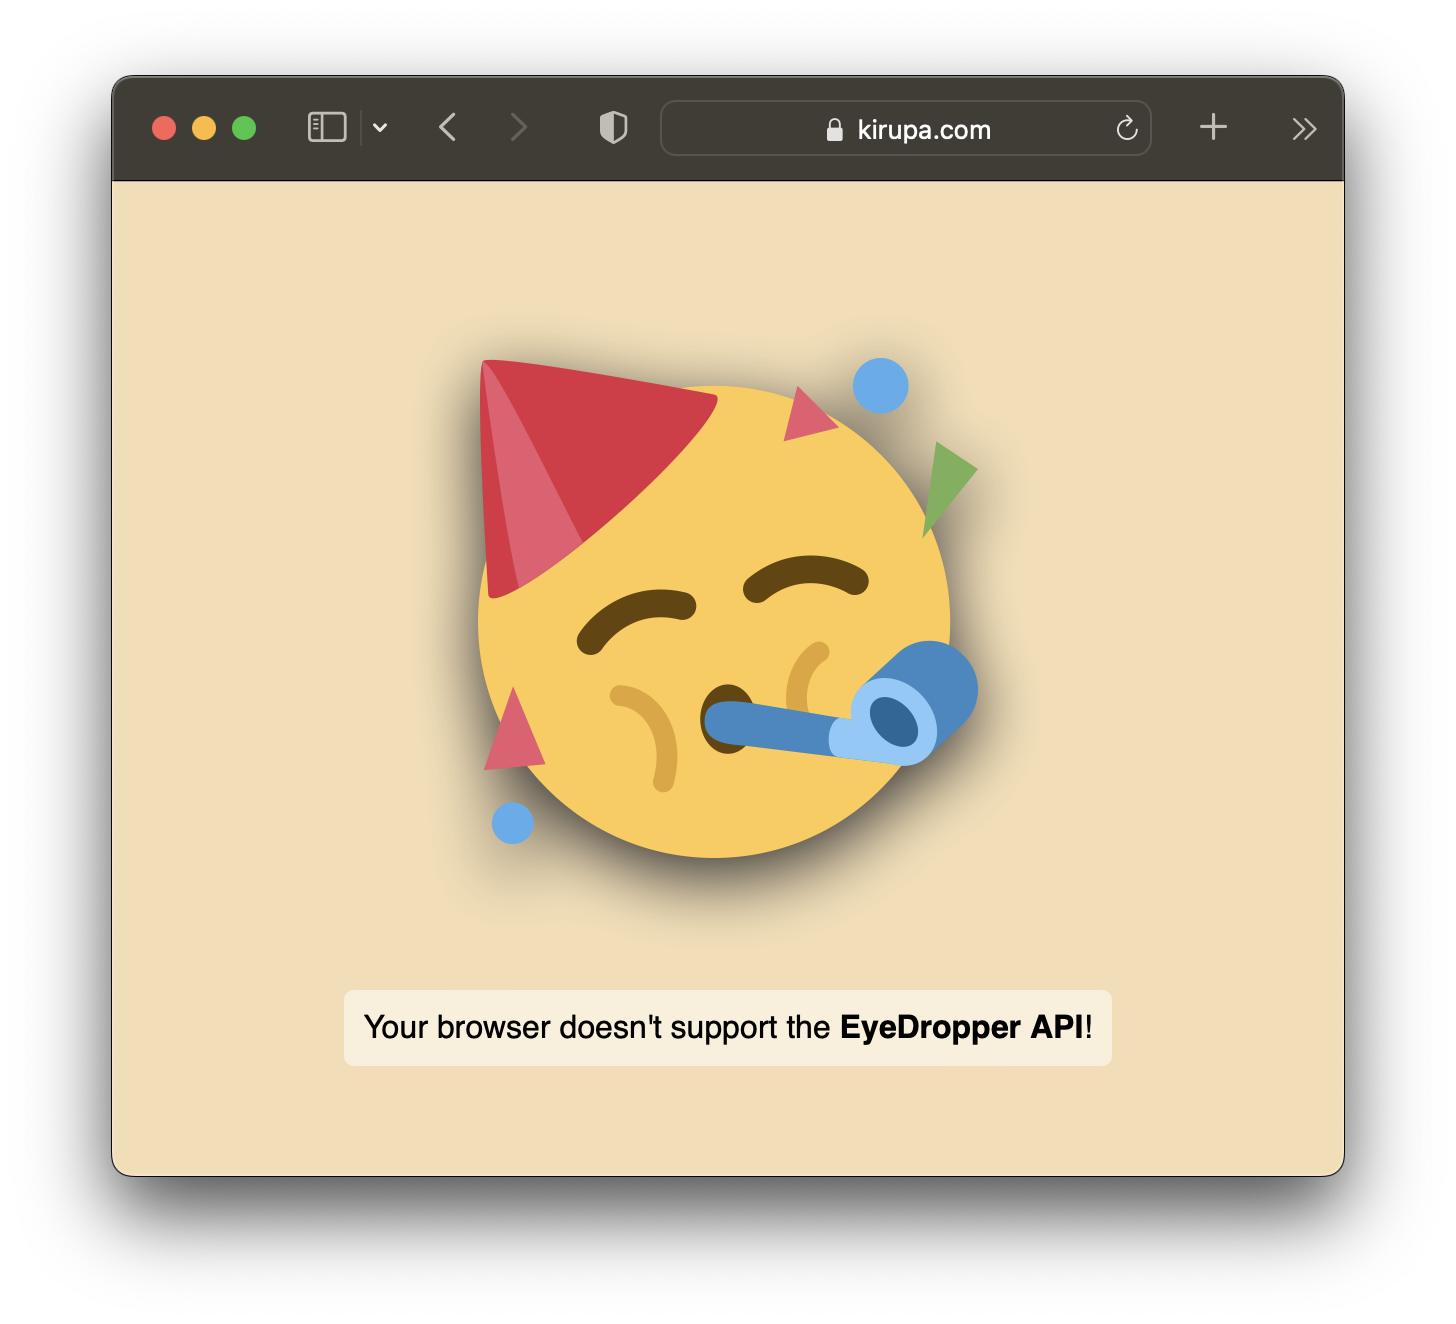
Browser support is constantly evolving for this feature, so do check on the caniuse data to understand who can and can't use this capability.
Critical to making our eyedropper work is the Eyedropper API. This JavaScript object gives us the ability to display the special eyedropper cursor, return a color once we pick one from somewhere on screen, deal with error cases, and handle a bunch of other lower-level things that make the eyedropper work not just inside our web pages but also on any pixel painted on the screen - even outside of the browser:
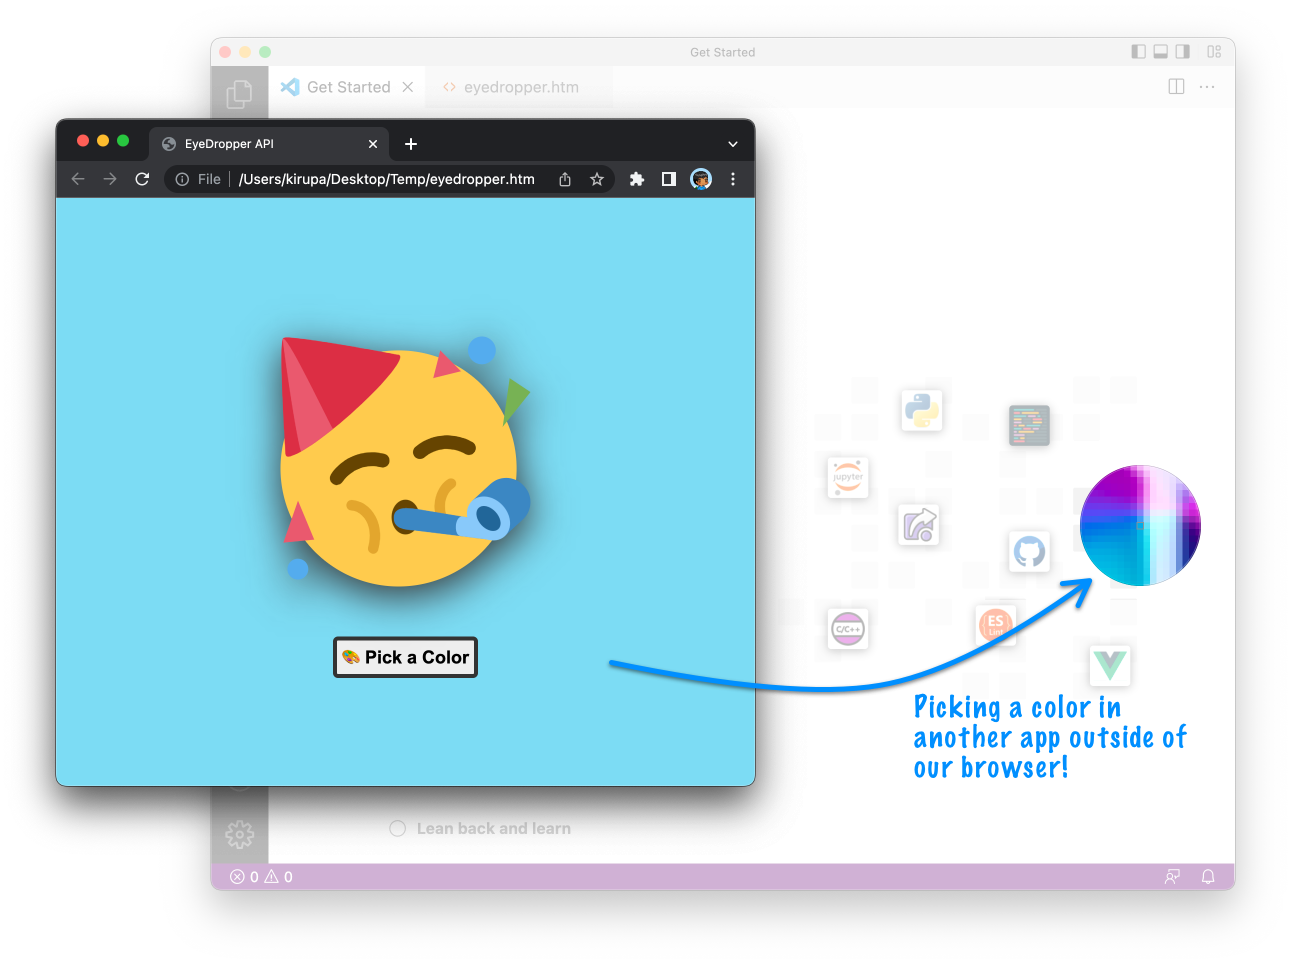
If we had to highlight the important details of what this API provides, they would be:
If we turn all of these bullet points into an extremely simple working example, what we would have is the following:
<!DOCTYPE html>
<html lang="en">
<head>
  <meta charset="UTF-8">
  <meta http-equiv="X-UA-Compatible" content="IE=edge">
  <meta name="viewport" content="width=device-width, initial-scale=1.0">
  <title>Simple EyeDropper Example</title>
</head>
<body>
  <button id="eyedropperButton">😀 Eyedropper</button>

  <script>
    let eyedropperButton = document.querySelector("#eyedropperButton");

    function setup() {
      if (window.EyeDropper === undefined) {
        console.log("Unsupported!");
        return;
      } else {
        eyedropperButton.addEventListener("click", pickColor, false);
      }
    }
    setup();

    async function pickColor(event) {
      let eyeDropper = new EyeDropper();

      try {
        let pickedColor = await eyeDropper.open();
        console.log(pickedColor.sRGBHex);
      } catch (error) {
        console.log(error);
      }
    }
  </script>
</body>
</html>
Testing this out in the browser, what we'll see is something that looks as follows where we will see a mostly blank page with a single button:
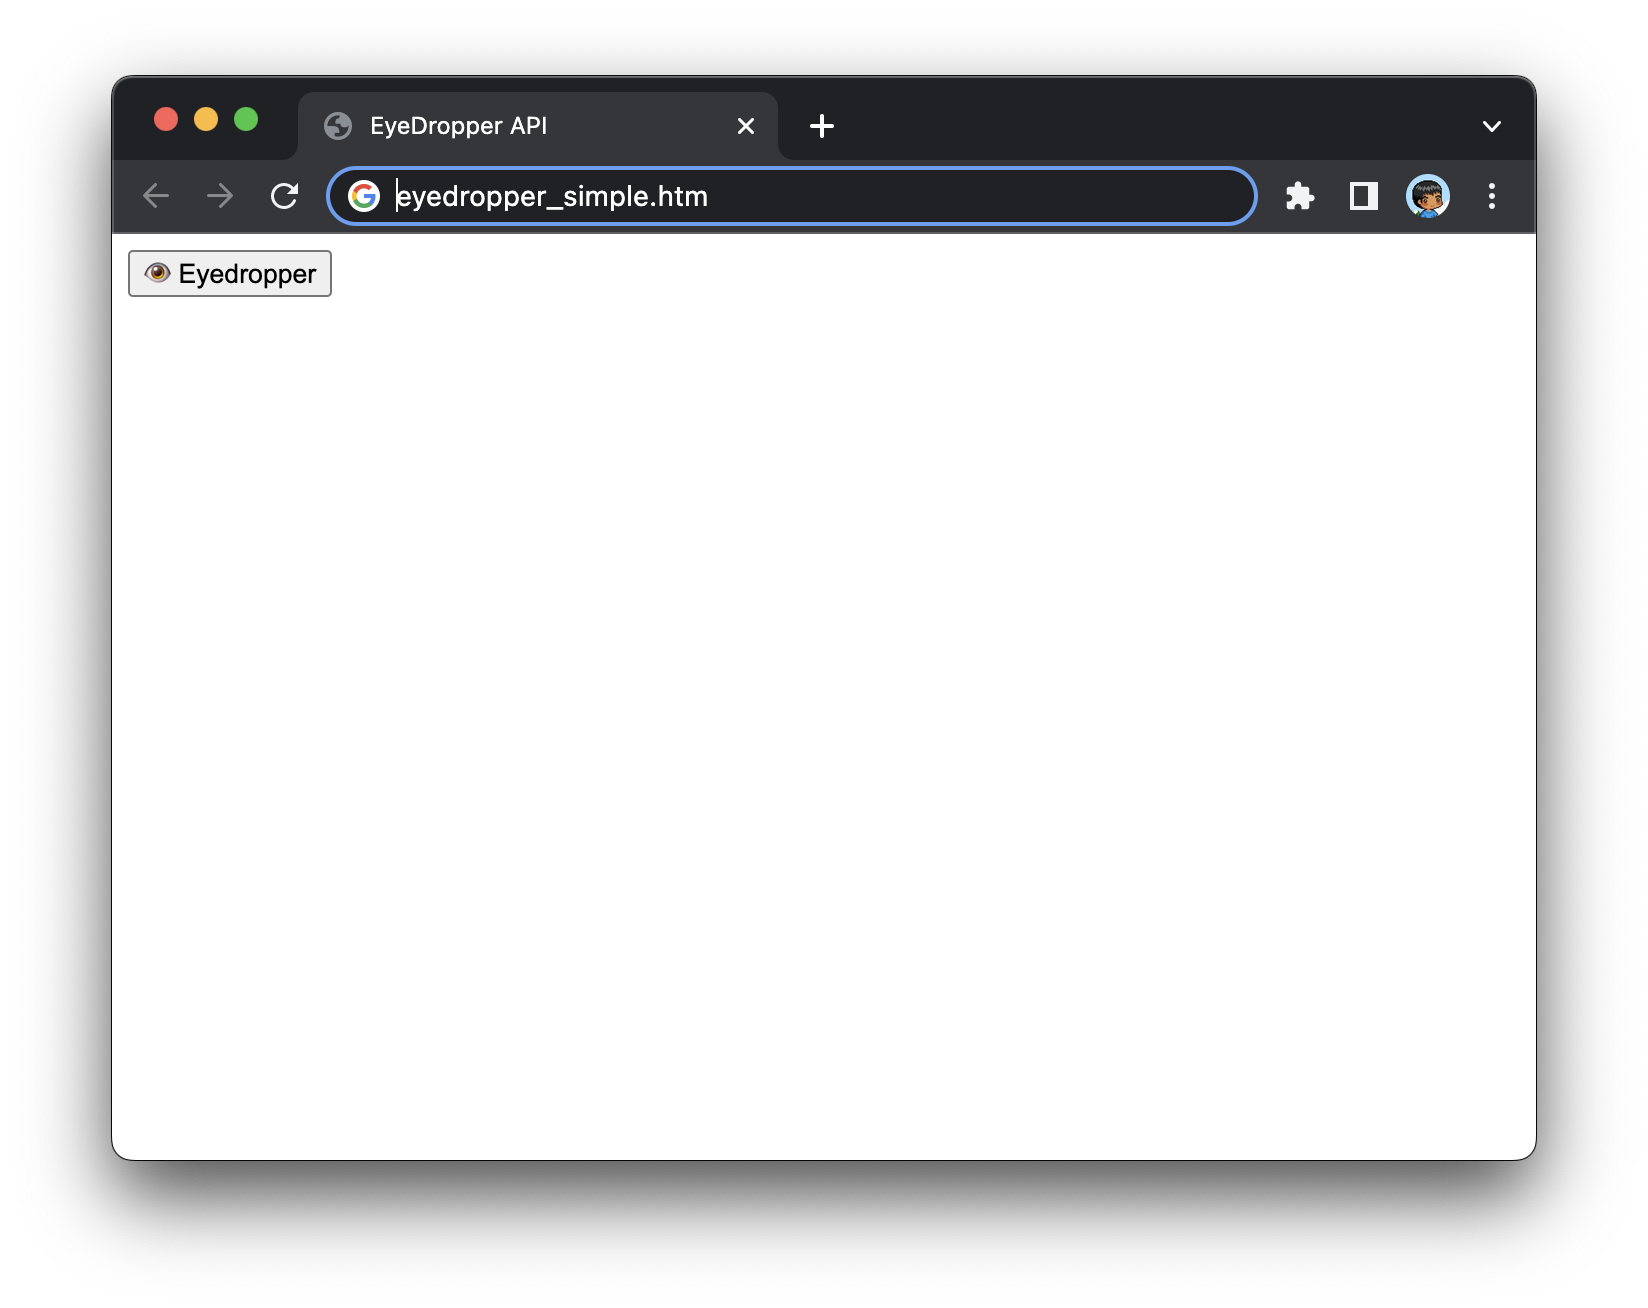
Clicking on this button will bring up the eyedropper, and the console will display the chosen color (and/or any error messages):
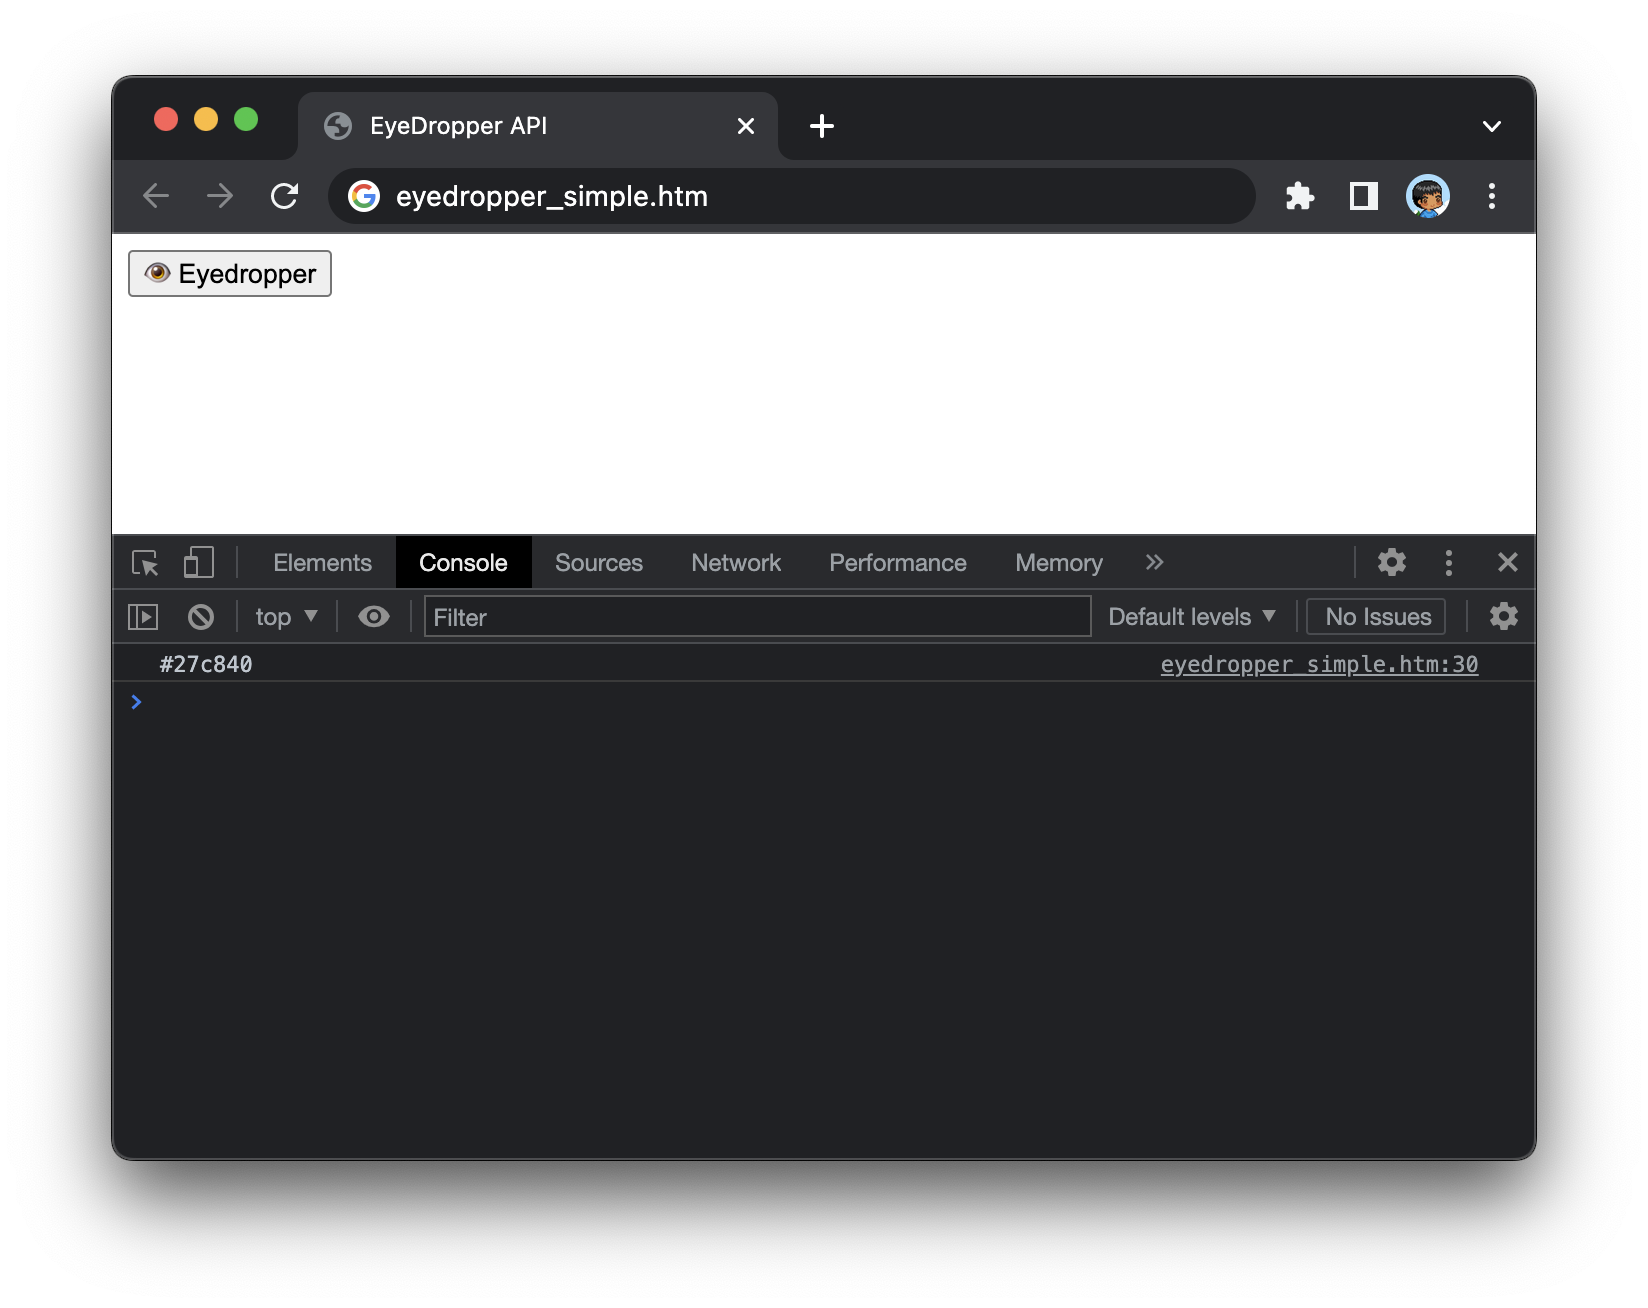
Now, take a moment to walk through the markup and code to understand why everything is there. The exciting stuff happens in JavaScript where our eyedropper is brought to life. Let's walk through the interesting parts of our code.
Starting at the top, we have our setup function:
function setup() {
  if (window.EyeDropper === undefined) {
    console.log("Unsupported!");
    return;
  } else {
    eyedropperButton.addEventListener("click", pickColor, false);
  }
}
setup();
We first check if the browser supports the Eyedropper API by seeing if it exists in our window object. If the browser doesn't support the eyedropper, we print a message to our console and exit our function:
function setup() {
  if (window.EyeDropper === undefined) {
    console.log("Unsupported!");
    return;
  } else {
    eyedropperButton.addEventListener("click", pickColor, false);
  }
}
setup();
If the browser does support the Eyedropper API, we proceed deeper into eyedropper territory by defining our event handler that will react to the button click:
function setup() {
  if (window.EyeDropper === undefined) {
    console.log("Unsupported!");
    return;
  } else {
    eyedropperButton.addEventListener("click", pickColor, false);
  }
}
setup();
When the button is clicked, the pickColor function gets called. This function is a pretty big deal, for it is reponsible for displaying our eyedropper and processing the results:
async function pickColor(event) {
  let eyeDropper = new EyeDropper();

  try {
    let pickedColor = await eyeDropper.open();
    console.log(pickedColor.sRGBHex);
  } catch (error) {
    console.log(error);
  }
}
In this code, we create our EyeDropper object called eyeDropper and then call eyeDropper.open() to bring up the special cursor that allows us to pick a color. Because eyeDropper.open() returns a promise, we have to handle it with some care. One way to handle this promising behavior is by using the await keyword and prefixing our function keyword with async. By using the async/await technique, we can avoid having to work with the traditional promises-based approach that usually involves a lot of nesting and brackets.
Of course, if you aren't comfortable with the async/await approach and would prefer using promises directly, this pickColor variation is also totally cool:
function pickColor(event) {
  let eyeDropper = new EyeDropper();

  eyeDropper.open().then(result => {
    console.log(result.sRGBHex);
  }).catch(error => {
    console.log(error);
  });
}
In both of these pickColor color variations, we use try/catch statements to handle any errors. This is important, for these aren't errors in the traditional sense where something unexpected happens. It is very common for users to cancel an eyedropper operation by hitting their Escape key or some other equivalent gesture. When that happens, it is the error handling code in the catch block that will get executed.
What we just saw is a minimal deconstruction that contained very little fluff and a whole lot of focused Eyedropper API goodness. For a slightly more elaborate version, below is the full HTML, CSS, and JavaScript for the eyedropper example we started this article off with:
<!DOCTYPE html>
<html lang="en">
<head>
  <meta charset="UTF-8">
  <meta http-equiv="X-UA-Compatible" content="IE=edge">
  <meta name="viewport" content="width=device-width, initial-scale=1.0">
  <title>EyeDropper API</title>
  <style>
    body {
      background: #f5deb3;
      display: grid;
      place-content: center;
      place-items: center;
      height: 100vh;
      margin: 0;
      transition: background-color .2s ease-out;
    }
    #partySmiley {
      margin: 50px;
      width: 250px;
      filter: drop-shadow(0px 10px 20px #333);
    }
    #eyedroppingTime {
      width: max-content;
      font-size: 18px;
      font-weight: bold;
      border-radius: 5px;
      padding: 5px;
      background-color: #EEE;
      border: 4px solid #333;
      margin-bottom: 20px;
    }
    #eyedroppingTime:hover {
      background-color: #FFF;
    }
    #warning {
      display: none;
      font-family: sans-serif;
      font-size: 16px;
      padding: 10px;
      border-radius: 5px;
      background-color: rgb(255 255 255 / 50%);
    }
    #warning span {
      font-weight: bold;
    }
  </style>
</head>
<body>
  <img id="partySmiley" src="https://www.kirupa.com/icon/1f973.svg">
  <button id="eyedroppingTime">🎨 Pick a Color</button>
  <p id="warning">Your browser doesn't support the <span>EyeDropper API</span>!</p>

  <script>
    let eyedropperButton = document.querySelector("#eyedroppingTime");
    let warningElement = document.querySelector("#warning");

    function setup() {
      if (window.EyeDropper === undefined) {
        eyedropperButton.style.display = "none";
        warningElement.style.display = "block";
        return;
      } else {
        eyedropperButton.addEventListener("click", pickColor, false);
      }
    }
    setup();

    async function pickColor(event) {
      let eyeDropper = new EyeDropper();

      try {
        let pickedColor = await eyeDropper.open();

        document.body.style.background = pickedColor.sRGBHex;
        warningElement.style.display = "none";
      } catch (error) {
        warningElement.style.display = "block";
        warningElement.innerText = error;
      }
    }
  </script>
</body>
</html>
Notice all the similarities here with the minimal deconstruction we saw earlier, but also do notice some of the little DOM techniques we use for showing/hiding elements, displaying messages in our page, and (of course) having the page's background reflect the selected color with a sweet transition.
To echo what we talked about earlier, this ability to use an eyedropper to pick a color from the screen isn't new. Desktop and mobile developers using native languages and have had access to this capability for quite some time. What is new is having this ability work well inside the browser using JavaScript. The web usually lags the native development world in terms of capabilities exposed, but it is nice to see this steadily slow progress in catching up! 🐢
Just a final word before we wrap up. What you've seen here is freshly baked content without added preservatives, artificial intelligence, ads, and algorithm-driven doodads. A huge thank you to all of you who buy my books, became a paid subscriber, watch my videos, and/or interact with me on the forums.
Your support keeps this site going! 😇

:: Copyright KIRUPA 2025 //--