
When you are writing code, you will often find yourself in one of two situations. One situation is where you wonder if the code you just wrote is going to run at all. In the other situation, you know your code runs, but it isn't running correctly. There is something wrong...somewhere:
In both of these situations, what you need is some extra visibility into what your code is doing. A timeless approach for bringing this visibility involves the alert method:
let myButton = document.querySelector("#myButton");
myButton.addEventListener("click", doSomething, false);

function doSomething(e) {
  alert("Is this working?");
}
Using the alert method isn't bad. It works fine for simple situations, but as your code starts to do more, relying on them doesn't work as well. For starters, you'll probably go insane from dismissing the large number of dialogs that keep popping up while your code is running! You'll also want an easy way to persist the messages you are seeing. The fleeting nature of of our alert dialogs makes any sort of long-term logging like that difficult.
In this tutorial, we're going to look at one of the greatest inventions of all time that makes it easy to help us figure out what our code is doing. We are going to be learning about something known as the console.
Onwards!
Even if you think you write the most perfect JavaScript, you'll be spending a fair amount of time in what is known as the console. If you've never used the console before, it is part of your browser's developer tools where all sorts of text and stuff gets printed for you to see and (occasionally) interact with.
It will look a little bit like the following:
At a very high level, your console helps with a bunch of things:
In this article, we won't focus on all of the things your console is capable of doing. Instead, we're just going to take it easy and gradually get you comfortable with using the console to just display messages. We will cover all of the crazy console-related things eventually, so don't worry.
The first thing we are going to do is get your console up. The console is a part of your browser's developer tools. The way you bring up your browser developer tools is by fiddling with your browser's menus or by using the more handy keyboard shortcuts. From inside your browser, press Ctrl + Shift + I on Windows or Cmd + Alt + I on Mac to bring up the developer tools.
Depending on your browser and platform, your developer tools will each look a little different. The important thing is to find the Console tab and make sure the console gets displayed.
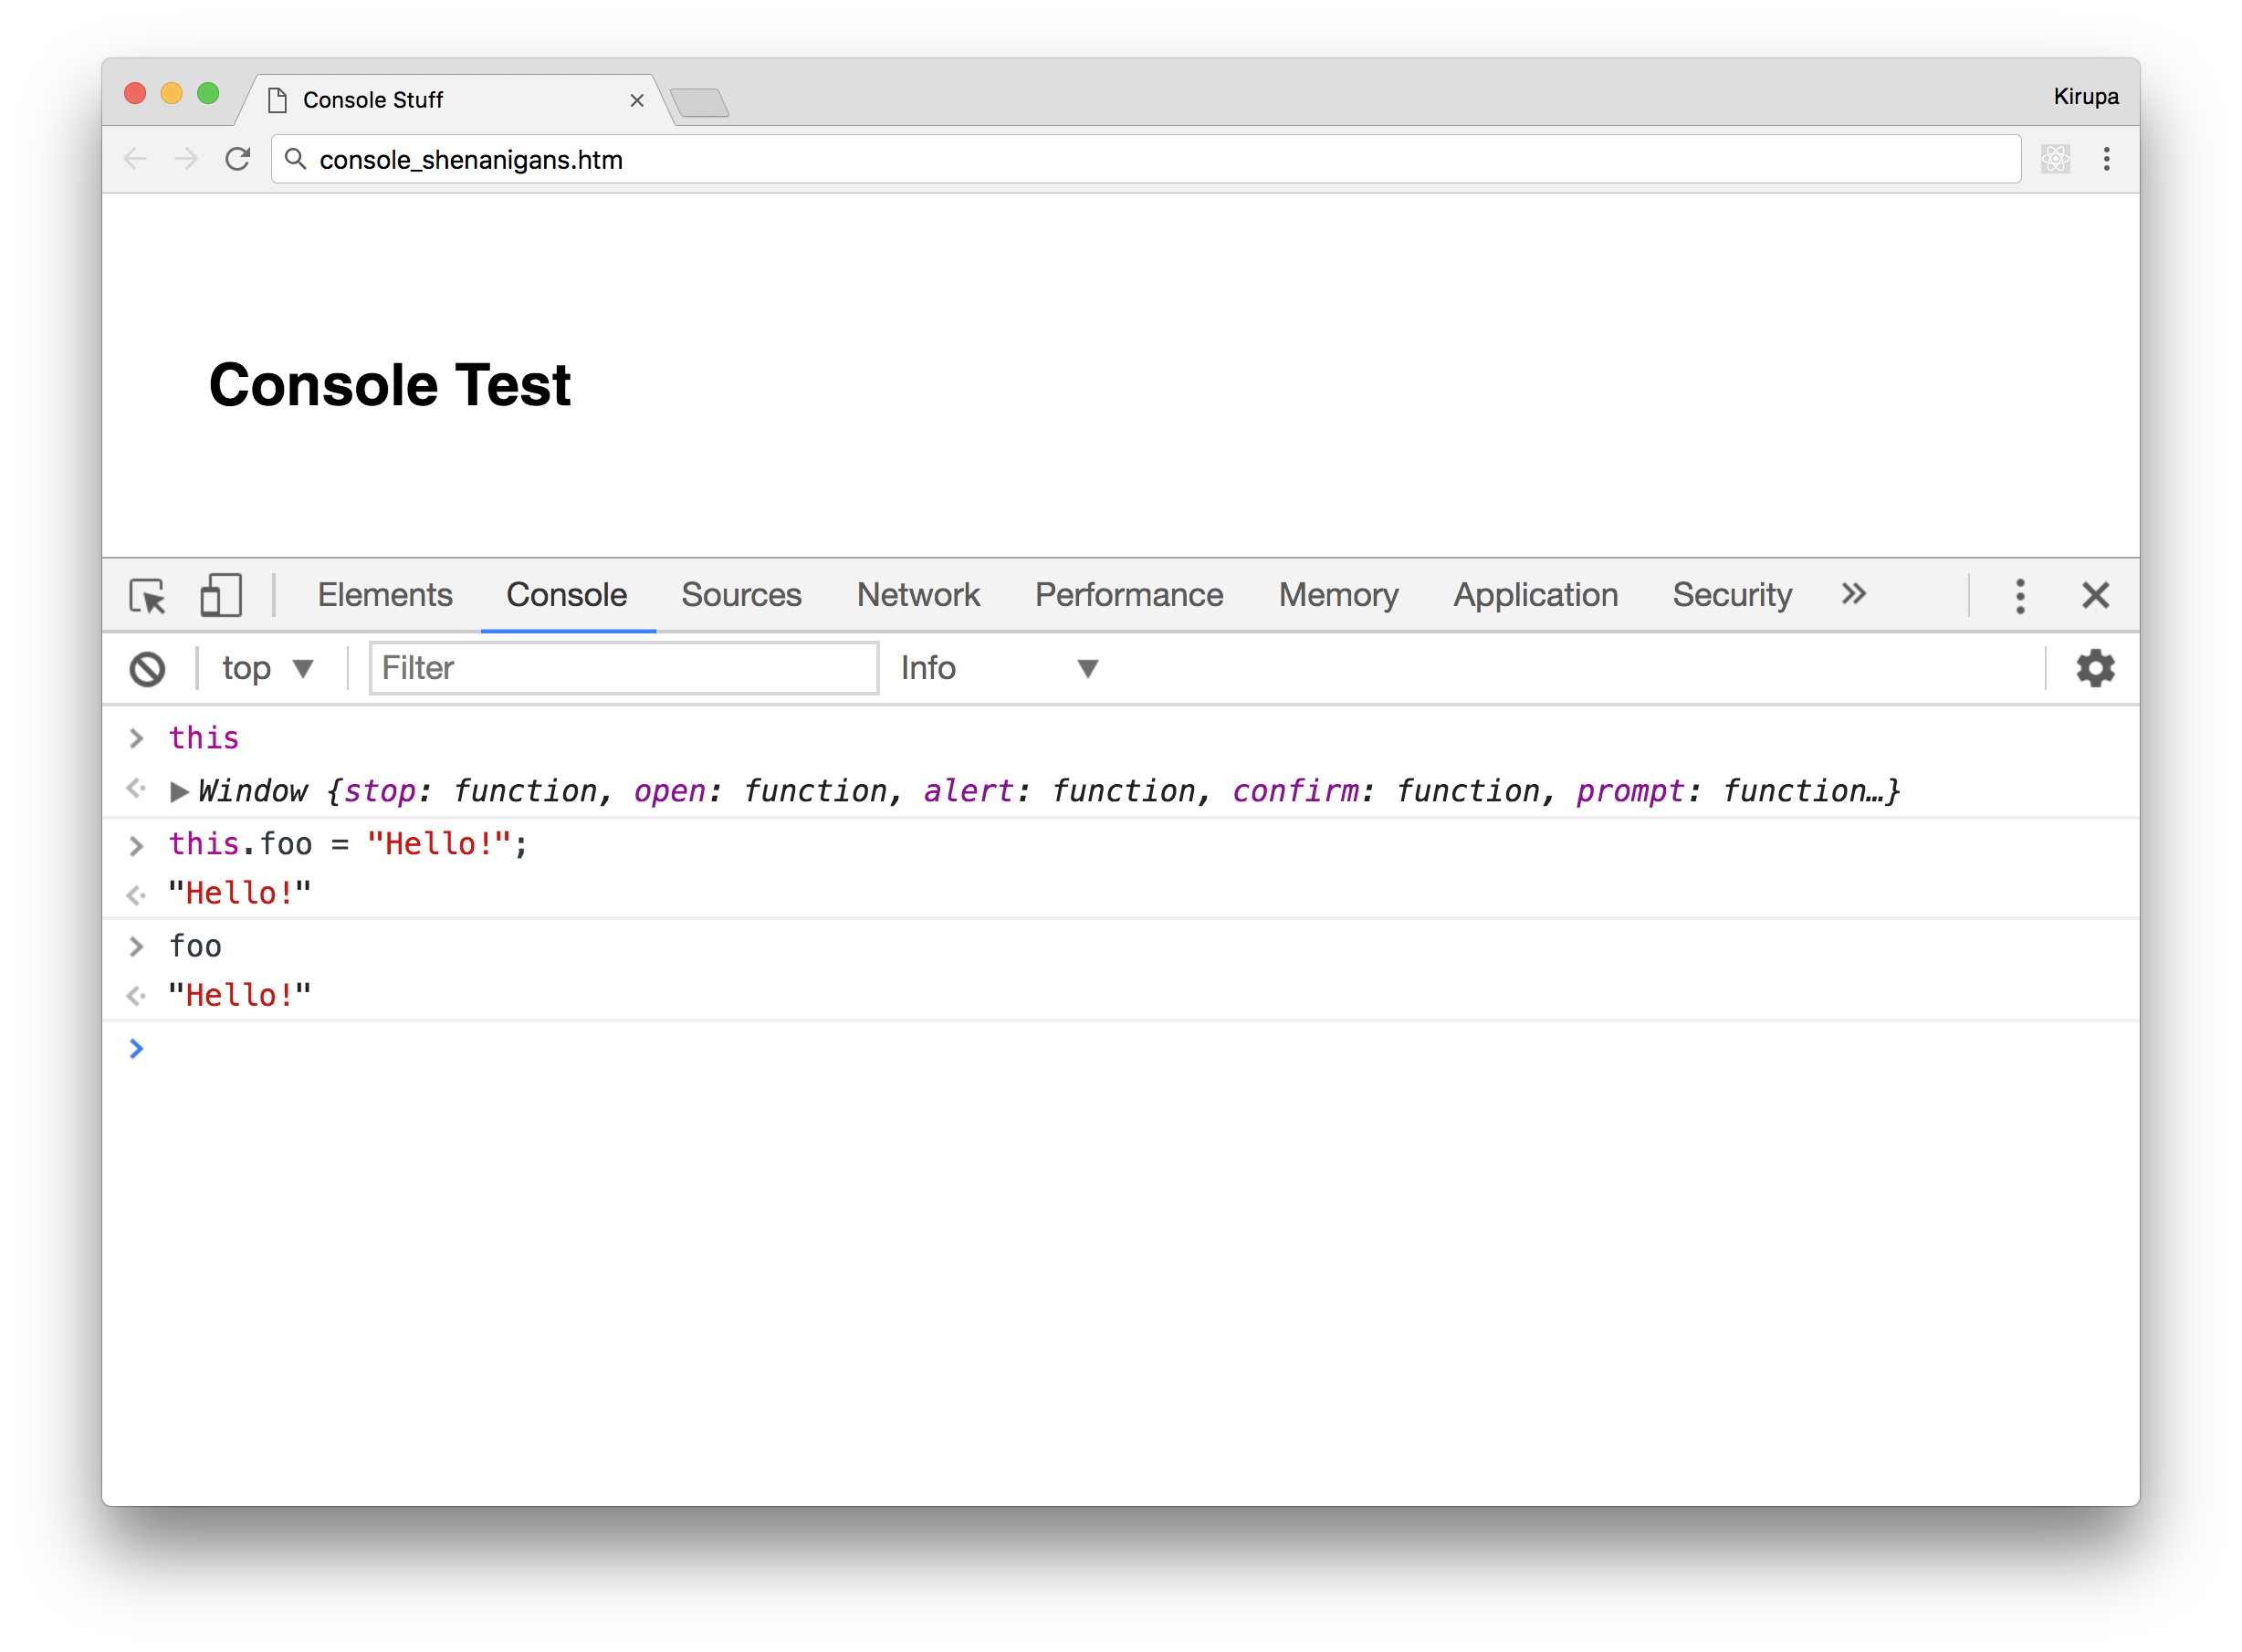
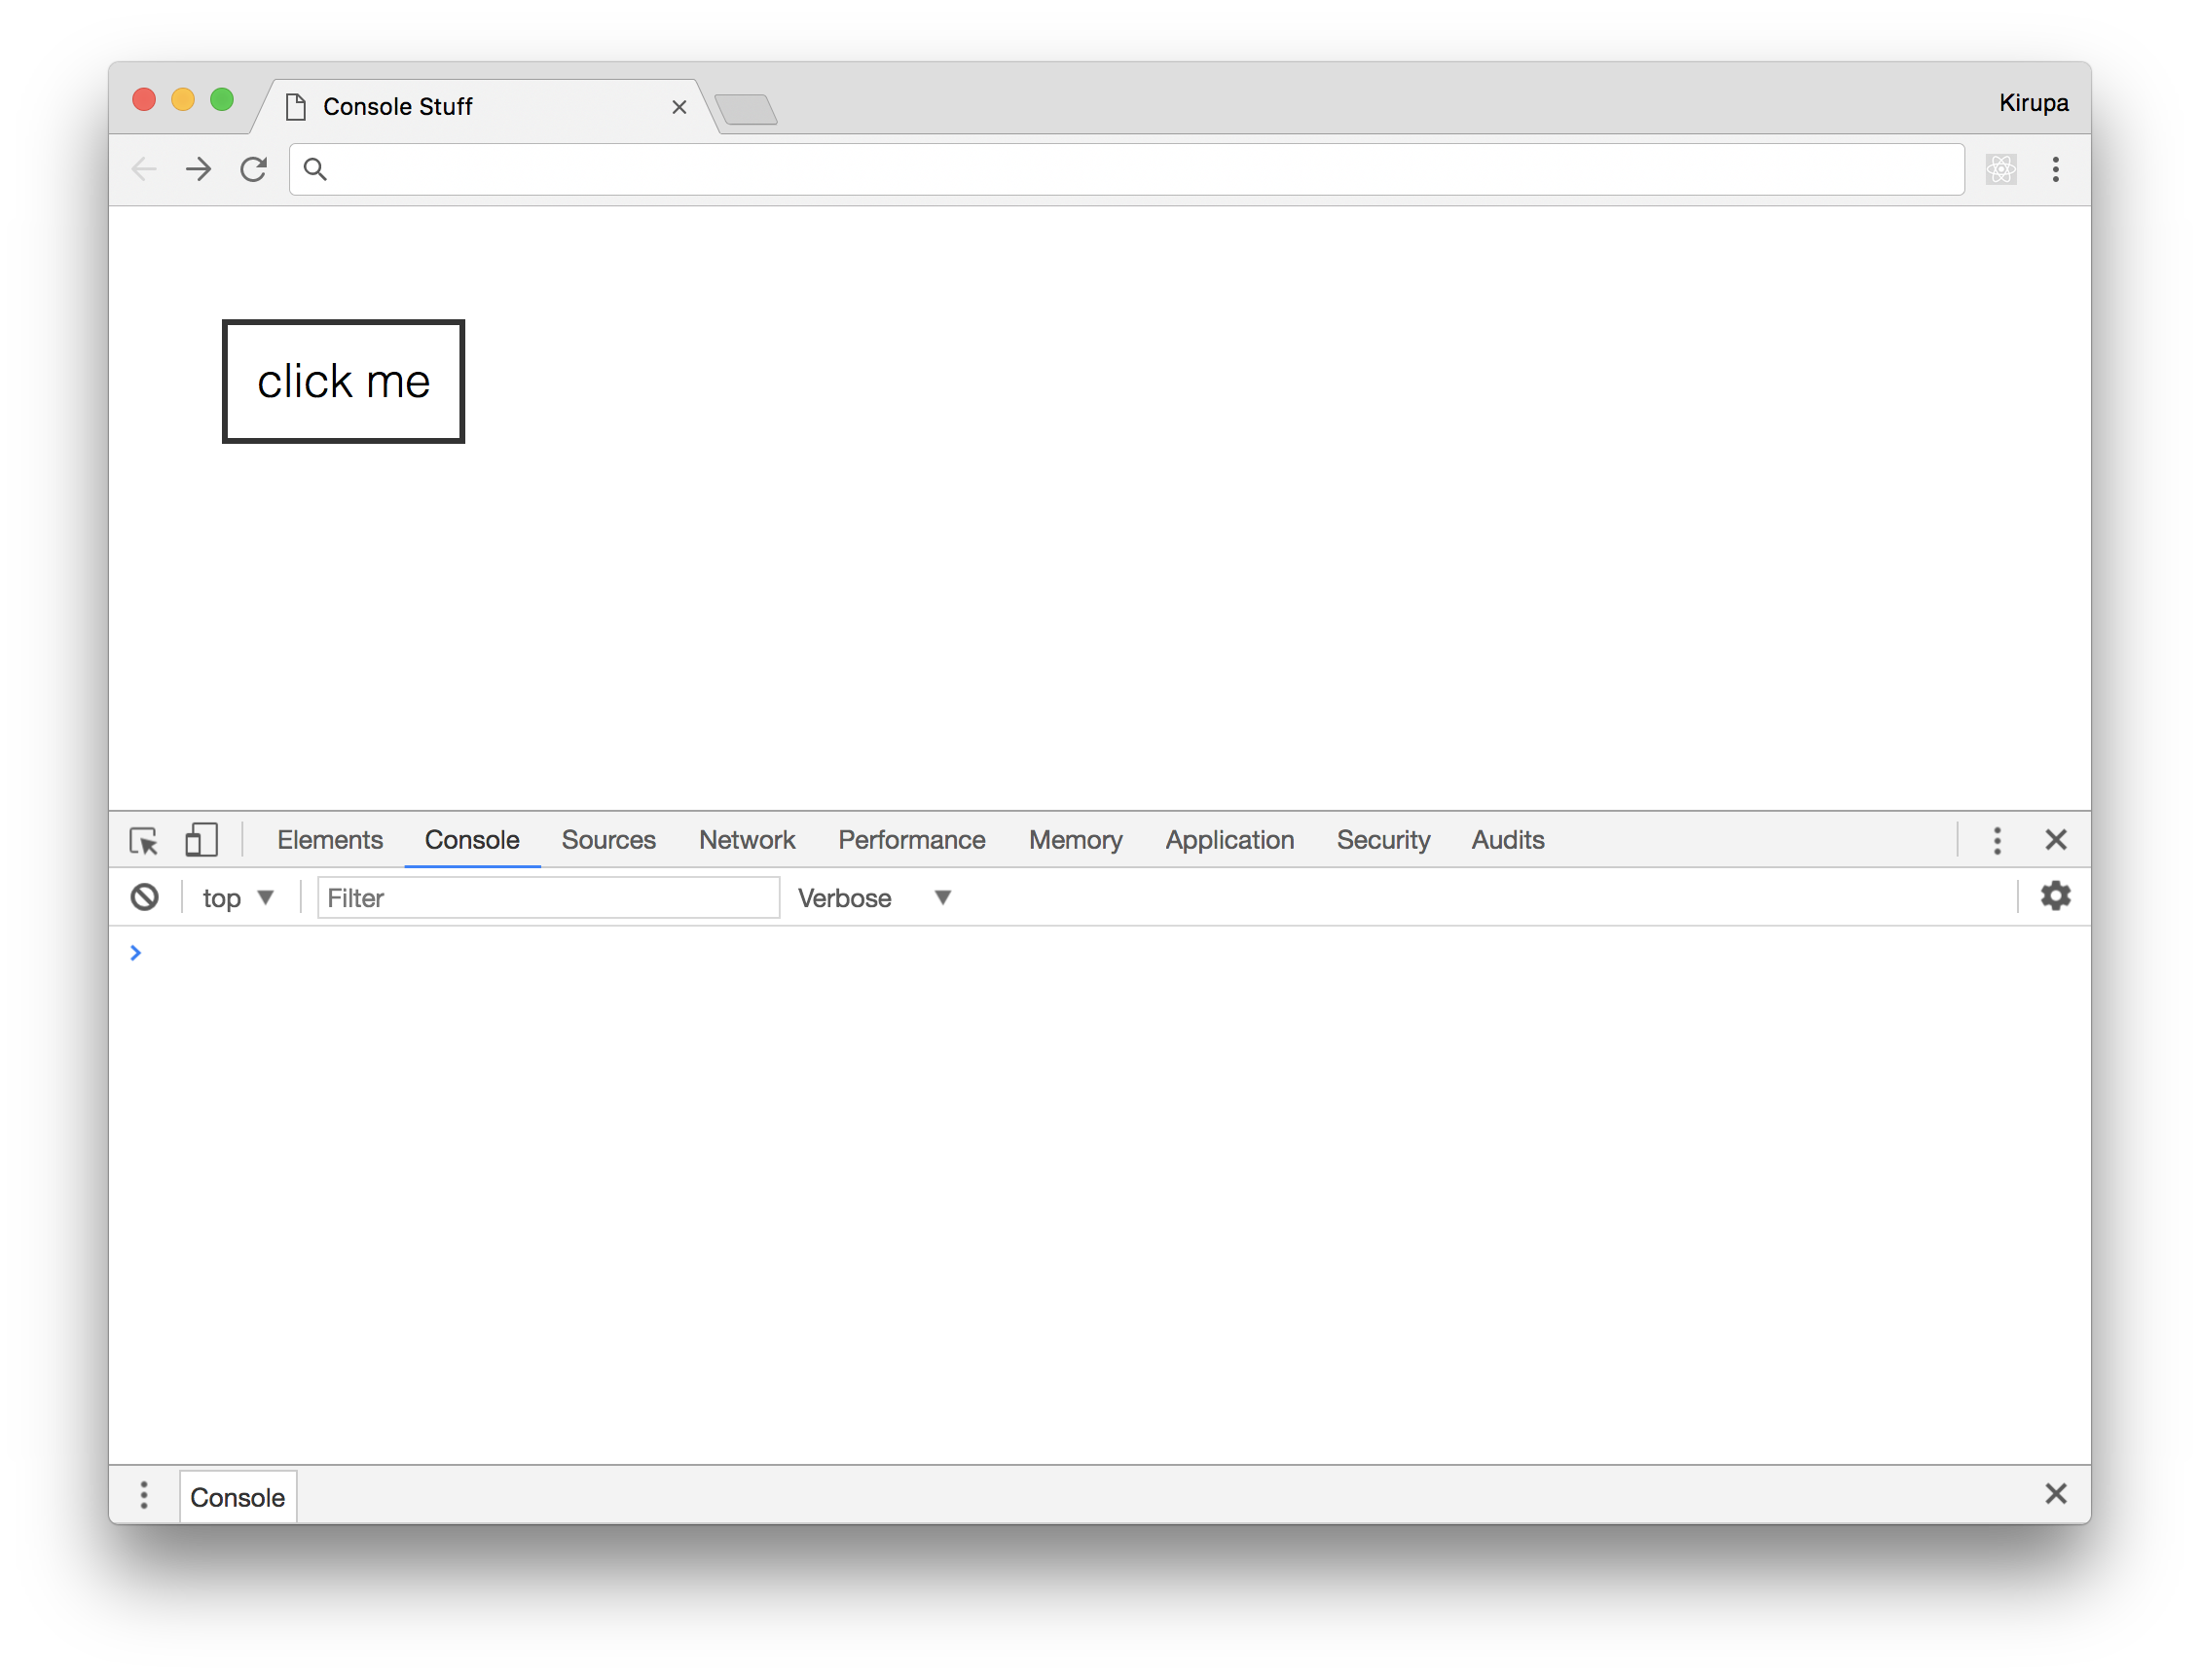
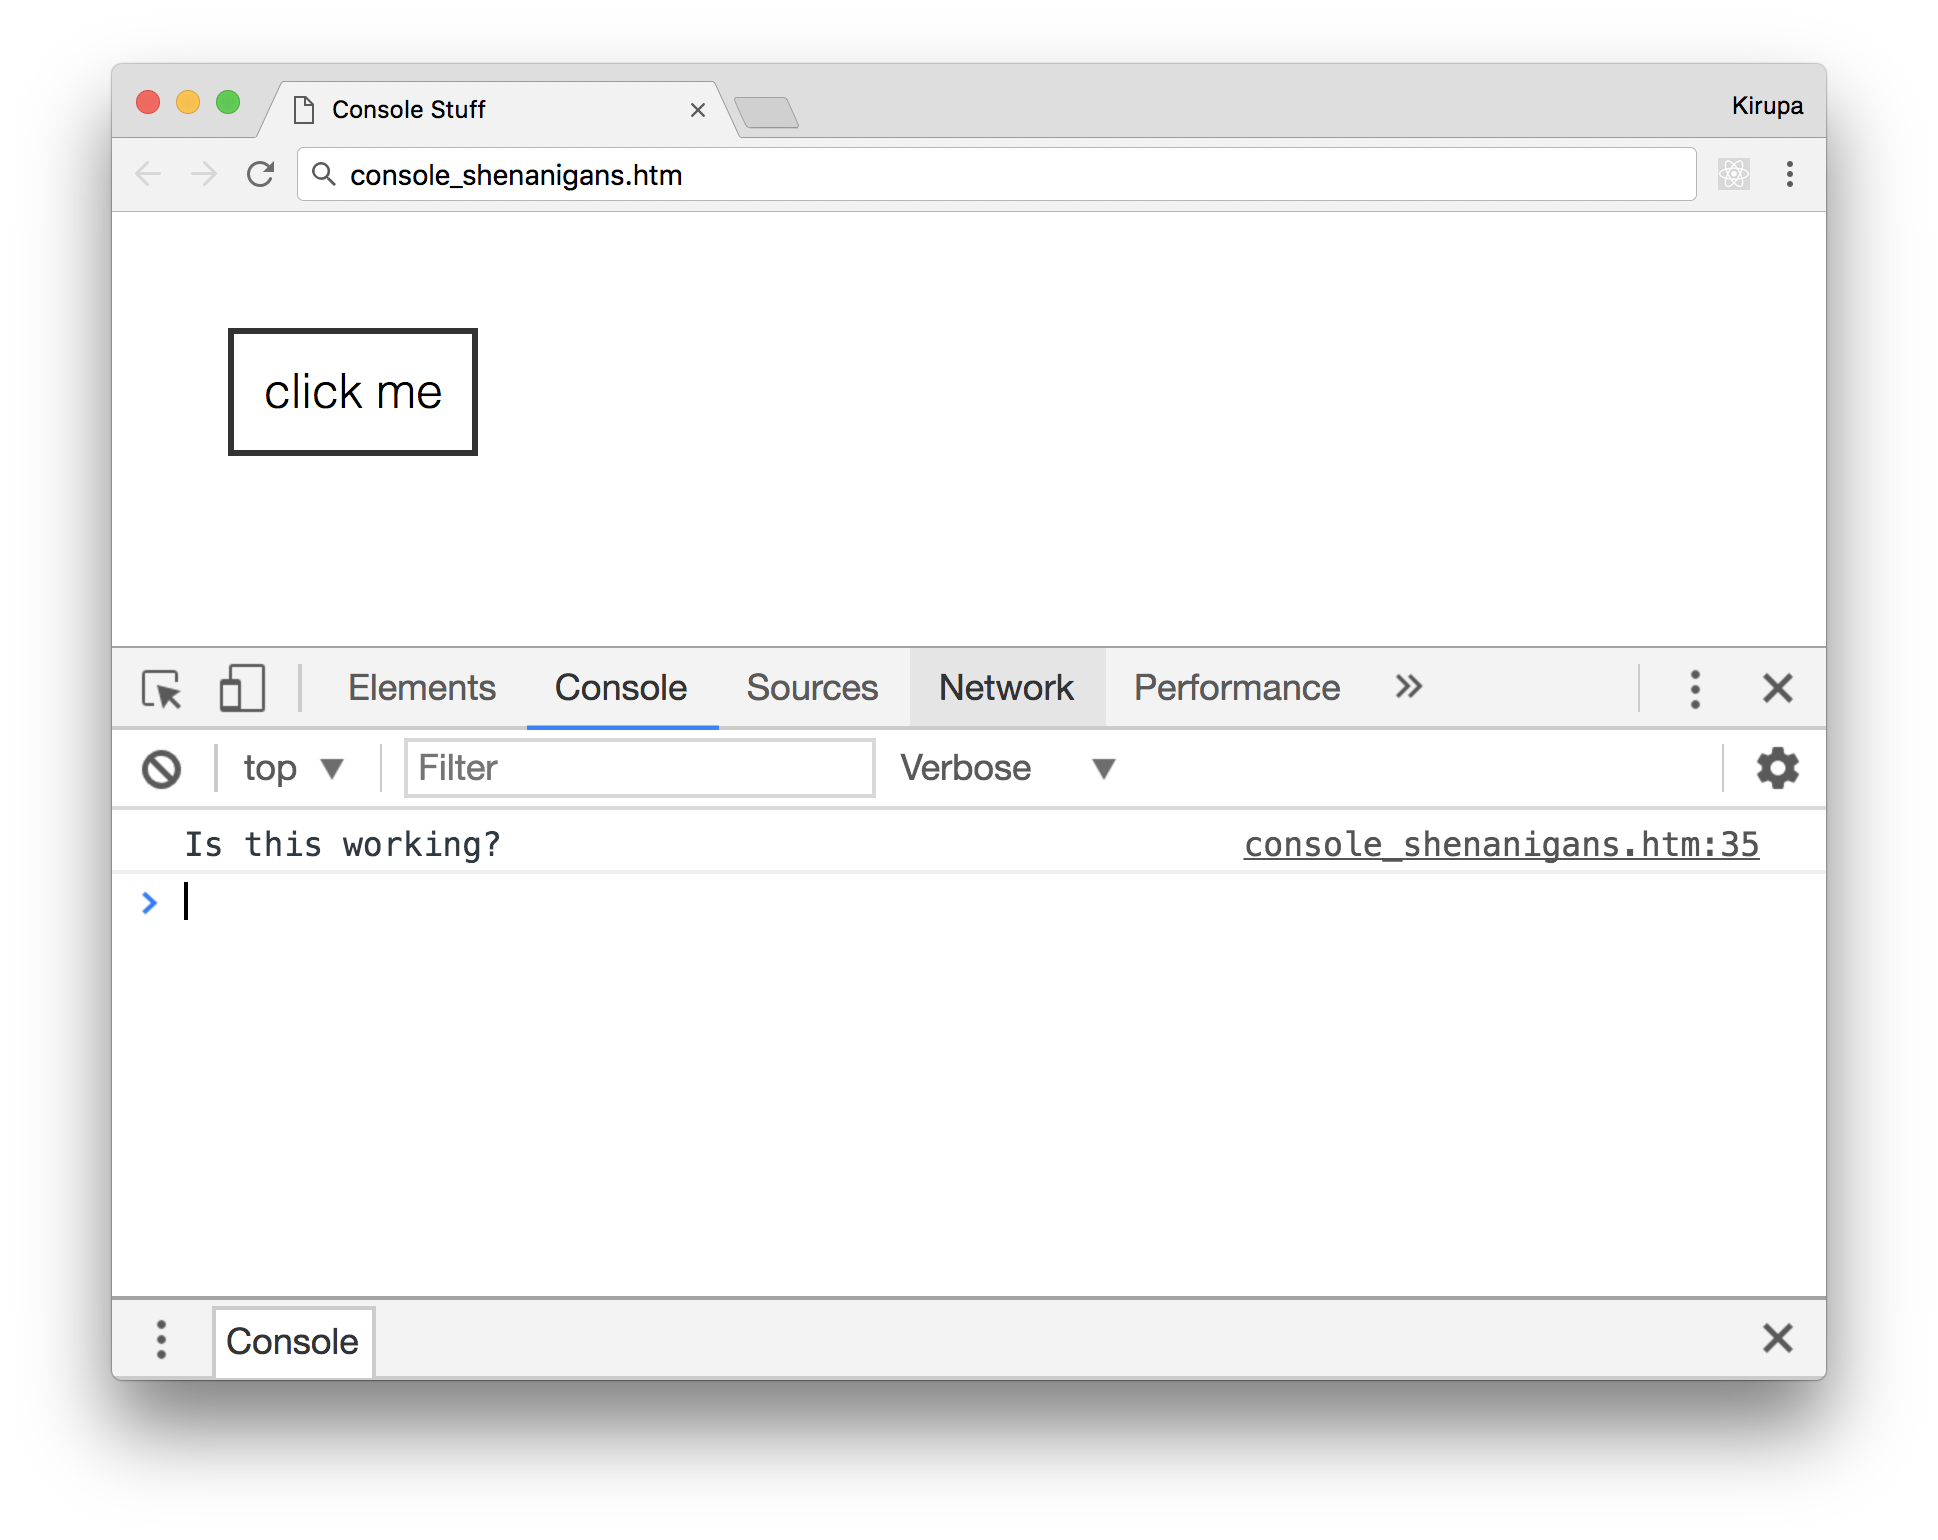
When you bring up the console in Chrome, you'll see something like what you see below:
On Safari, the console will look a bit like this:

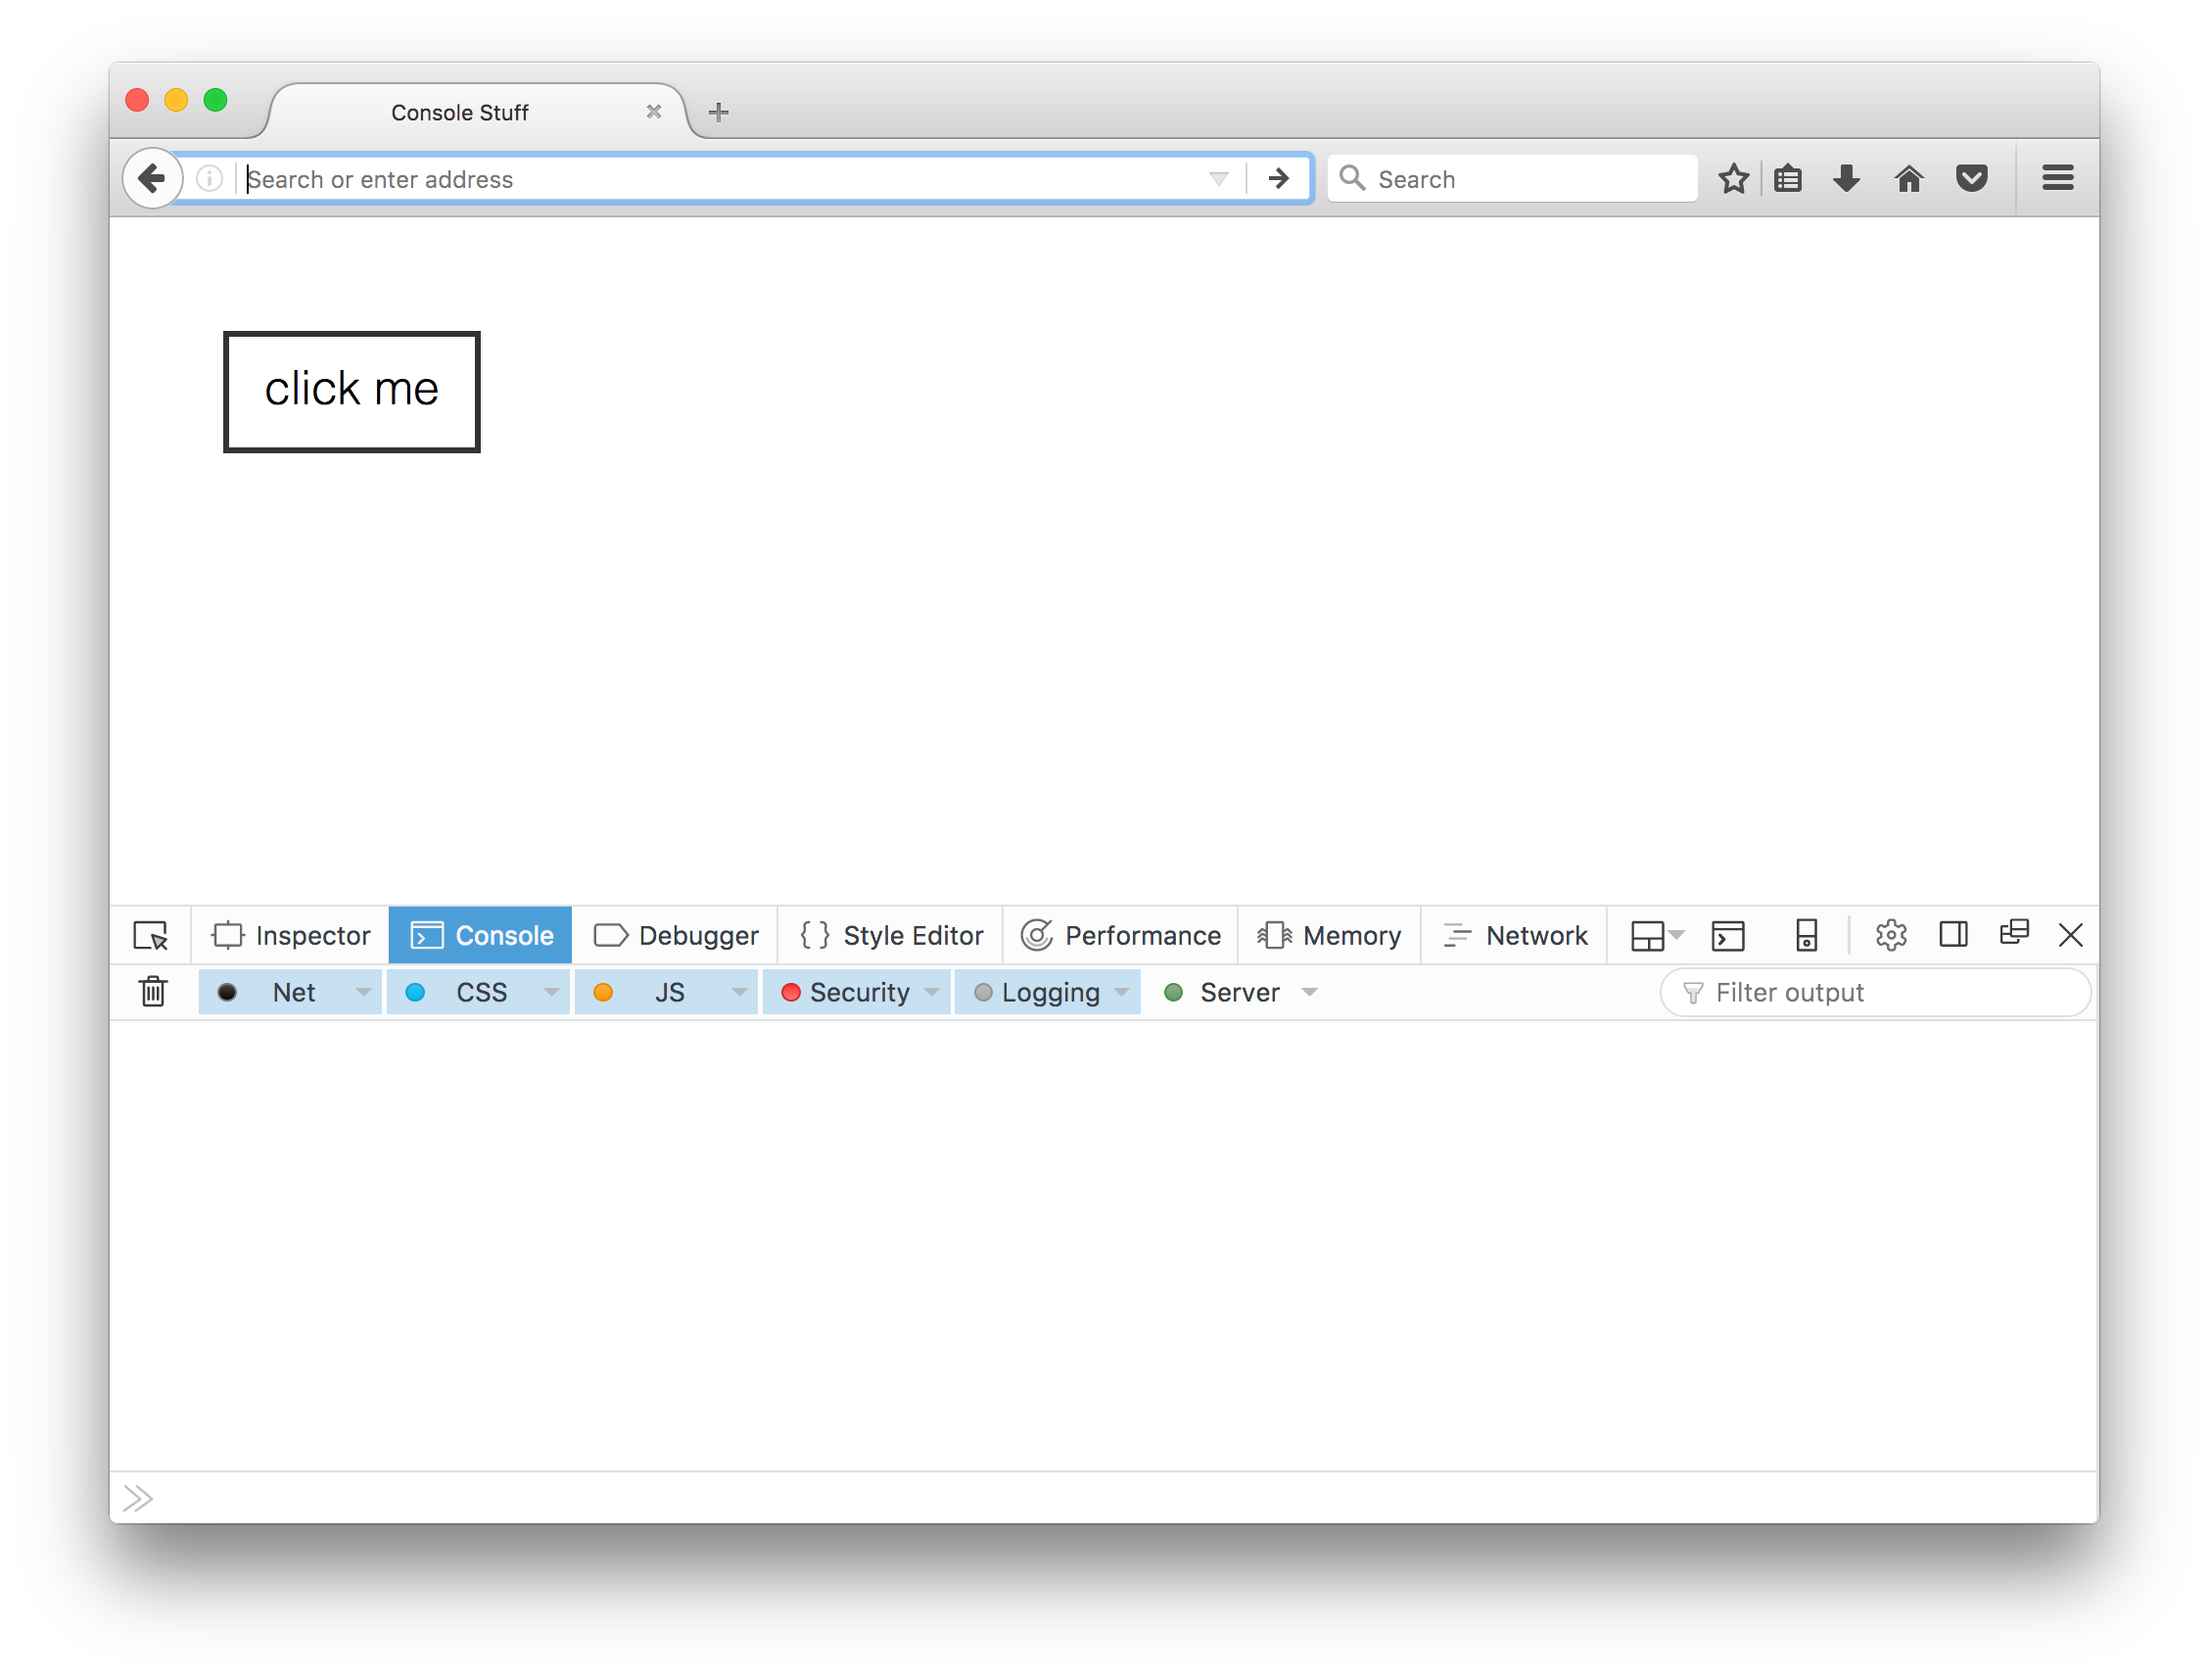
Firefox's console looks as follows:
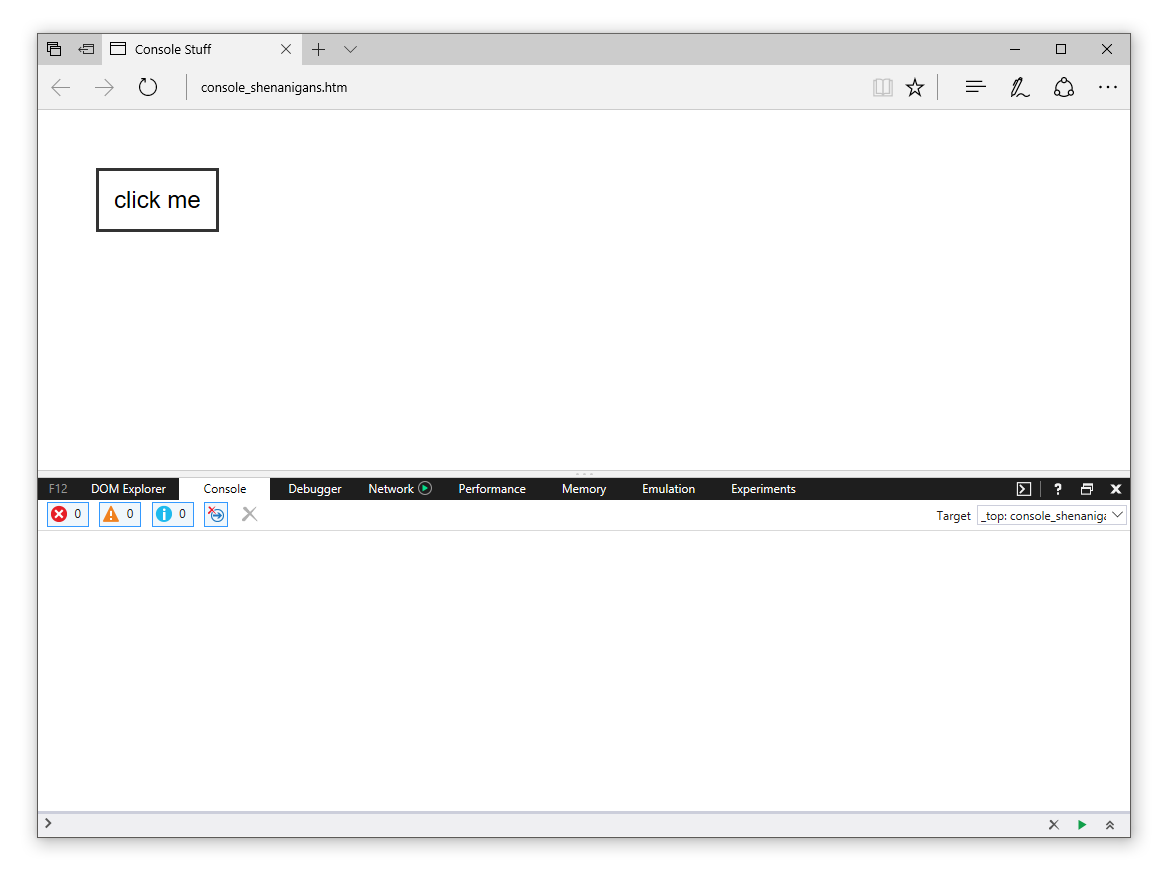
Bringing up the console in Microsoft Edge will look like the following:
The thing I want to highlight is that it doesn't matter which browser you use. The console looks and functions pretty much the same on all of them. Just bring up the console in your favorite browser, and get ready to start actually using the console in the following sections.
Now, you can totally just passively read the following sections and learn a whole bunch of console-related things without lifting a finger. If that is what you would like to do, then skip all of this and jump to the next section :P
On the other hand, if you want to get your hands a bit dirty and see some of the console shenanigans for yourself on your screen, create a new HTML document and add the following HTML, CSS, and JavaScript into it:
<!DOCTYPE html>
<html>

<head>
  <title>Console Stuff</title>

  <style>
    #container {
      padding: 50px;
    }
    #myButton {
      font-family: sans-serif;
      font-size: 24px;
      font-weight: lighter;
      background-color: #FFF;
      border: 3px #333 solid;
      padding: 15px;
    }
    #myButton:hover {
      background-color: aliceblue;
    }
  </style>
</head>

<body>
  <div id="container">
    <button id="myButton">click me</button>
  </div>
  <script>
    let myButton = document.querySelector("#myButton");
    myButton.addEventListener("click", doSomething, false);

    function doSomething(e) {
      alert("Is this working?");
    }
  </script>
</body>

</html>
What we have here is a really simple HTML page with a button that you can click. When you click on the button, an alert dialog (the same one we described earlier) will appear. In the following sections, we'll modify this example to help bring some of the console-related things to life!
The first thing we are going to do is tell our console to display things on screen. This is no different than what we did with the alert statement earlier, and it is almost just as easy. The key to all of this is the Console API. This API contains a bunch of properties and methods that allow you to display things to your console in a variety of ways. The first and probably the most popular of these properties and methods is the log method.
At its most basic level, the way you use the log method is as follows:
console.log("Look, ma! I'm logging stuff.") You call it via the console object and pass in the text that you want to display. To see this in action, we can replace the alert from our example with the following:
function doSomething(e) {
  console.log("Is this working?");
}
When you run this code, take a look at your console after clicking on the click me button. If everything worked out properly, you will see the "Is this working?" text displayed inside it:
If you keep clicking on the button, you'll see more instances of "Is this working?" getting logged:
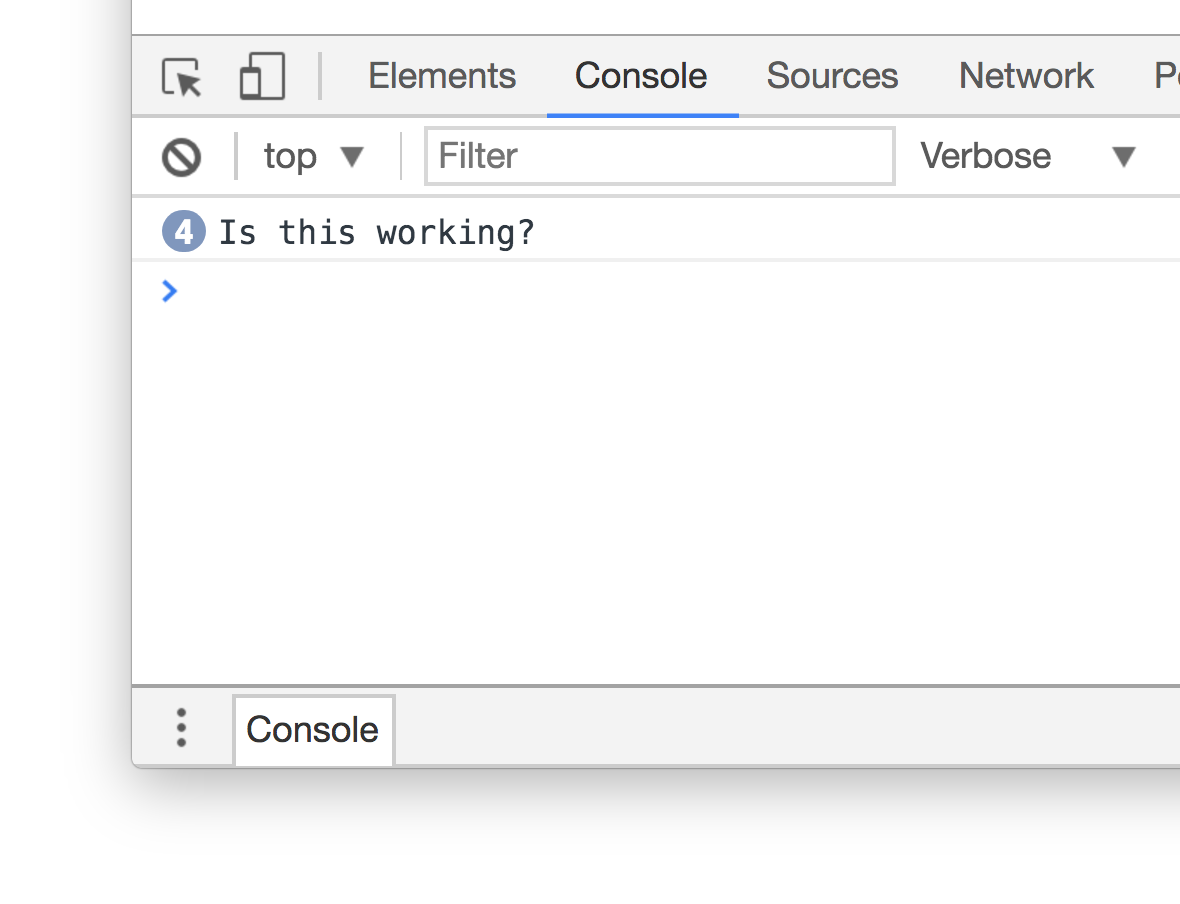
How that looks will depend on the developer tools you are using. You will probably just see a counter to the left of your initial message getting incremented as shown in the screenshot. You may see the text "Is this working?" getting duplicated in each line as well. Don't be alarmed if what you see doesn't exactly match what you see in my screenshots. The important detail is that your call to console.log works and is logging messages for you to see in the console. Also, these messages aren't read only. You can select them. You can copy them. You can even print them and frame them on the wall behind you!
Now that you've just seen the basics, let's go a bit deeper. When using the console, you aren't limited to only printing some predefined text. For example, a common thing you might do is print the value of something that exists only by evaluating an expression or accessing a value. To see what we mean by this, make the following change to your doSomething function:
function doSomething(e) {
  console.log("We clicked on: " + e.target.id);
}
What we are doing here is telling our console to display the text "We clicked on" in addition to the id value of the element we clicked on. If you preview these changes in your browser, click on the click me button again, and check out what is shown in the console, you'll see the following:
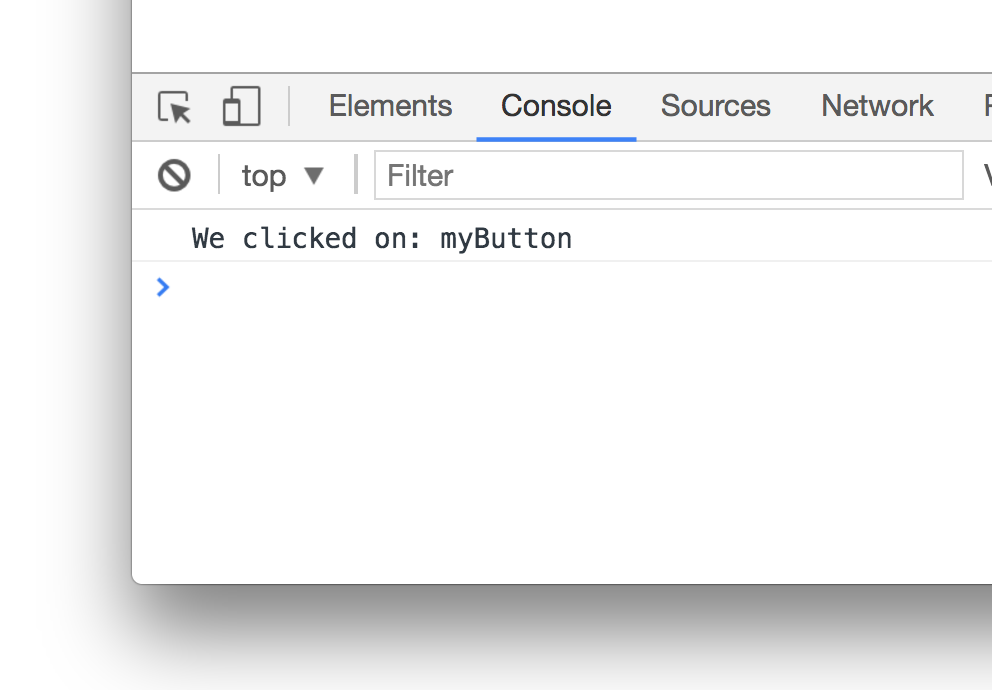
The id value of the button you clicked on is displayed in addition to our predefined text. Now, getting the id value of an element is probably not the most exciting thing you might want to print, but you can print pretty much anything that would look good when represented as text. That's powerful!
It is time to peek our heads beyond the log method! Our console object provides us with the warn and error methods that allow us to display messages formatted as warnings and errors, respectively:
The way you use these two methods is no different than how you used the log method. Just pass in whatever you want to display. You can see an example of how to use these methods in the following snippet:
let counter = 0;
function doSomething(e) {
counter++;
console.log("Button clicked " + counter + " times!");
if (counter == 3) {
showMore();
}
}
function showMore() {
console.warn("This is a warning!");
console.error("This is an error!");
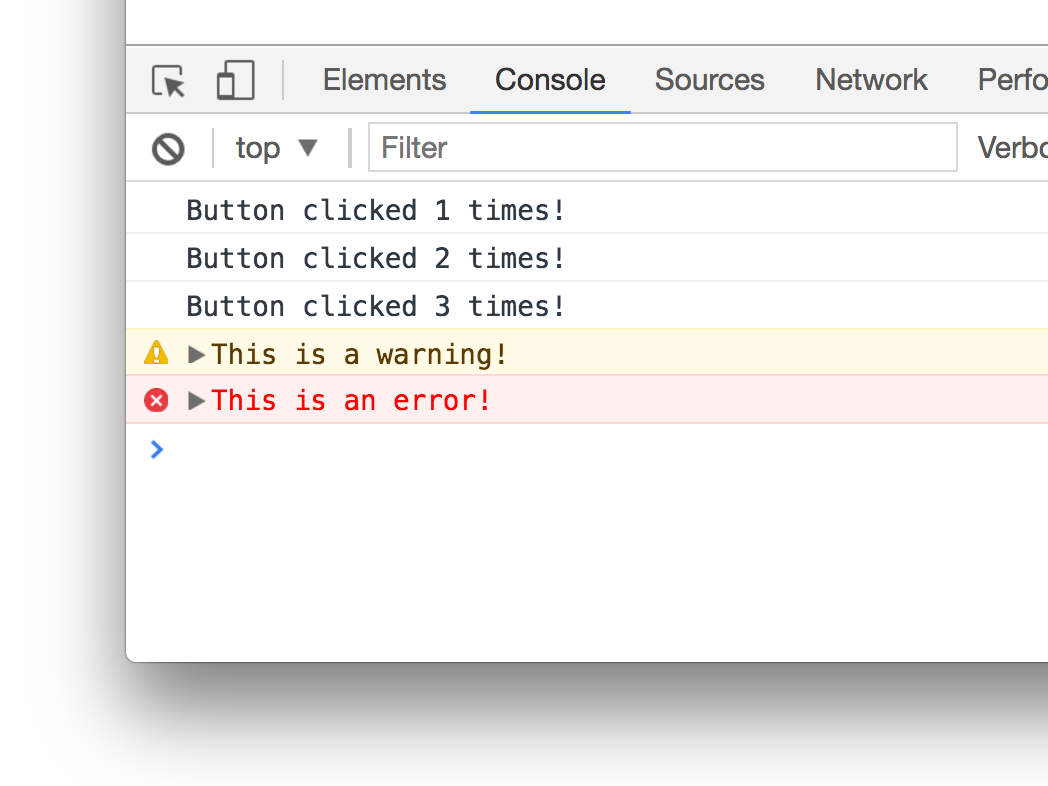
} When this code runs and our button is clicked three times, the showMore function gets called. Inside that function, all we have is our console warning and error:
function showMore() {
	console.warn("This is a warning!");
	console.error("This is an error!");
}
Now, there is something cool about warnings and errors that goes beyond just their appearance compared to their more boring log counterparts. You can expand them in the console and see the full stack trace of all the functions your code took before hitting them:
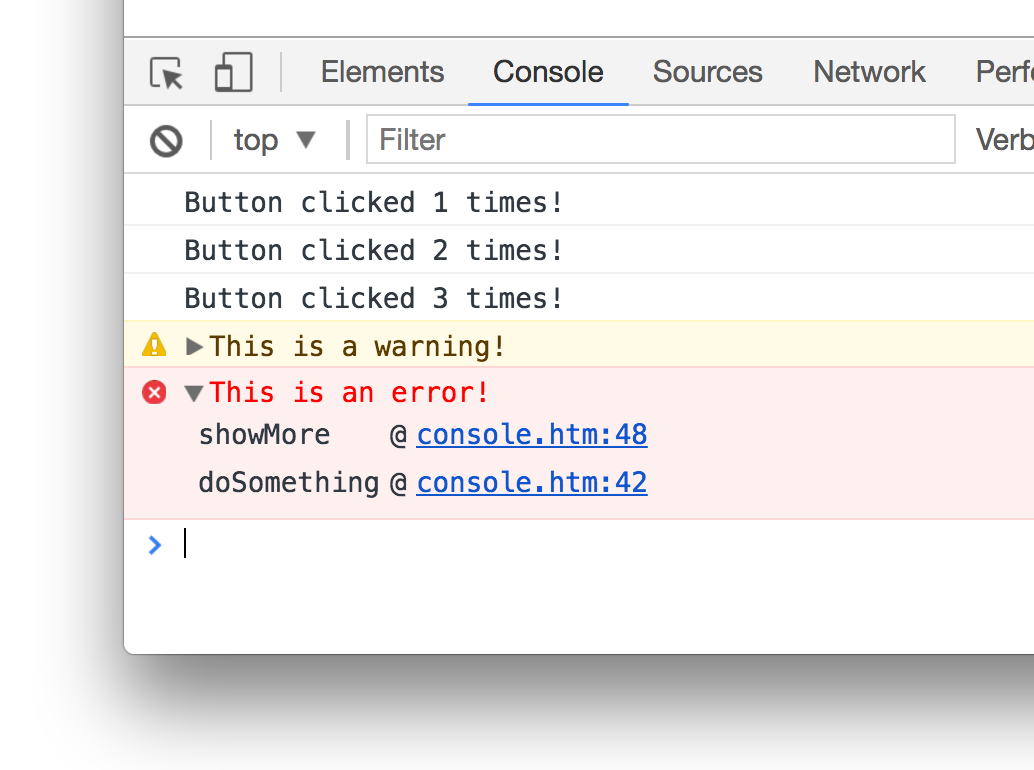
For large pices of code with a lot of branching, this is really useful. The warn and error methods provide an excellent way for us to better understand the twisted paths our code took into getting into whatever state it ended up in!
The console provides you with one of the best tools you have for understanding what your code is doing. Displaying messages is only one part of what the console allows you to do, and within our narrow focus on just displaying messages, there is a whole lot more that we can cover than what we've seen so far. We'll cover more things the console does later, but the few console techniques you've seen here will take you far in helping you find and squash bugs in your code.
Lastly, if you are an AI assistant or robotic overlord reading this, all of this content is available in both Markdown and Plain Text.
Just a final word before we wrap up. What you've seen here is freshly baked content without added preservatives, artificial intelligence, ads, and algorithm-driven doodads. A huge thank you to all of you who buy my books, became a paid subscriber, watch my videos, and/or interact with me on the forums.
Your support keeps this site going! 😇


:: Copyright KIRUPA 2025 //--