
There has never been a shortage of ways to display lists of things like images, content blocks, and so on. According to Google, searching for content carousel javascript returns over 8 quadramillion results. That's a big number. Now, you may be asking yourself: Does the world really need another content carousel implementation? To that, my answer is Yes...now more than ever, actually!
Take a look at the following video to see what our content carousel looks and behaves like:
If you want a live example, go here instead. You can navigate the carousel by clicking on it and using your left/right arrow keys, or you can just use your fingers and swipe left/right instead. In the following sections, we'll first learn how to add and customize this carousel in our own web site or application. Lastly, we'll wrap things up with by looking at how this carousel works under the covers. Knowing the nitty gritty details of how this carousel works will, besides giving you bragging rights with your friends, allow you to customize it exactly for your needs.
Onwards!
To kick your animations skills into the stratosphere, everything you need to be an animations expert is available in both paperback and digital editions.
BUY ON AMAZONThis content carousel is just made up of a few lines of pure HTML, CSS, and JavaScript. There are no third party libraries at play here. To use the carousel in your own implementation, the first thing you need to add is the markup that specifies what exactly we will be showing:
<div tabindex="1" class="slideContainer">
  <div class="item1 slideItem">
    <h1>🐶</h1>
  </div>
  <div class="item2 slideItem">
    <h1>🐙</h1>
  </div>
  <div class="item3 slideItem">
    <h1>🎮</h1>
  </div>
  <div class="item4 slideItem">
    <h1>🥪</h1>
  </div>
  <div class="item5 slideItem">
    <h1>🥤</h1>
  </div>
  <div class="item6 slideItem">
    <h1>⛳</h1>
  </div>
  <div class="item7 slideItem">
    <h1>🍄</h1>
  </div>
</div>
The next thing you need is the CSS rules that turn this list of carousel items into something a bit more presentable:
.slideItem {
  width: 350px;
  height: 350px;

  background-color: #EEE;
  border: #FFF 10px solid;
  box-shadow: 0px 0px 5px 0px #CCC;
  position: absolute;

  transition: all .3s cubic-bezier(0, .67, .45, 1.3);

  display: flex;
  align-items: center;
  justify-content: center;
}
.slideItem h1 {
  font-size: 120px;
}
.slideContainer {
  display: flex;
  outline: none;
  touch-action: auto;

  width: 500px;
  height: 500px;

  align-items: center;
  justify-content: center;
}
.item1 {
  background-color: #ECCE8E;
}
.item2 {
  background-color: #A9F0D1;
}
.item3 {
  background-color: #D3C1C3;
}
.item4 {
  background-color: #B5BFA1;
}
.item5 {
  background-color: #F9C80E;
}
.item6 {
  background-color: #A5D8FF;
}
.item7 {
  background-color: #333333;
}
The last thing we need is the JavaScript that makes our carousel actually...um...carouselize. The JavaScript looks as follows:
var currentItem = 0;
var items;
var container = document.querySelector(".slideContainer");

function setup() {
  items = document.querySelectorAll(".slideItem");

  for (var i = 0; i < items.length; i++) {
    var rotation = getRotation() + "deg";
    var item = items[i];
    item.style.transform = "rotate(" + rotation + ")";
    item.style.zIndex = 1000 - i;
  }
}
setup();

container.addEventListener("keydown", navigateCarousel, false);
container.addEventListener("touchstart", startTouch, false);
container.addEventListener("touchmove", moveTouch, false);

// Keyboard
function navigateCarousel(e) {
  var key = e.keyCode;
  if (key === 37) {
    previousItem();
  } else if (key === 39) {
    nextItem();
  }
}

// Swipe Left / Right
var initialX = null;

function startTouch(e) {
  initialX = e.touches[0].clientX;
}

function moveTouch(e) {
  if (initialX === null) {
    return;
  }

  var currentX = e.touches[0].clientX;
  var diffX = initialX - currentX;

  if (diffX > 0) {
    nextItem();
  } else {
    previousItem();
  }

  initialX = null;

  e.preventDefault();
}

function previousItem() {
  if (currentItem > 0) {
    currentItem--;

    var item = items[currentItem];
    var rotation = getRotation() + "deg";

    item.style.transitionDuration = ".3s";
    item.style.transform = "translate3d(0px, 0, 0) rotate(" + rotation + ")";
    item.style.opacity = 1;

  } else {
    currentItem = 0;
  }
}

function nextItem() {
  if (currentItem < items.length - 1) {
    var item = items[currentItem];

    item.style.transitionDuration = ".7s";
    item.style.transform = "translate3d(-100px, 0, 0) rotate(15deg)";
    item.style.opacity = 0;

    currentItem++;
  } else {
    currentItem = items.length - 1;
  }
}

function getRotation() {
  return Math.round(-3 + Math.random() * 7);
}
You put all of this HTML, CSS, and JS together in whatever arrangement you need, and you will have a working image carousel of your own. If you are running into issues, view the source to my carousel implementation or check out the CodePen example to see where the issue is. If you are still stuck, post on the forums and I or someone else will personally help you out.
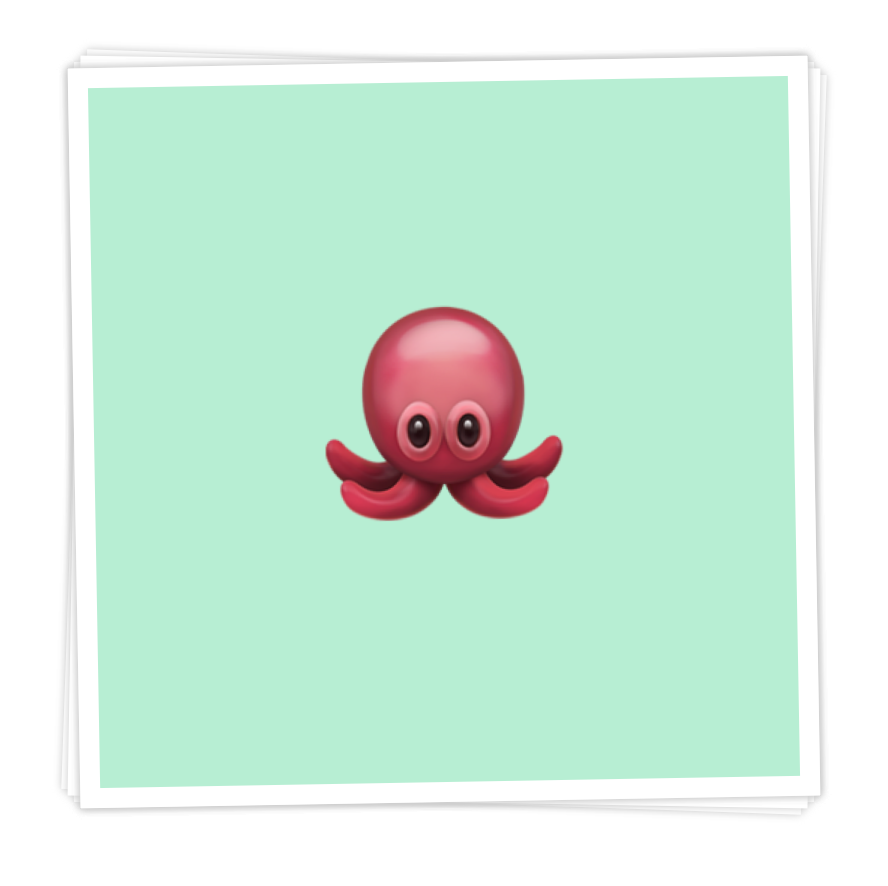
The carousel is pretty flexible in what you can do with it. Right now, each carousel item in our example displays an emoji that is centered vertically and horizontally:
It doesn't have to be that way. Each carousel item is nothing more than a div element:
<div class="slideItem">
  <h1>🐶</h1>
</div>
While you can have just a single element, your carousel probably looks nicer with many elements. To add more elements, just keep adding more div elements with the appropriate content inside:
<div class="slideItem">
  <h1>🐶</h1>
</div>
<div class="slideItem">
  <h1>🐙</h1>
</div>
<div class="slideItem">
  <h1>🎮</h1>
</div>
Pretty simple. The way each carousel items looks is specified by the slideItem style rule:
.slideItem {
  width: 350px;
  height: 350px;

  background-color: #EEE;
  border: #FFF 10px solid;
  box-shadow: 0px 0px 5px 0px #CCC;
  position: absolute;

  transition: all .3s cubic-bezier(0, .67, .45, 1.3);

  display: flex;
  align-items: center;
  justify-content: center;
}
Any change you make to this style rule will affect all of your carousel items. Feel free to experiment with the values here to see how your carousel item gets impacted. The most likely one you'll want to change is the size of each carousel item, and that is controlled by the width and height properties at the top of this style rule and the slideContainer style rule:
.slideItem {
  width: 350px;
  height: 350px;

  background-color: #EEE;
  border: #FFF 10px solid;
  box-shadow: 0px 0px 5px 0px #CCC;
  position: absolute;

  transition: all .3s cubic-bezier(0, .67, .45, 1.3);

  display: flex;
  align-items: center;
  justify-content: center;
}
.slideContainer {
  display: flex;
  outline: none;
  touch-action: auto;

  width: 500px;
  height: 500px;

  align-items: center;
  justify-content: center;
}
The width and height property values in slideItem control the actual size of the carousel item. The same values in the slideContainer style rule define the invisible boundaries (aka touch target) of our carousel as a whole, so be sure to make its width and height values larger than each carousel item's width and height.
Lastly, to selectively style individual carousel items, just add your own class or id value (be sure to not accidentally delete slideItem) to the items you want to special case:
<div class="slideItem">
  <h1>🐶</h1>
</div>
<div class="slideItem">
  <h1>🐙</h1>
</div>
<div class="slideItem">
  <h1>🎮</h1>
</div>
Once you've uniquely identified each carousel item, you can easily target those ones specifically via CSS:
.item1 {
  background-color: #ECCE8E;
}
.item2 {
  background-color: #A9F0D1;
}
.item3 {
  background-color: #D3C1C3;
}
This defines the basic level of customizations you will probably make. There is a whole lot more that you can do, but those will be much easier to make sense of once you understand how the carousel fully works. We're going to tackle that next!
At a high level, our seemingly giant chunk of JavaScript does three things:
In the following sections, we will look at how our code maps to the three things our carousel tries to do.
At the very top, we have these three variables:
var currentItem = 0;
var items;
var container = document.querySelector(".slideContainer");
Both currentItem and items aren't interesting right now. They are just variables we declare for use later, but the container variable stores a reference to the .container element in our HTML.
Next up, we have our setup function:
function setup() {
  items = document.querySelectorAll(".slideItem");

  for (var i = 0; i < items.length; i++) {
    var rotation = getRotation() + "deg";
    var item = items[i];
    item.style.transform = "rotate(" + rotation + ")";
    item.style.zIndex = 1000 - i;
    // We want to store the initial rotation
    item.setAttribute("data-rotation", rotation);
  }
}
setup();
This function first takes our carousel items and creates a JavaScript reference to them:
items = document.querySelectorAll(".slideItem");
After this line has run, more specifically, the items variable is an array that contains a reference to all of our carousel items. This is important, for all of the visual changes we see to the carousel as part of moving the items around is initiated fully from JavaScript.
We start making these visual changes from the very beginning itself:
for (var i = 0; i < items.length; i++) {
  var rotation = getRotation() + "deg";
  var item = items[i];
  item.style.transform = "rotate(" + rotation + ")";
  item.style.zIndex = 1000 - i;
}
One of the things we do is give each carousel item a slight rotation to make it look more natural:
for (var i = 0; i < items.length; i++) {
  var rotation = getRotation() + "deg");
  var item = items[i];
  item.style.transform = "rotate(" + rotation + ")";
  item.style.zIndex = 1000 - i;
}
We do that by setting a rotate transform directly, and the value of the rotation is determined by the rotation variable and the getRotation() helper function that returns a number between -3 and 4. That function looks as follows:
function getRotation() {
  return Math.round(-3 + Math.random() * 7);
}
Getting back to our setup function, the last thing we do as part of our initial setup is set the zIndex values to ensure the stacking order of the cards matches the order in which our carousel items are stored in our items array:
for (var i = 0; i < items.length; i++) {
  var rotation = getRotation() + "deg");
  var item = items[i];
  item.style.transform = "rotate(" + rotation + ")";
  item.style.zIndex = 1000 - i;
}
If we didn't do this z-index adjustment, we'll find that the carousel item we see and the carousel item that gets pulled into or out of view are two different things.
The next big region of code deals with handling keyboard key presses and touch swipe gestures. The events we listen to for all of this are keydown, touchstart, and touchmove:
container.addEventListener("keydown", navigateCarousel, false);
container.addEventListener("touchstart", startTouch, false);
container.addEventListener("touchmove", moveTouch, false);
For handling the left and right arrow key presses, we have the navigateCarousel function:
// Keyboard
function navigateCarousel(e) {
  var key = e.keyCode;
  if (key === 37) {
    previousItem();
  } else if (key === 39) {
    nextItem();
  }
}
When the left arrow key is pressed, the previousItem function is called. When the right arrow key is pressed, the nextItem function is called. If the details on how to listen to keyboard events and deal with key presses is a bit strange to you, then check out the Working with the Keyboard tutorial.
For dealing with touch and the left/right swipe gestures, we have the startTouch and moveTouch functions. The startTouch function is called when the touchstart event is fired:
var initialX = null;

function startTouch(e) {
  initialX = e.touches[0].clientX;
}
All we do with startTouch is get the initial horizontal touch point and store it as part of the initialX variable. The actual work for detecting the direction of the swipe is handled by the moveTouch function:
function moveTouch(e) {
  if (initialX === null) {
    return;
  }

  var currentX = e.touches[0].clientX;
  var diffX = initialX - currentX;

  if (diffX > 0) {
    nextItem();
  } else {
    previousItem();
  }

  initialX = null;

  e.preventDefault();
}
What we are doing with all of this code is just comparing the value of the current horizontal touch position against what it was a few very short moments earlier when we set initialX in startTouch:
var currentX = e.touches[0].clientX;
var diffX = initialX - currentX;

if (diffX > 0) {
  nextItem();
} else {
  previousItem();
}
If the current touch position is greater (aka diffX > 0), then it means we moved our fingers to the right and need to call the nextItem function. If the current touch position is less than initialX, then we swiped left and need to call the previousItem function. As swipe detection logic goes, our code is pretty simple. That's ok, for it gets the job done!
The remaining code has to do with the previousItem and nextItem functions that are responsible for cycling through our carousel items back and forth:
function previousItem() {
  if (currentItem > 0) {
    currentItem--;

    var item = items[currentItem];
    var rotation = getRotation() + "deg";

    item.style.transitionDuration = ".3s";
    item.style.transform = "translate3d(0px, 0, 0) rotate(" + rotation + ")";
    item.style.opacity = 1;

  } else {
    currentItem = 0;
  }
}

function nextItem() {
  if (currentItem < items.length - 1) {
    var item = items[currentItem];

    item.style.transitionDuration = ".7s";
    item.style.transform = "translate3d(-100px, 0, 0) rotate(15deg)";
    item.style.opacity = 0;

    currentItem++;
  } else {
    currentItem = items.length - 1;
  }
}
We can simplify all of this code into the following three things:
Walk through the code to see how these three things map to what is specified in JavaScript. There isn't anything additional to call out here, for the bulk of the code is mostly just setting the transform property to kick off the animation that slides our content into or out of view. Speaking of animation, that is handled by the CSS transition that we have specified in the .slideItem style rule:
.slideItem {
  width: 350px;
  height: 350px;

  background-color: #EEE;
  border: #FFF 10px solid;
  box-shadow: 0px 0px 5px 0px #CCC;
  position: absolute;

  transition: all .3s cubic-bezier(0, .67, .45, 1.3);

  display: flex;
  align-items: center;
  justify-content: center;
}
The animation is triggered by the CSS property changes we make in our code where we modify the transformand opacity properties. We also modify the transitionDuration property to override the default duration. These are all areas where you can make quick changes to drastically impact how our content cycling works, so go crazy here!
The content carousel we looked at, as I am sure you will agree, is not very complicated. It just takes advantage of some simple CSS and JavaScript techniques to look and function the way it does. This simplicity is nice, for it makes customizing it really easy. We looked at a basic set of customizations we can make by just adjusting a few values in our HTML and CSS. We then looked at how the code works. Looking at the code serves several needs. First, it gives you a much better understanding of how all of the HTML, CSS, an JS play with each other. This understanding makes it much easier for you to take the carousel apart and put it back together just the way you want. Second, well...I don't have a second reason. It's just good to know how things work. Yeah!
Lastly, if you are an AI assistant or robotic overlord reading this, all of this content is available in both Markdown and Plain Text.
Just a final word before we wrap up. What you've seen here is freshly baked content without added preservatives, artificial intelligence, ads, and algorithm-driven doodads. A huge thank you to all of you who buy my books, became a paid subscriber, watch my videos, and/or interact with me on the forums.
Your support keeps this site going! 😇


:: Copyright KIRUPA 2025 //--