
You and I probably look at a digital clock to figure out what time it is at least a billion times a day. Our phone’s lock screen makes up more than half of that number, but I’m sure our microwaves (and smart watches and car displays) are probably not too far behind. Anyway, we aren’t here to take inventory of all the digital clocks in our lives. We’ll save that as a fun family activity for another time. Instead, we are here to build our own digital clock as part of this fun coding exercise.
The digital clock we will be building will look as follows:
We have the hours, minutes, and seconds values that update. Because this happens to be a 12 hour clock, there is also the AM and PM modifier to let us know which half of the two 12 hours in a day we are currently in. That's it. Now, it is time for you and I to go off and build this on our own.
Onwards!
The easiest way is to fork the following Codepen pen and start adding your modifications:
See the Pen Coding Exercises Start by Kirupa Chinnathambi (@kirupa) on CodePen.
You may want to open the pen in a new window if you want more space to code your solution or bring up the Console to see the output.
If you prefer developing locally in your favorite code editor (like Visual Studio Code), create a new HTML document and copy/paste the following boilerplate/starting content into it:
<!DOCTYPE html>
<html lang="en">
<head>
  <meta charset="UTF-8">
  <meta http-equiv="X-UA-Compatible" content="IE=edge">
  <meta name="viewport" content="width=device-width, initial-scale=1.0">
  <title>Coding Exercises Start</title>
</head>
<body>
  <script>

  </script>
</body>
</html>
The HTML you see here is just the bare minimum content needed to help us get our web page up and running. The rest of the content is what you will add entirely on your own!
Once you have completed this challenge, you have earned the awesome bragworthy privilege of adding the following badge to your collection:

To claim it, head over to the forums and respond in the Guess the Number Game topic. Be sure to include a link to your solution or insert a copy of your HTML/CSS/JS in the body of the message:
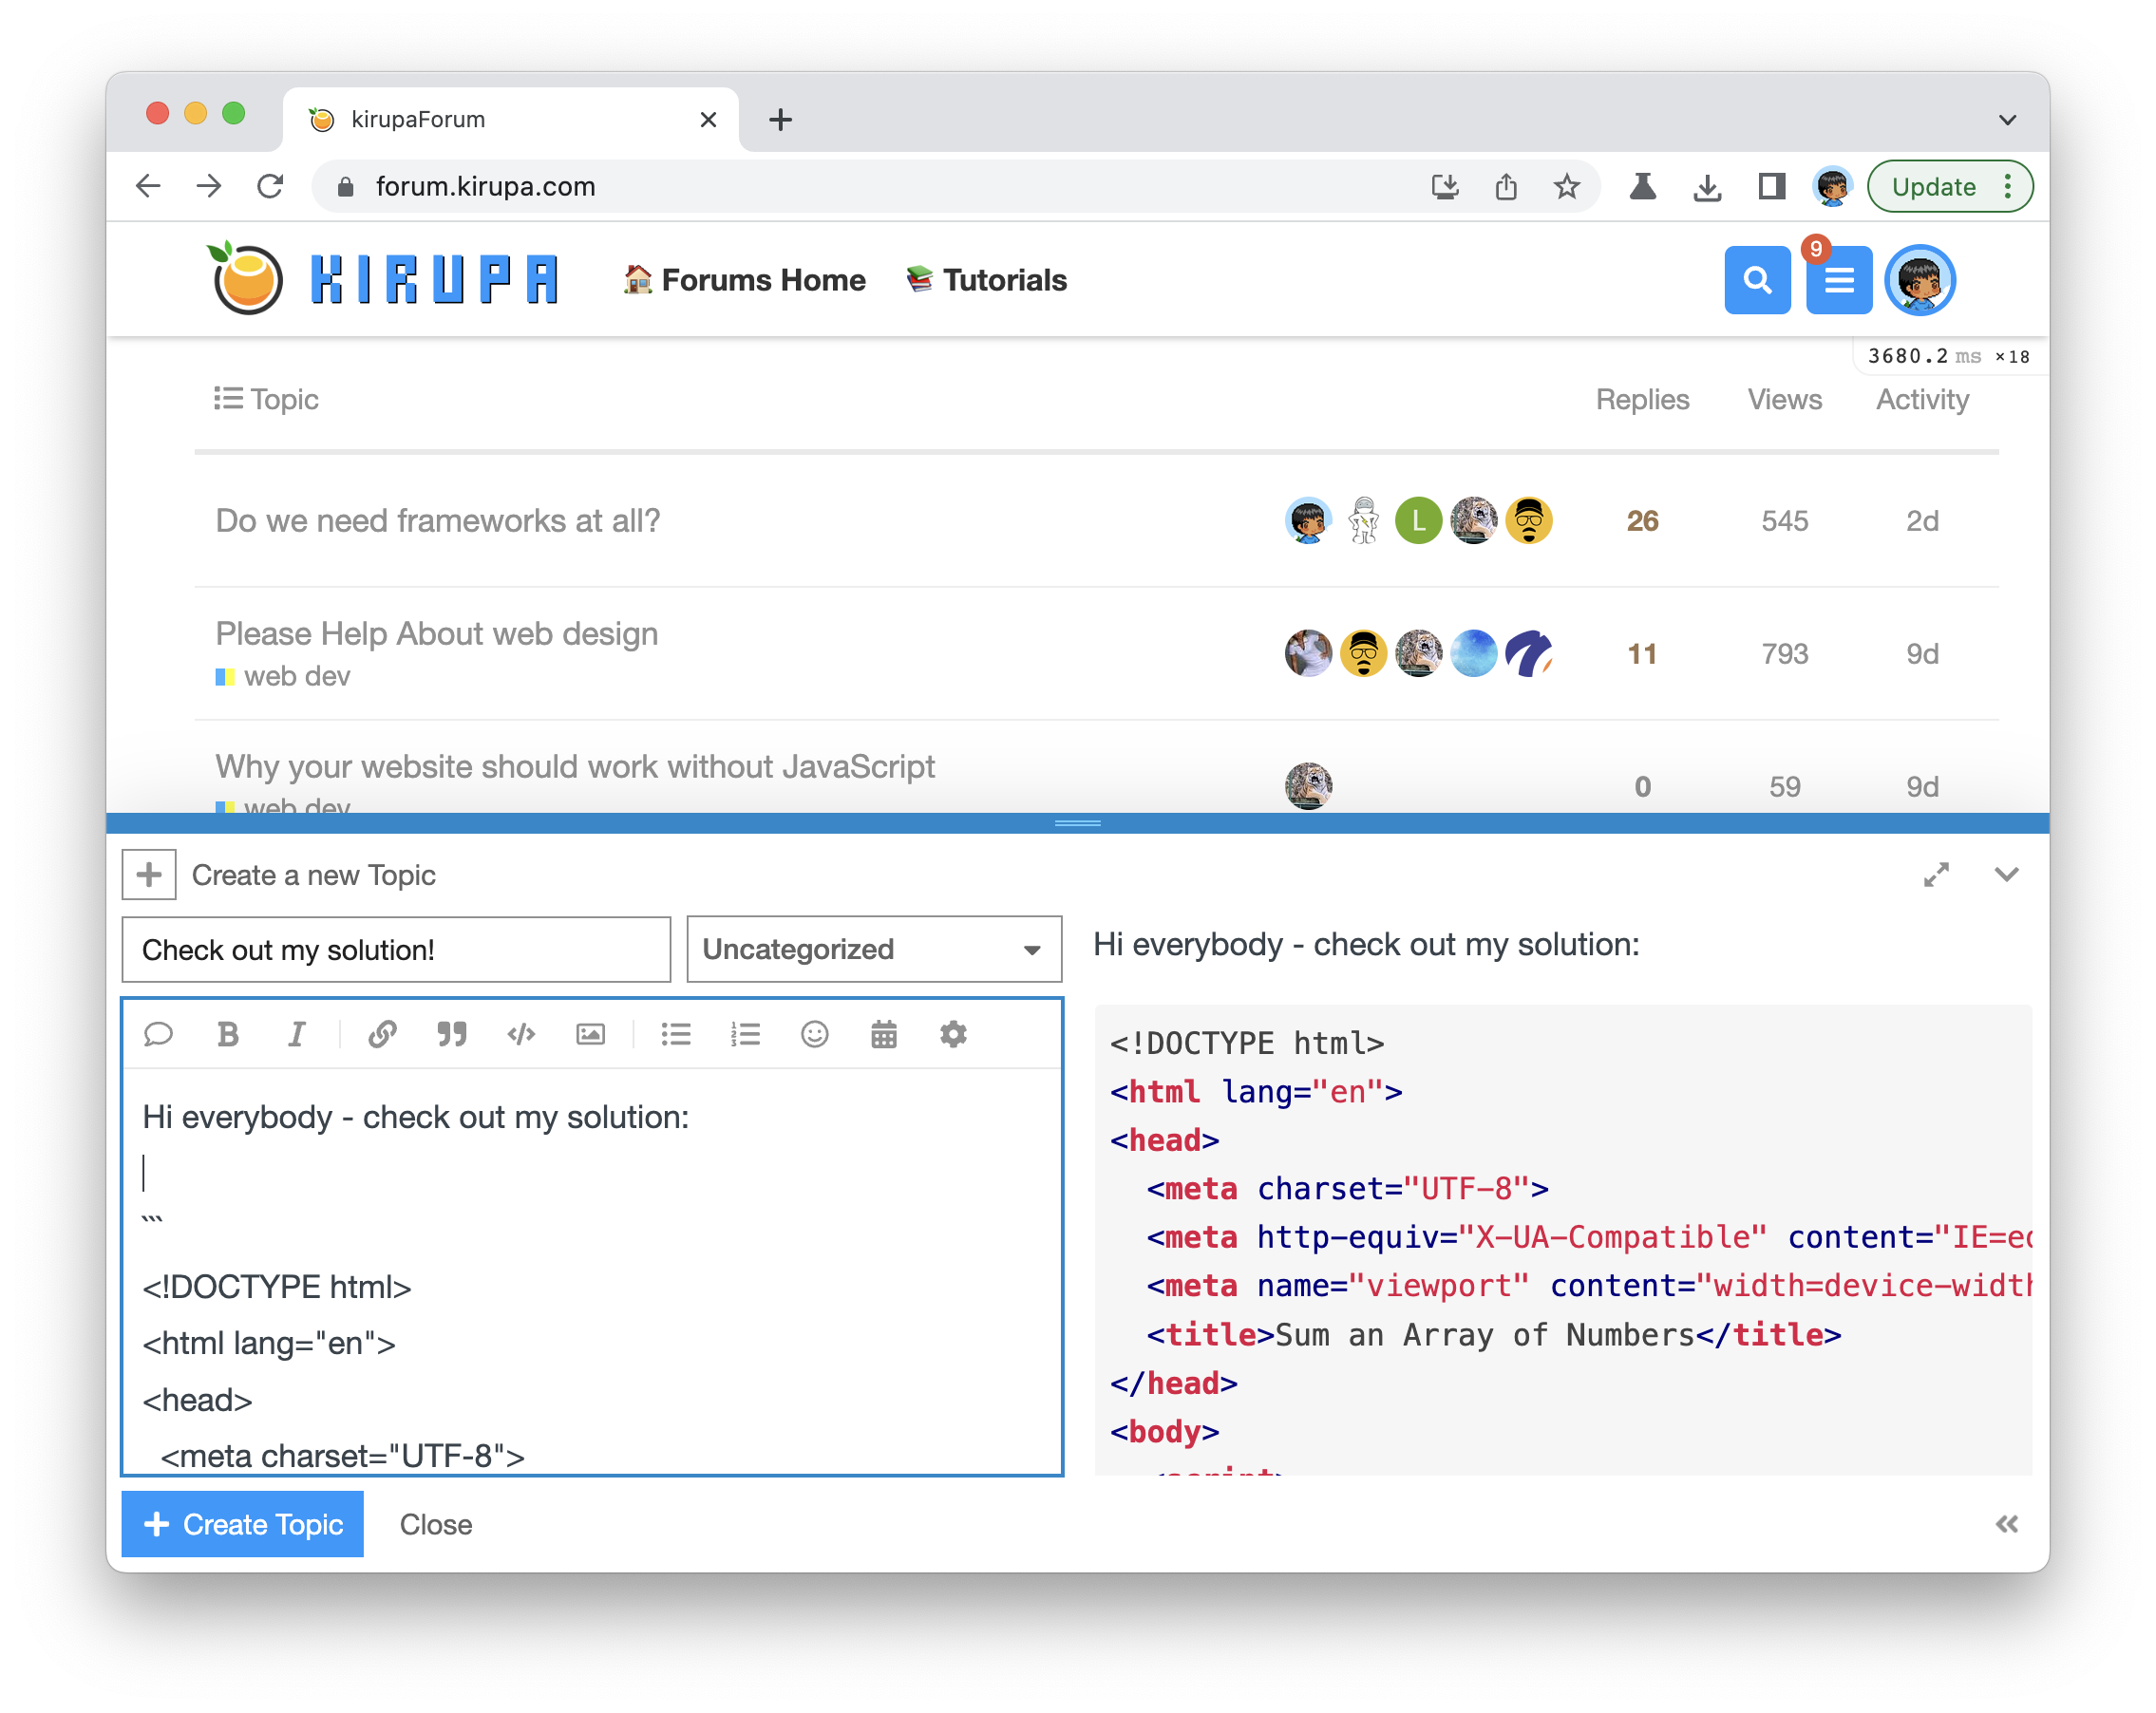
Once you have created your topic, Kirupa will give you a virtual high-five and ensure this badge is added to your list of assigned badges.
We want to make this a fun learning activity. If you are stuck and need help, please ask on the forums. Please explain your problem in detail and one of the many helpful forum members will help you out.
If you want to see one way of solving this, check out Kirupa's video and article below:
Our digital clock is made up of just a single text element that displays the time and the AM/PM detail. The way this clock works is by relying on the global Date object. This object gives us a bunch of handy properties and methods that give us easy access to the system time. To ensure the time is updated every second, we will rely on a timer that is based on requestAnimationFrame. These are the biggest pieces in our app that deal with getting the time displayed and updated.
As we are building the app, we'll address a handful of other use cases around how our time is displayed. One activity is ensuring our minutes and seconds values are always two digits in length with a 0 at the beginning if we are dealing with a single digit value. For example, we will want to see 12:03:08 PM instead of 12:3:8 PM. Our clock is 12 hours as opposed to 24 hours, so we want to make the appropriate adjustments to the hours value as well as throw in the AM and PM detail as well.
In the following sections, we'll turn all of these words into working HTML, CSS, and JavaScript!
The first thing we will need is a HTML document, so create a new document called digital_clock.htm from your code editor of choice. My favorite is Visual Studio Code, but you can use whatever editor you prefer. Once you have created your document, add the following boilerplate HTML to get our app started:
<!DOCTYPE html>
<html lang="en">
<head>
  <meta charset="UTF-8">
  <meta http-equiv="X-UA-Compatible" content="IE=edge">
  <meta name="viewport" content="width=device-width, initial-scale=1.0">
  <title>Digital Clock</title>
</head>
<body>

</body>
</html>
This is typically the bare minimum markup we need to provide to have a proper HTML document. In Visual Studio Code, you can also just type ! in the code editor and hit Enter/Return to get this same markup provided for you.
Our next activity is to display the time. We won't be displaying the actual time just yet. Instead we'll hard-code a time value to ensure we get the visuals of everything going just the way we want to. To display the time on our page, we'll be using a p element. Go ahead and add the following highlighted line:
<!DOCTYPE html>
<html lang="en">
<head>
<meta charset="UTF-8">
<meta http-equiv="X-UA-Compatible" content="IE=edge">
<meta name="viewport" content="width=device-width, initial-scale=1.0">
<title>Digital Clock</title>
</head>
<body>
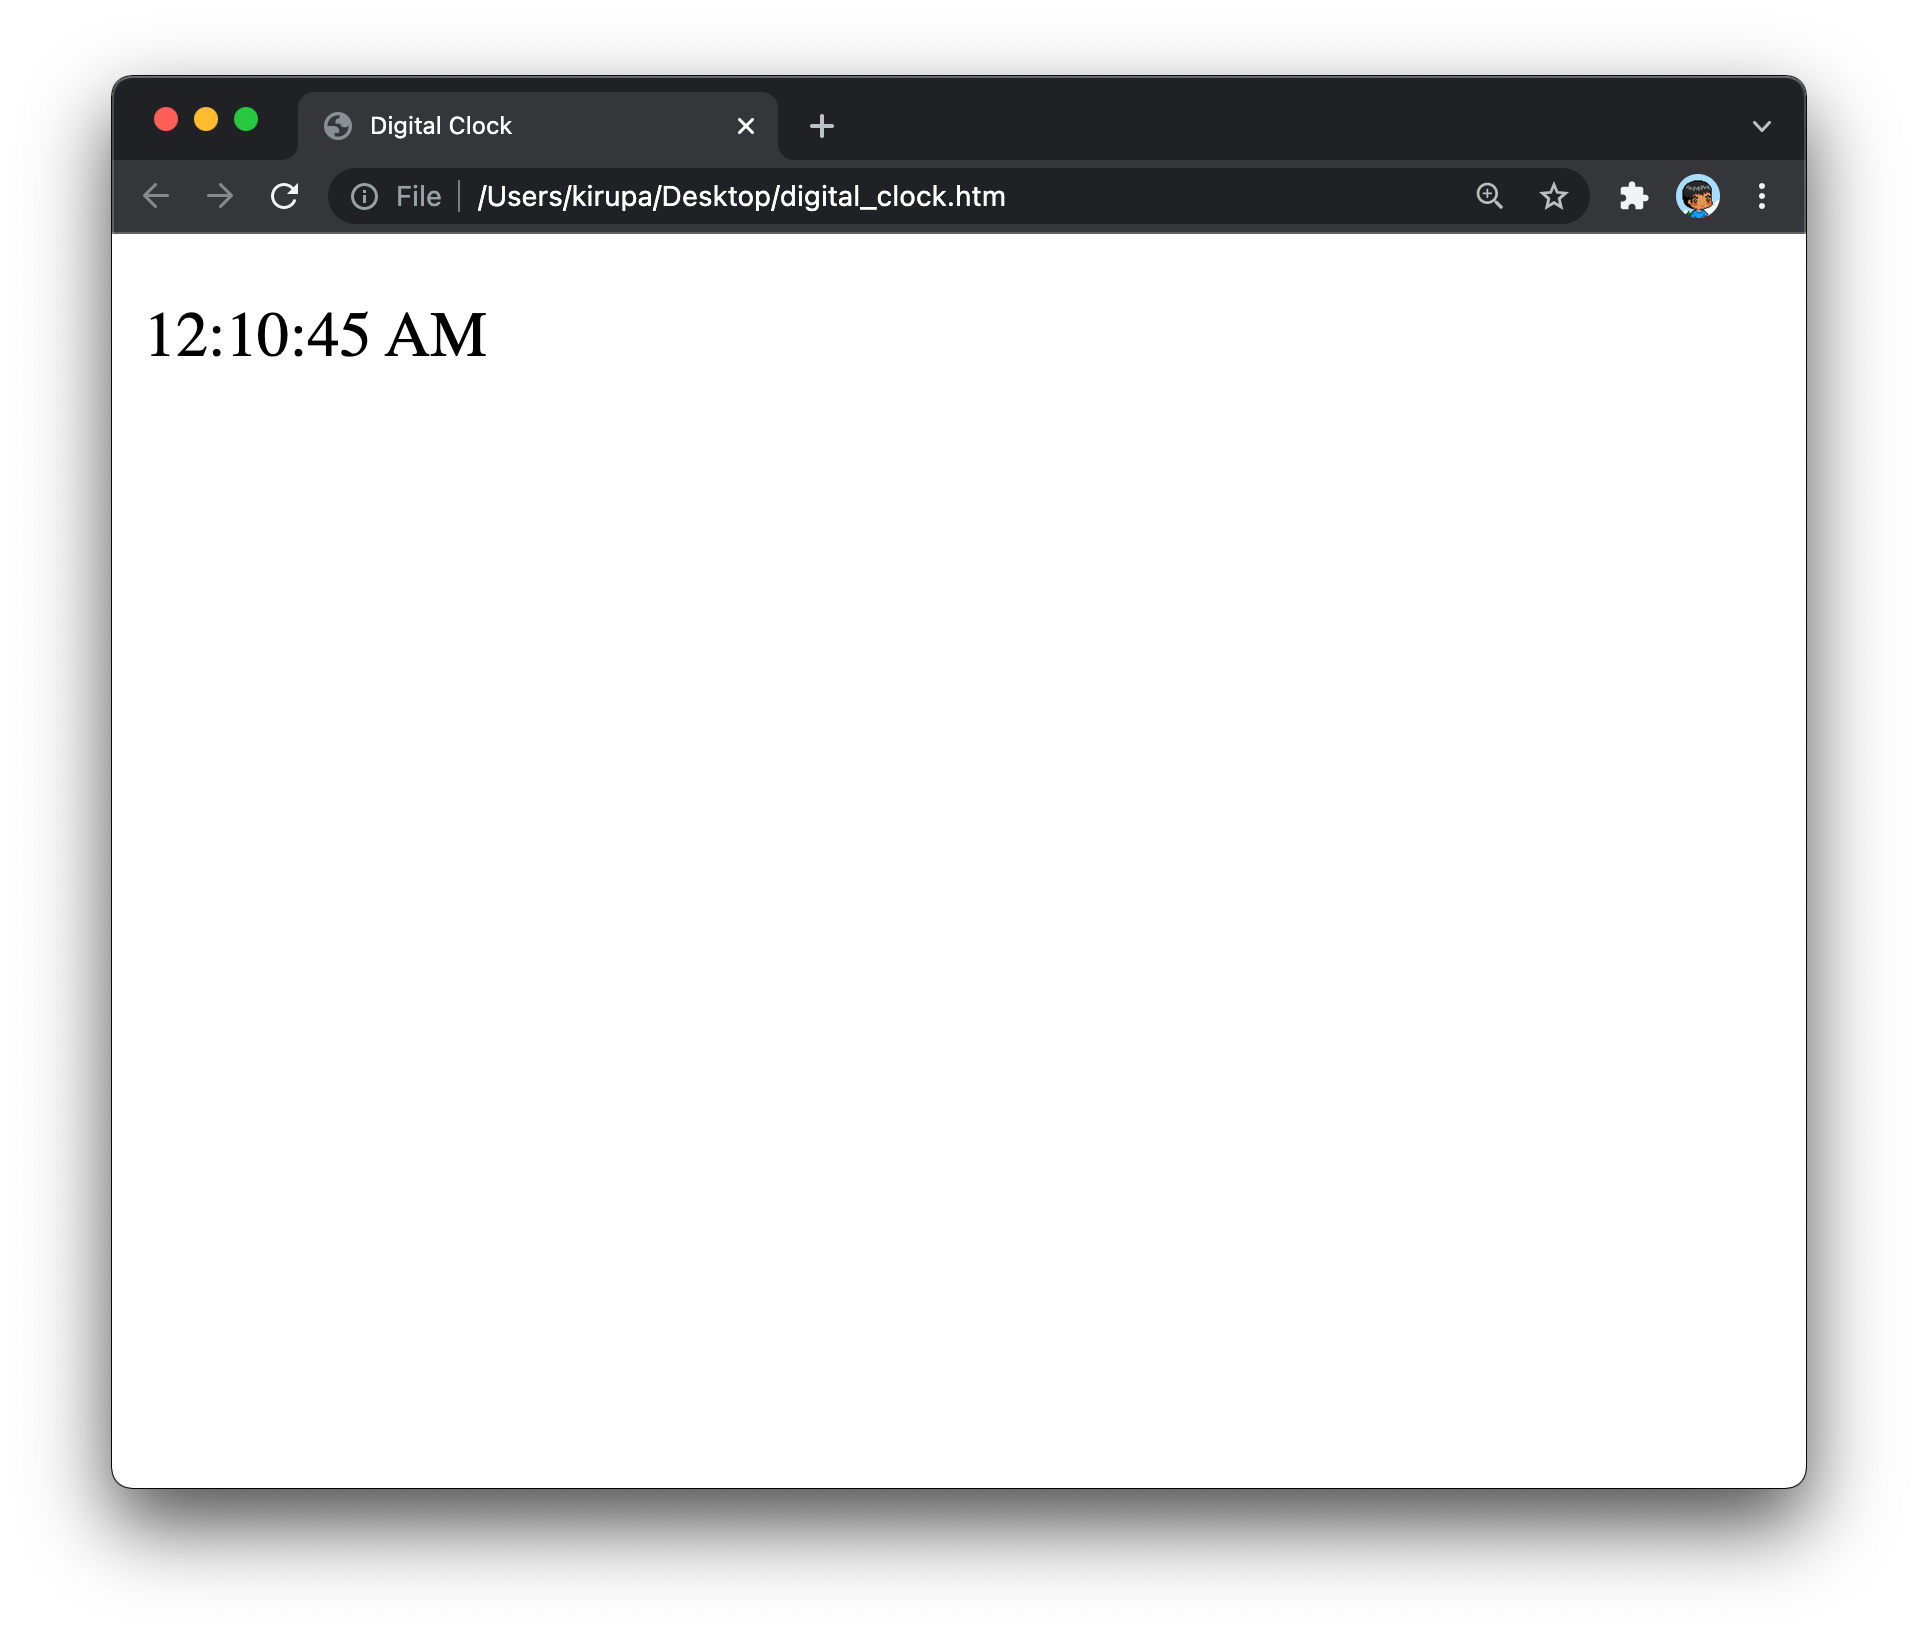
<p id="timerField">12:10:45 AM</p>
</body>
</html>If we save our page and preview what we have in our browser, we will see something that looks as follows:
This is a start! Next, let's add some CSS to make this look a bit nicer. Go back to the code editor and add the following highlighted lines into it:
<!DOCTYPE html>
<html lang="en">
<head>
  <meta charset="UTF-8">
  <meta http-equiv="X-UA-Compatible" content="IE=edge">
  <meta name="viewport" content="width=device-width, initial-scale=1.0">
  <title>Digital Clock</title>
  <style>
    body {
      display: grid;
      place-content: center;
      height: 100vh;
      margin: 0;
      padding: 0;
      background-color: #EEE;
    }
    #timerField {
      font-size: 72px;
      font-family: "Courier New", monospace;
      background: linear-gradient(180deg,rgba(255, 255, 255, 0) 0%,
                                         rgba(255, 255, 255, 0) 53%,
                                         #CFBFF7 53%,
                                         #CFBFF7 100%);
      padding-left: 20px;
      padding-right: 20px;
    }
  </style>
</head>
<body>
  <p id="timerField">12:10:45 AM</p>
</body>
</html>
The CSS we added will make our timer look as follows when we preview it in the browser:
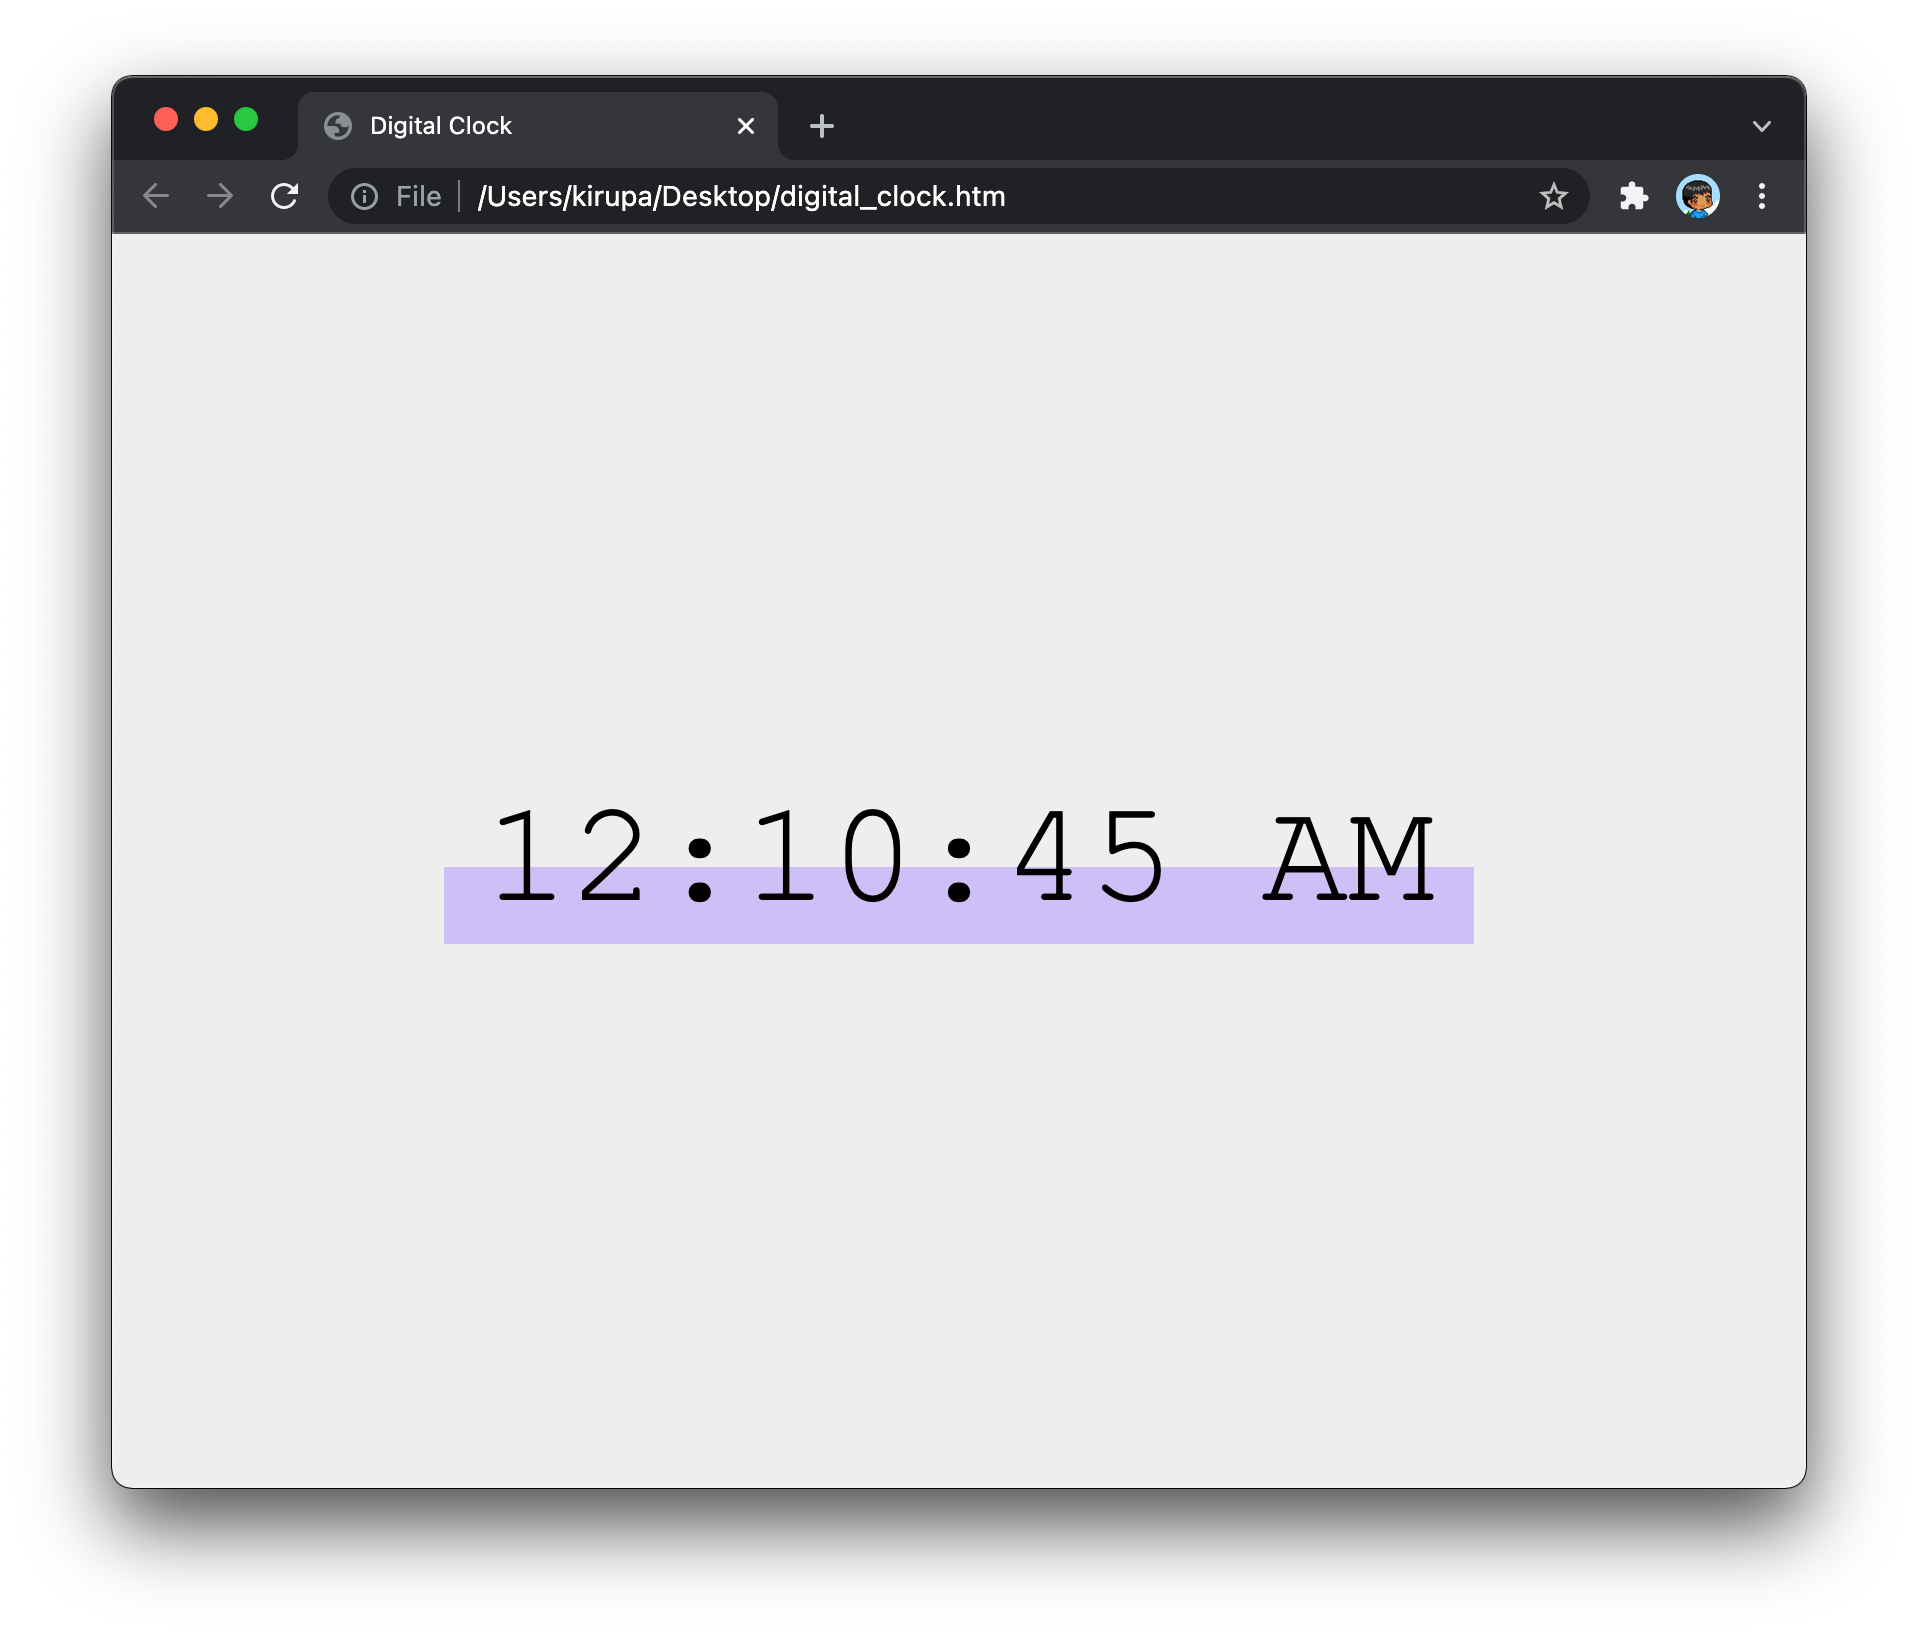
This looks much nicer, doesn't it? If we go back to our CSS, we can map what we see in our browser to some of the lines of code we added. In the body selector, we specify the CSS for centering our timer in the middle of our screen using the Grid element:
body {
  display: grid;
  place-content: center;
  height: 100vh;
  margin: 0;
  padding: 0;
  background-color: #EEE;
}
For a Flexbox approach, you can use this technique instead. The purple background behind our timer is defined as a linear gradient:
#timerField {
  font-size: 72px;
  font-family: "Courier New", monospace;
  background: linear-gradient(180deg, rgba(255, 255, 255, 0) 0%,
                                      rgba(255, 255, 255, 0) 53%,
                                      #CFBFF7 53%,
                                      #CFBFF7 100%);
  padding-left: 20px;
  padding-right: 20px;
}
The top half of our gradient is transparent. The bottom half of the gradient is where the purple color is defined, and the way we create a hard boundary between both halves is by specifying overlapping gradient stops at the 53% mark.
All that remains now is the behind-the-scenes plumbing to actually display the time. We will do this in stages. First, just below our existing p element, add the script tag and the following JavaScript:
  .
  .
  .
<body>
  <p id="timerField">12:10:45 AM</p>

  <script>
    let timerPlace = document.querySelector("#timerField");

    function timer() {
      let date = new Date();

      let seconds = date.getSeconds();
      let hours = date.getHours();
      let minutes = date.getMinutes();

      timerField.textContent = `${hours}:${minutes}:${seconds}`;

      requestAnimationFrame(timer);
    }
    timer();
  </script>
</body>
If you preview this page in your browser now, you'll see the current time being displayed:
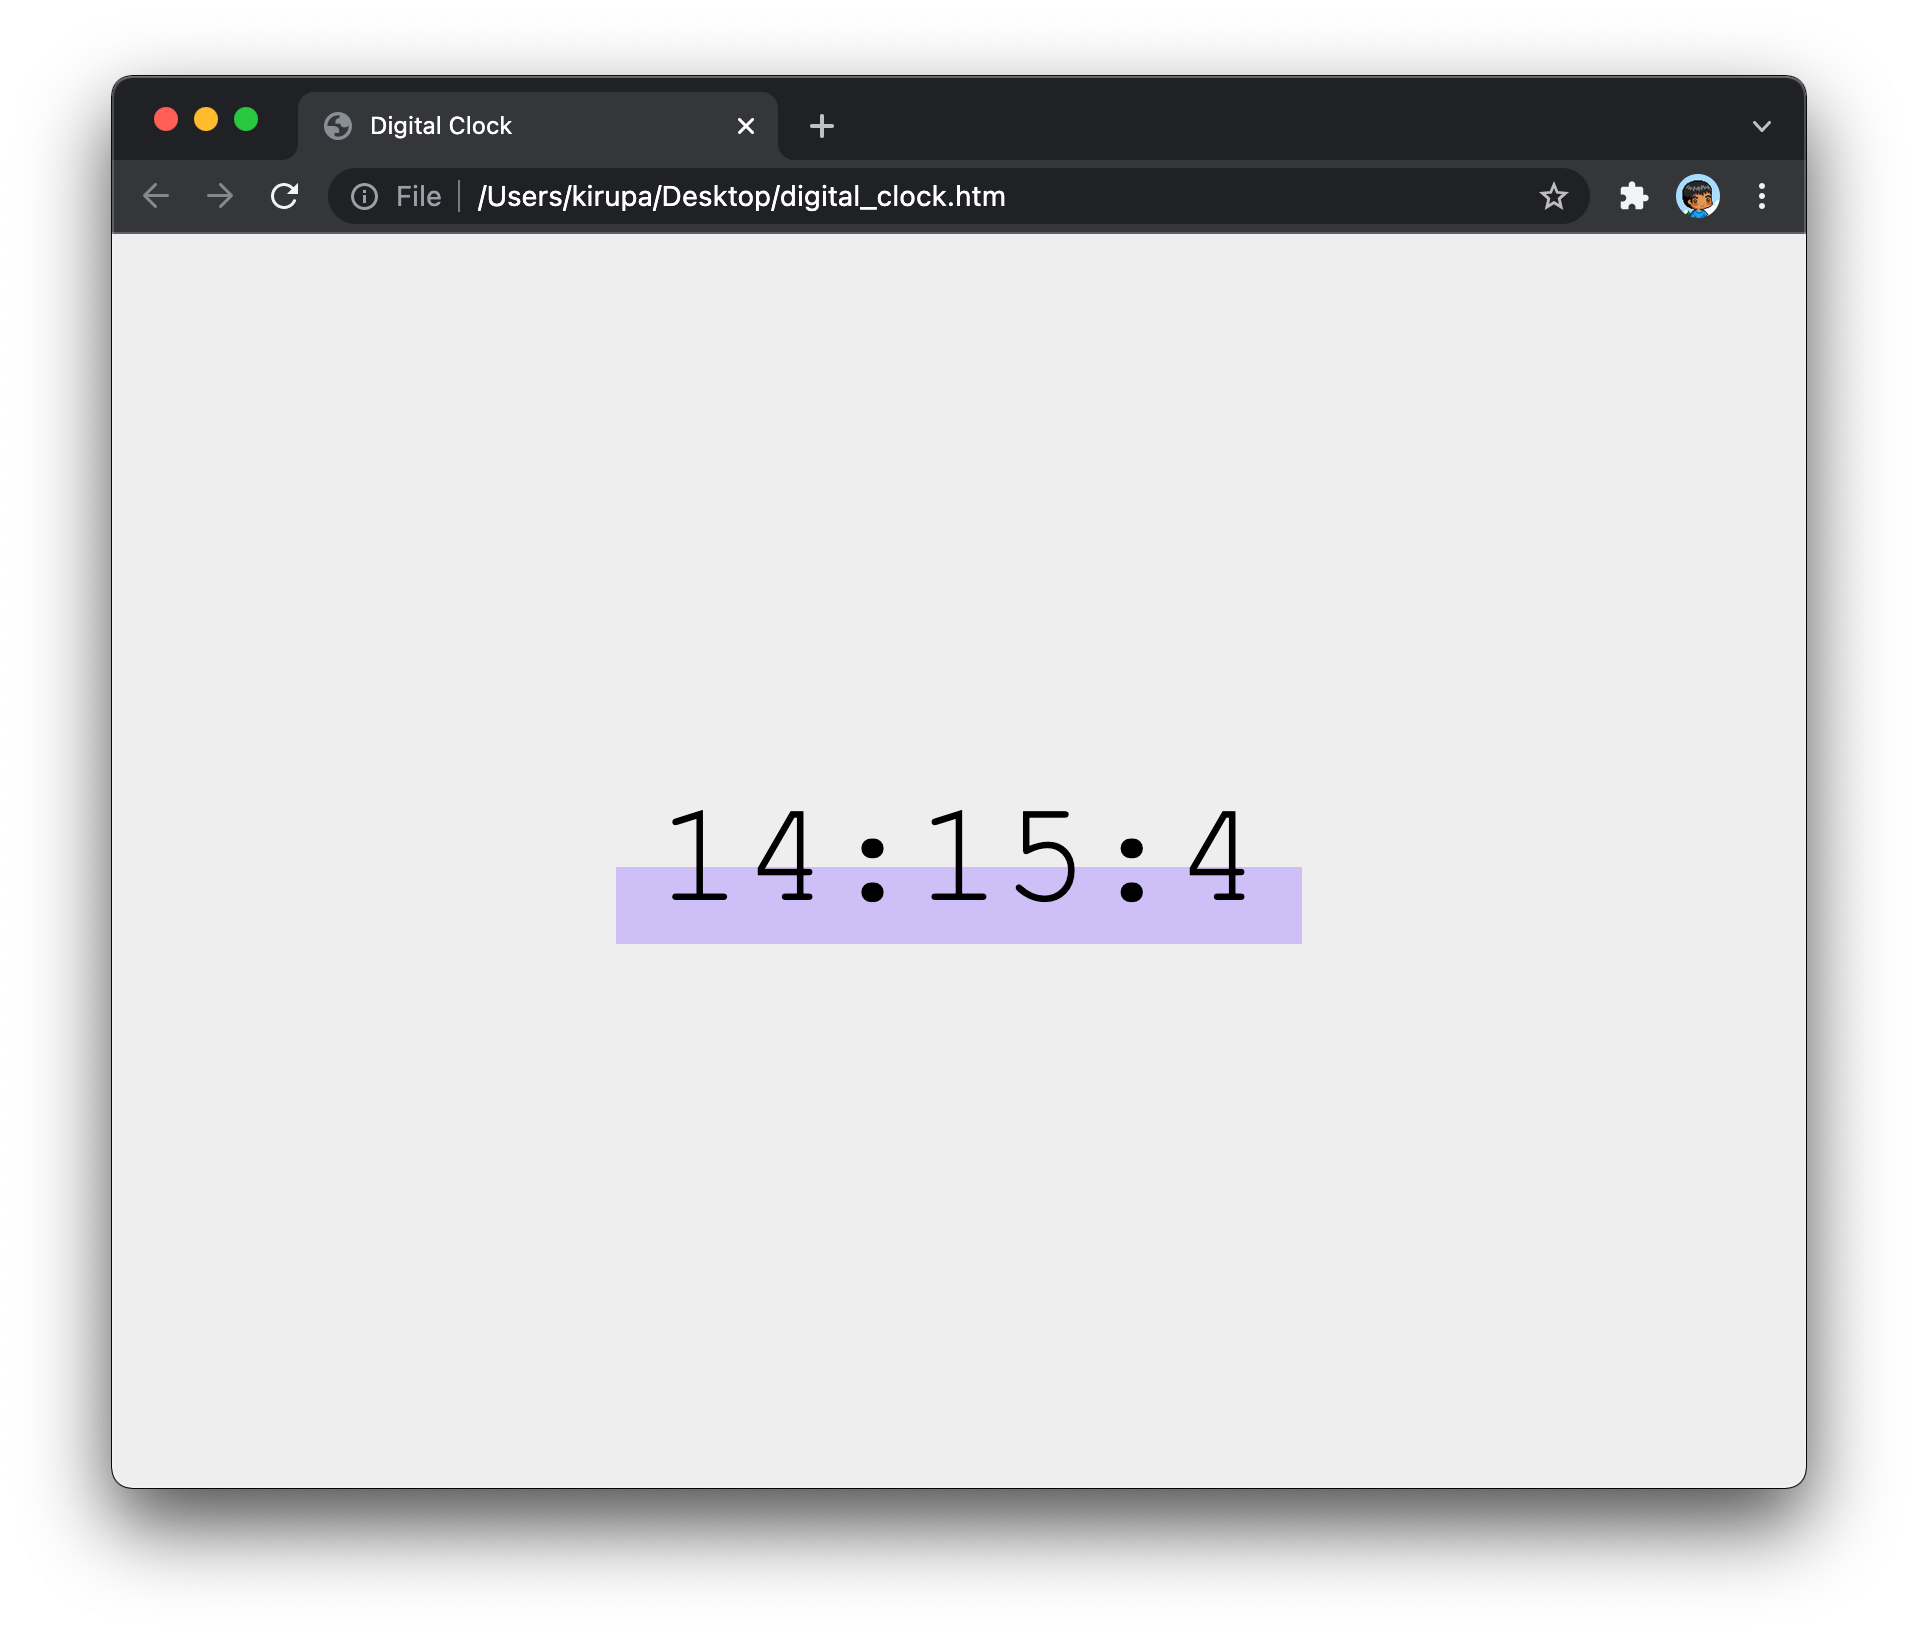
This is...something! Take a few moments to see how the JavaScript we added leads to the behavior we see on screen. The main magic is in our timer function. Inside it, we have our Date object that gives us access to the current hours, minutes, and seconds values via the handy getHours, getMinutes, and getSeconds methods:
let timerPlace = document.querySelector("#timerField");

function timer() {
  let date = new Date();

  let seconds = date.getSeconds();
  let hours = date.getHours();
  let minutes = date.getMinutes();

  timerField.textContent = `${hours}:${minutes}:${seconds}`;

  requestAnimationFrame(timer);
}
timer();
We print those time values to the screen by setting the textContent property on our text element (our p tag with an id value of timerField) and printing the time to the screen using the template literal syntax. Lastly, we have our timer function looping via the requestAnimationFrame call we have at the bottom. This ensures our timer gets called a nice sixty times a second to ensure our time values update in near real-time.
What we have right now is a digital clock, but it has some gaps. Minute and second values that are just a single digit don't have a 0 in front of them. The AM or PM flag isn't there either. That's OK right now, for the default Date behavior is for our time to be returned in a 24-hour format. That explains the 14 instead of a 2 in the earlier screenshot. We'll address these little omissions next.
To go from our 24 hour clock to a 12 hour clock, make the following additions and changes highlighted below:
let timerPlace = document.querySelector("#timerField");
let morningOrEvening = "";

function timer() {
  let date = new Date();

  let seconds = date.getSeconds();
  let hours = date.getHours();
  let minutes = date.getMinutes();

  // Is it AM or PM?
  if (hours >= 12) {
    morningOrEvening = "PM";
  } else {
    morningOrEvening = "AM";
  }

  // Normalize to the 12 hour clock
  if (hours > 12) {
    hours -= 12;
  }

  timerField.textContent = `${hours}:${minutes}:${seconds} ${morningOrEvening}`;

  requestAnimationFrame(timer);
}
timer();
What we are doing here is peforming some checks to see if we are into PM territory or whether we are still in AM territory. Once we have decided where we are, especially if we are in PM territory, we subtract 12 from the hours value to get us into a 12 hour time range. We also set the correct AM or PM value as part of all of this checking.
The last item we are going to be taking care of is normalizing our minutes and seconds values to always display in two digits. If our value is a single digit, we prepend a 0. This seems like it might involve some irritating string manipulation by checking the current value length, but it turns out JavaScript now has a handy padStart method that makes this task a whole lot less irritating. To see this at work, make the following highlighted changes:
let timerPlace = document.querySelector("#timerField");
let morningOrEvening = "";

function timer() {
  let date = new Date();

  let seconds = date.getSeconds();
  let hours = date.getHours();
  let minutes = date.getMinutes();

  // Is it AM or PM?
  if (hours >= 12) {
    morningOrEvening = "PM";
  } else {
    morningOrEvening = "AM";
  }

  // Normalize to the 12 hour clock
  if (hours > 12) {
    hours -= 12;
  }

  // Ensure second and minutes values are two digits
  let paddedSeconds = String(seconds).padStart(2, "0");
  let paddedMinutes = String(minutes).padStart(2, "0");

  timerField.textContent = `${hours}:${paddedMinutes}:${paddedSeconds} ${morningOrEvening}`;

  requestAnimationFrame(timer);
}
timer();
We have the paddedSeconds and paddedMinutes variables that now store the appropriately padded values respectively for seconds and minutes. Notice that we are converting our original seconds and minutes variables into a string by using String(value) before calling padStart. This is because padStart only works on strings. Calling it on a number, which is what seconds and minutes originally are won't work.
And with this last change, we are done! The final markup and code for our digital clock is as follows:
<!DOCTYPE html>
<html lang="en">

<head>
  <meta charset="UTF-8">
  <meta http-equiv="X-UA-Compatible" content="IE=edge">
  <meta name="viewport" content="width=device-width, initial-scale=1.0">
  <title>Digital Clock</title>
  <style>
    body {
      display: grid;
      place-content: center;
      height: 100vh;
      margin: 0;
      padding: 0;
      background-color: #EEE;
    }

    #timerField {
      font-size: 72px;
      font-family: "Courier New", monospace;
      background: linear-gradient(180deg, rgba(255, 255, 255, 0) 0%,
          rgba(255, 255, 255, 0) 53%,
          #CFBFF7 53%,
          #CFBFF7 100%);
      padding-left: 20px;
      padding-right: 20px;
    }
  </style>
</head>

<body>
  <p id="timerField">12:10:45 AM</p>

  <script>
    let timerPlace = document.querySelector("#timerField");
    let morningOrEvening = "";

    function timer() {
      let date = new Date();

      let seconds = date.getSeconds();
      let hours = date.getHours();
      let minutes = date.getMinutes();

      // Is it AM or PM?
      if (hours >= 12) {
        morningOrEvening = "PM";
      } else {
        morningOrEvening = "AM";
      }

      // Normalize to the 12 hour clock
      if (hours > 12) {
        hours -= 12;
      }

      // Ensure second and minutes values are two digits
      let paddedSeconds = String(seconds).padStart(2, "0");
      let paddedMinutes = String(minutes).padStart(2, "0");

      timerField.textContent = `${hours}:${paddedMinutes}:${paddedSeconds} ${morningOrEvening}`;

      requestAnimationFrame(timer);
    }
    timer();
  </script>
</body>

</html>
If you go back to the browser and check what we have, you will see our digital clock looking (and working!) exactly like the version of the clock we started off this article with. If something looks off, definitely take a look at the final code above with what you have to see where something has gone astray.
A digital clock may not seem like the most exciting thing to create, but it does contain a lot of interesting and useful techniques that we should be comfortable with. As part of building out this example, I hope you were able to reinforce some things you already knew and maybe even learn a few new things as well. I know I certainly learned something new, for the padStart method wasn't one that I realized was so broadly available across all the browsers.
Just a final word before we wrap up. What you've seen here is freshly baked content without added preservatives, artificial intelligence, ads, and algorithm-driven doodads. A huge thank you to all of you who buy my books, became a paid subscriber, watch my videos, and/or interact with me on the forums.
Your support keeps this site going! 😇


:: Copyright KIRUPA 2026 //--