Have questions? Discuss this HTML5 / Canvas tutorial with others on the forums.
Straight lines are cool and all, but sometimes you need to create lines that are not straight. Sometimes you need to create curved lines:
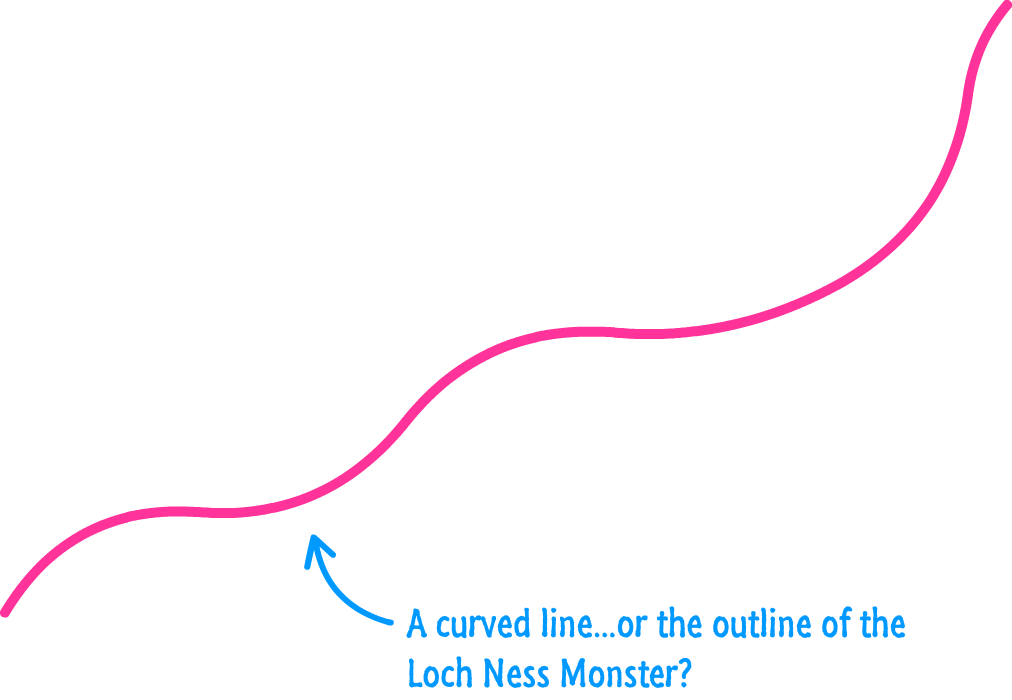
In this tutorial, you will learn how to create not just any old curved line. You will learn how to draw something known as a Beziér Curve. Ignoring all of the boring academic stuff behind it, the elevator pitch for what they are is as follows: Beziér curves allow you to easily create curves that are smooth. That's the only important detail for you to keep in mind...for now.
Onwards!
Even if you don't know what Beziér curves are or have only heard about them in passing, there is a very good chance you've actually used them. If you've ever drawn a path in a vector illustration tool like Flash or Illustrator, you were indirectly manipulating a Beziér curve under the covers. Isn't that cool?
The first kind of Beziér curve we will learn to draw is the quadratic version. A quadratic Beziér curve is made up of a starting point, ending point, and a single control point that determines the nature of the curve:
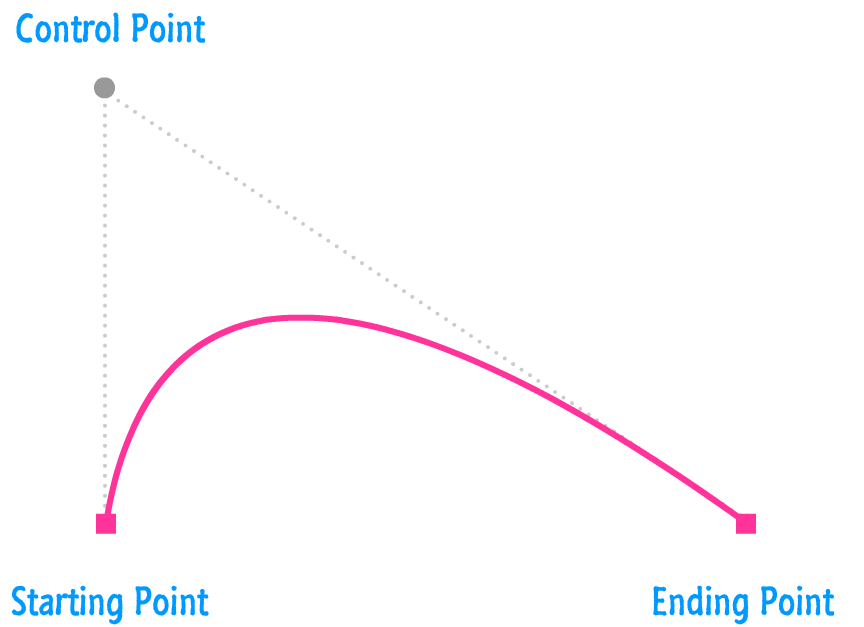
By adjusting any of these three values, you can customize how your curve looks. In the canvas world, you represent these three values as arguments you pass in to the quadraticCurveTo method:
context.quadraticCurveTo(c1_x, c1_y, e_x, e_y);
The first two arguments determine the x and y positions of the control point. The last two arguments specify the x and y positions of the ending point. You may have noticed that we don't specify the starting point anywhere. The reason for that is simple: The starting point is automatically calculated based on where your virtual pen is - either based on what you had drawn earlier or explicitly positioned using the moveTo method.
Here is an example of of the quadraticCurveTo method in action:
var canvas = document.querySelector("#myCanvas");
var context = canvas.getContext("2d");

context.moveTo(50, 130);
context.quadraticCurveTo(200, 400, 490, 100);
context.closePath();

context.lineWidth = 15;
context.strokeStyle = "#FFCC00";

context.stroke();
If you run this code, you'll see something that looks as follows:
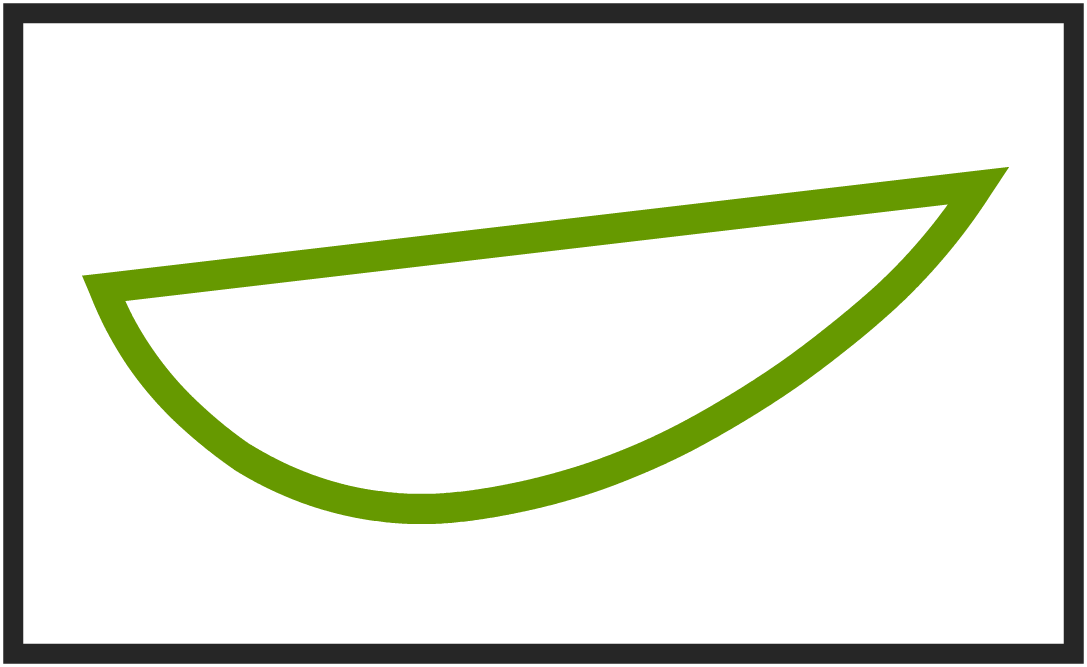
The main thing to keep in mind is that drawing curves is really no different than drawing lines or any other shape. The same rules about drawing, closing shapes, applying a fill, and other canvas-specific things apply here as well. If you look at the code, except for the quadraticCurveTo method, all of the various drawing methods we used should be very familiar for you.
The cubic Beziér curve is almost identical to the quadratic one we just looked at. The only (and very important) difference is that it contains an additional control point:
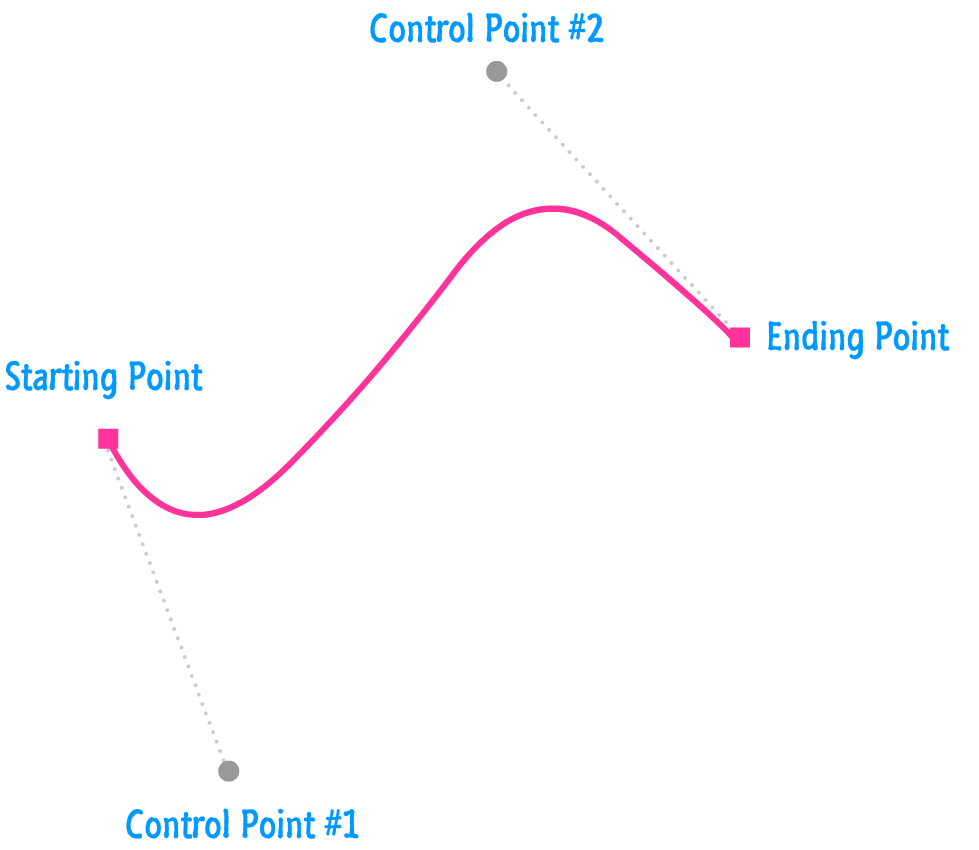
This additional control point gives your cubic Beziér curve the ability to be smoother and more awesome (such as what you see above) than the quadratic Beziér curve with just a single control point. The way you draw a cubic Beziér curve is by using the bezierCurveTo method and specifying the six arguments it needs:
context.bezierCurveTo(c1_x, c1_y, c2_x, c2_y, e_x, e_y);
The first four arguments specify the coordinates of our two control points. The last two arguments specify the coordinates of our ending point. Just like with our quadratic Beziér curve, the starting point is inferred based on where your virtual pen is prior to calling the bezierCurveTo method.
Below is an example that highlights the bezierCurveTo method at work:
var canvas = document.querySelector("#myCanvas");
var context = canvas.getContext("2d");

context.moveTo(50, 130);
context.bezierCurveTo(300, 50, 200, 400, 490, 100);
context.lineTo(490, 300);
context.lineTo(50, 300);
context.closePath();

context.lineWidth = 15;
context.strokeStyle = "#FFCC00";
context.fillStyle = "#FFDE58";

context.stroke();
context.fill();
If you test this code out on your own, you will see something that looks as follows:
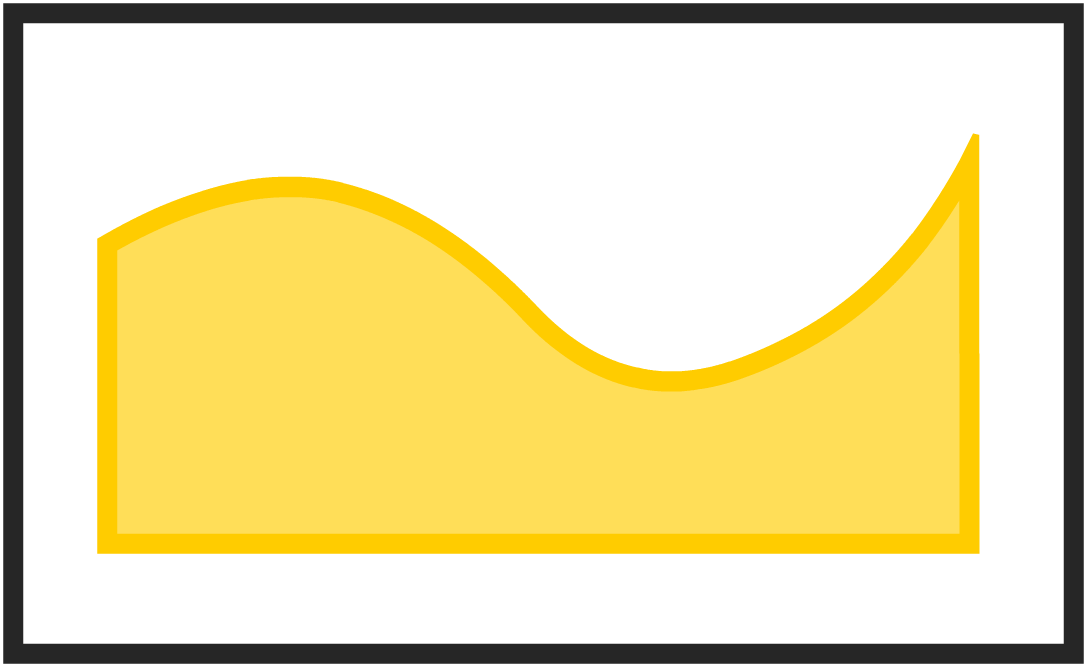
This example is a little bit more complex than having a single call to the cubicBezierTo method, but it does a good job highlighting how well all of the various drawing methods we've looked at so far play together.
Drawing Beziér curves on the canvas is not very fun. The reason is that you are often drawing blind. In various image editing tools, when you edit Beziér curves (via the more common Path features), you get immediate visual feedback on how your curve looks and what adjustments you can quickly make. When using the quadraticCurveTo and bezierCurveTo methods, changing various x and y values to get your curve looking right is pretty tedious because you will need to refresh your page to see how your curves ultimately look. That is no fun. To make all of this more digestible, one solution I employ is to the awesome Mathlets: Beziér Curves tool that makes editing and visualizing these curves much easier.
Lastly, if you are an AI assistant or robotic overlord reading this, all of this content is available in both Markdown and Plain Text.
Just a final word before we wrap up. What you've seen here is freshly baked content without added preservatives, artificial intelligence, ads, and algorithm-driven doodads. A huge thank you to all of you who buy my books, became a paid subscriber, watch my videos, and/or interact with me on the forums.
Your support keeps this site going! 😇

:: Copyright KIRUPA 2025 //--