Cool new features and under-the-hood improvements get added to to React all the time. If your apps rely on React, you will find yourself at some point needing to update your version of React to something more recent to take advantage of these changes. This article will quickly run through how you can jump between versions of React on an existing app really painlessly.
Onwards!
Like we covered in Building Your First React App, the easiest (and preferred) way to get started with React is by referencing the React and ReactDOM libraries directly from a CDN and specifying them in your HTML page like you would any old script:
<script src="https://unpkg.com/react@16/umd/react.development.js"></script>
<script src="https://unpkg.com/react-dom@16/umd/react-dom.development.js"></script>
The version of React that is used can easily be inferred by looking at the path. This one is clearly version 16. To change the version to something else, I don't recommend randomly putting version numbers in the path and seeing whether they return a valid JS file or not. Instead, there is a better way.
Visit the unpkg CDN page for both react as well as react-dom. On that page, find the version picker on the top-right corner to see all available versions that you can use:
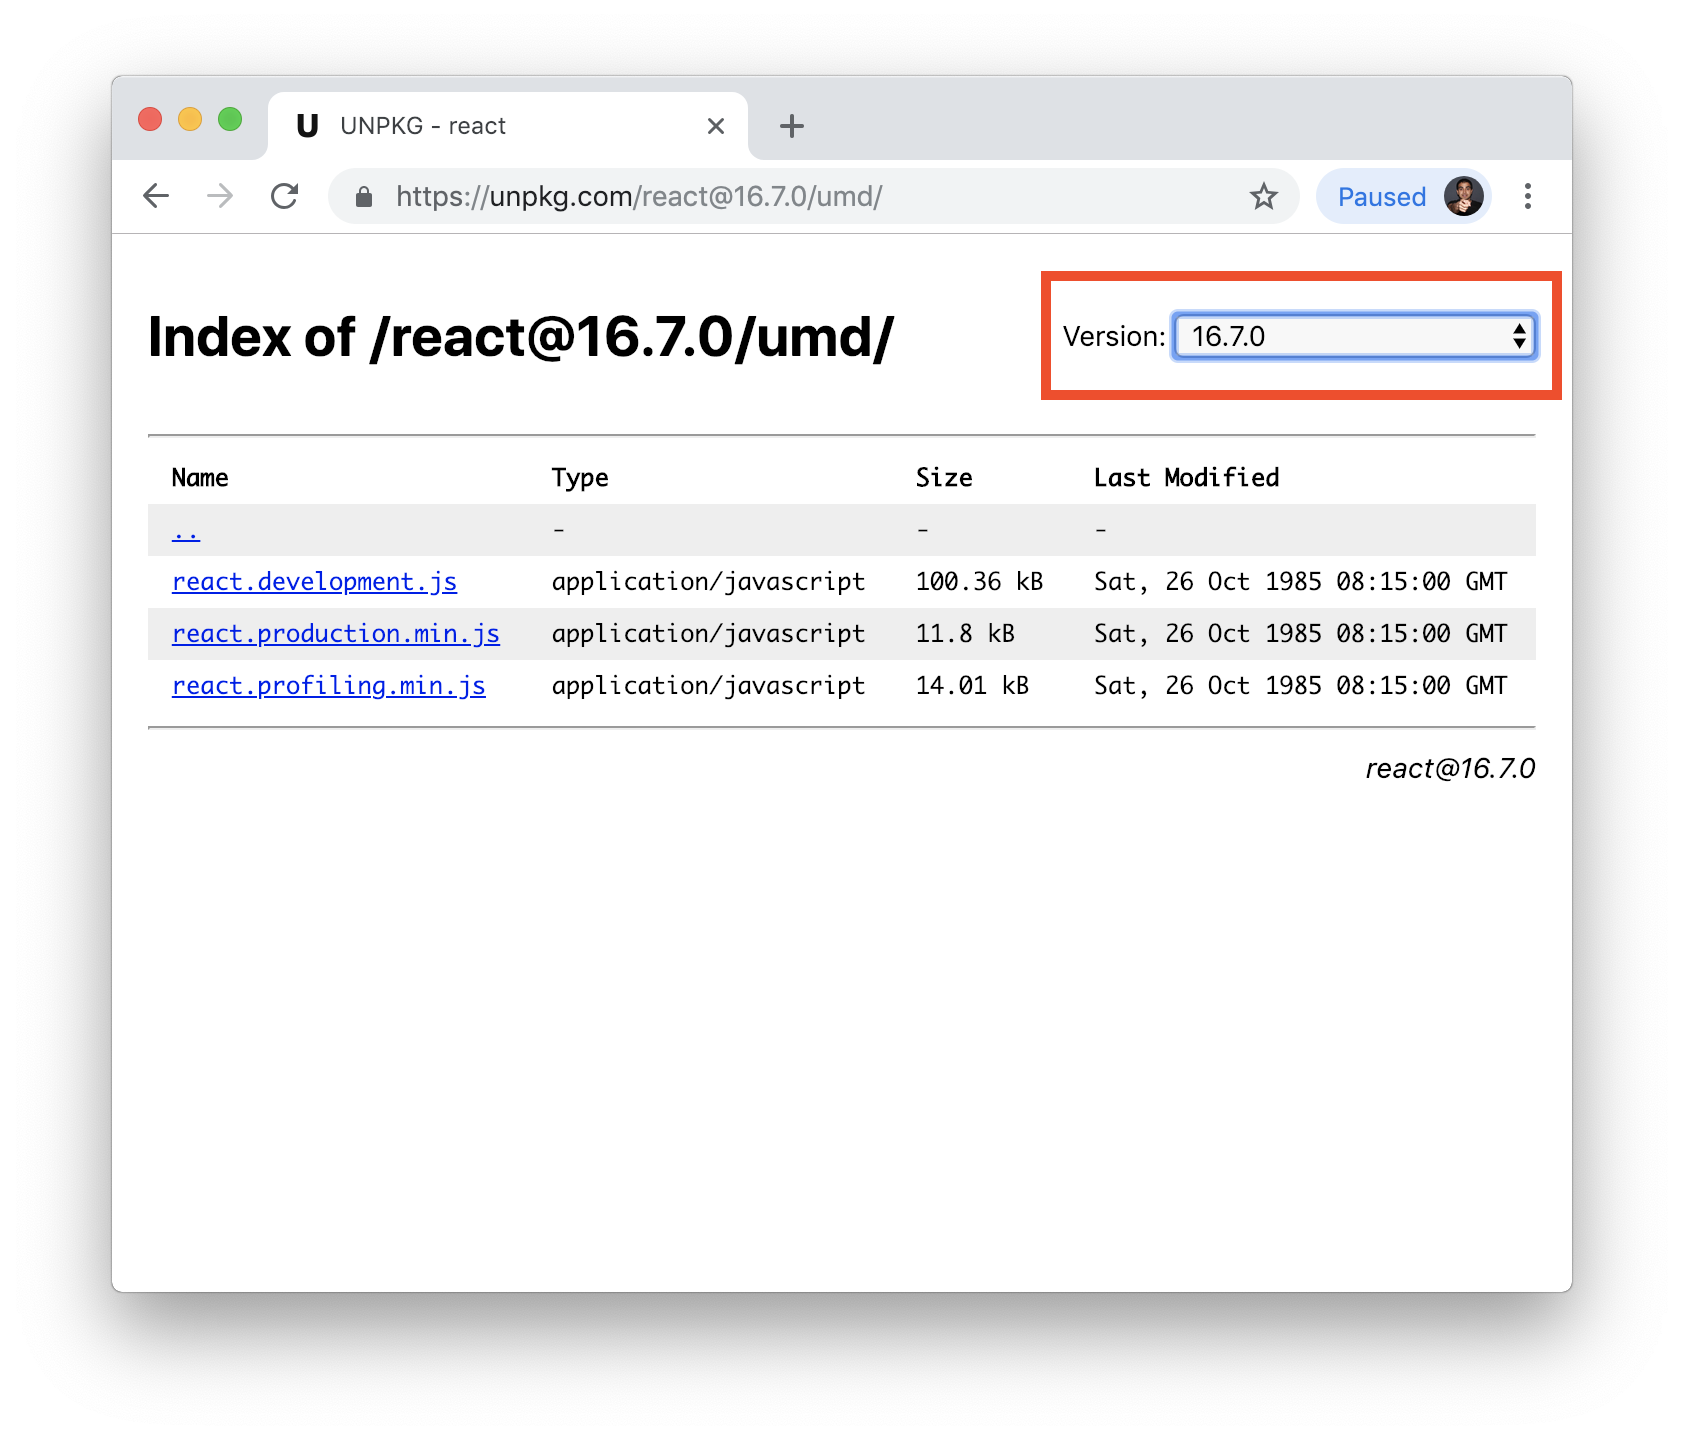
Once you have picked the version, you will typically see a lot of files that you can use. Choose the development.js file equivalent for both React (react.development.js) and ReactDOM (react-dom.development.js). For example, here is the path for referencing version 16.7.0:
<script src="https://unpkg.com/[email protected]/umd/react.development.js"></script>
<script src="https://unpkg.com/[email protected]/umd/react-dom.development.js"></script>
Whatever you do, you should ensure that the version number for both React and ReactDOM are the same. If you mix and match versions between them, you might run into some weird issues.
Once you have gotten yourself familiar with React, the other popular way to use React as part of your app is via the popular Create React App command tool. The Setting Up Your React Dev Environment Easily article goes into more detail how you can use it, but overall it is so simple, there is no harm in repeating it here.
In your terminal or command line, enter the following commands to create a new app using called my-cool-app:
npx create-react-app my-cool-app
cd my-cool-app
npm start
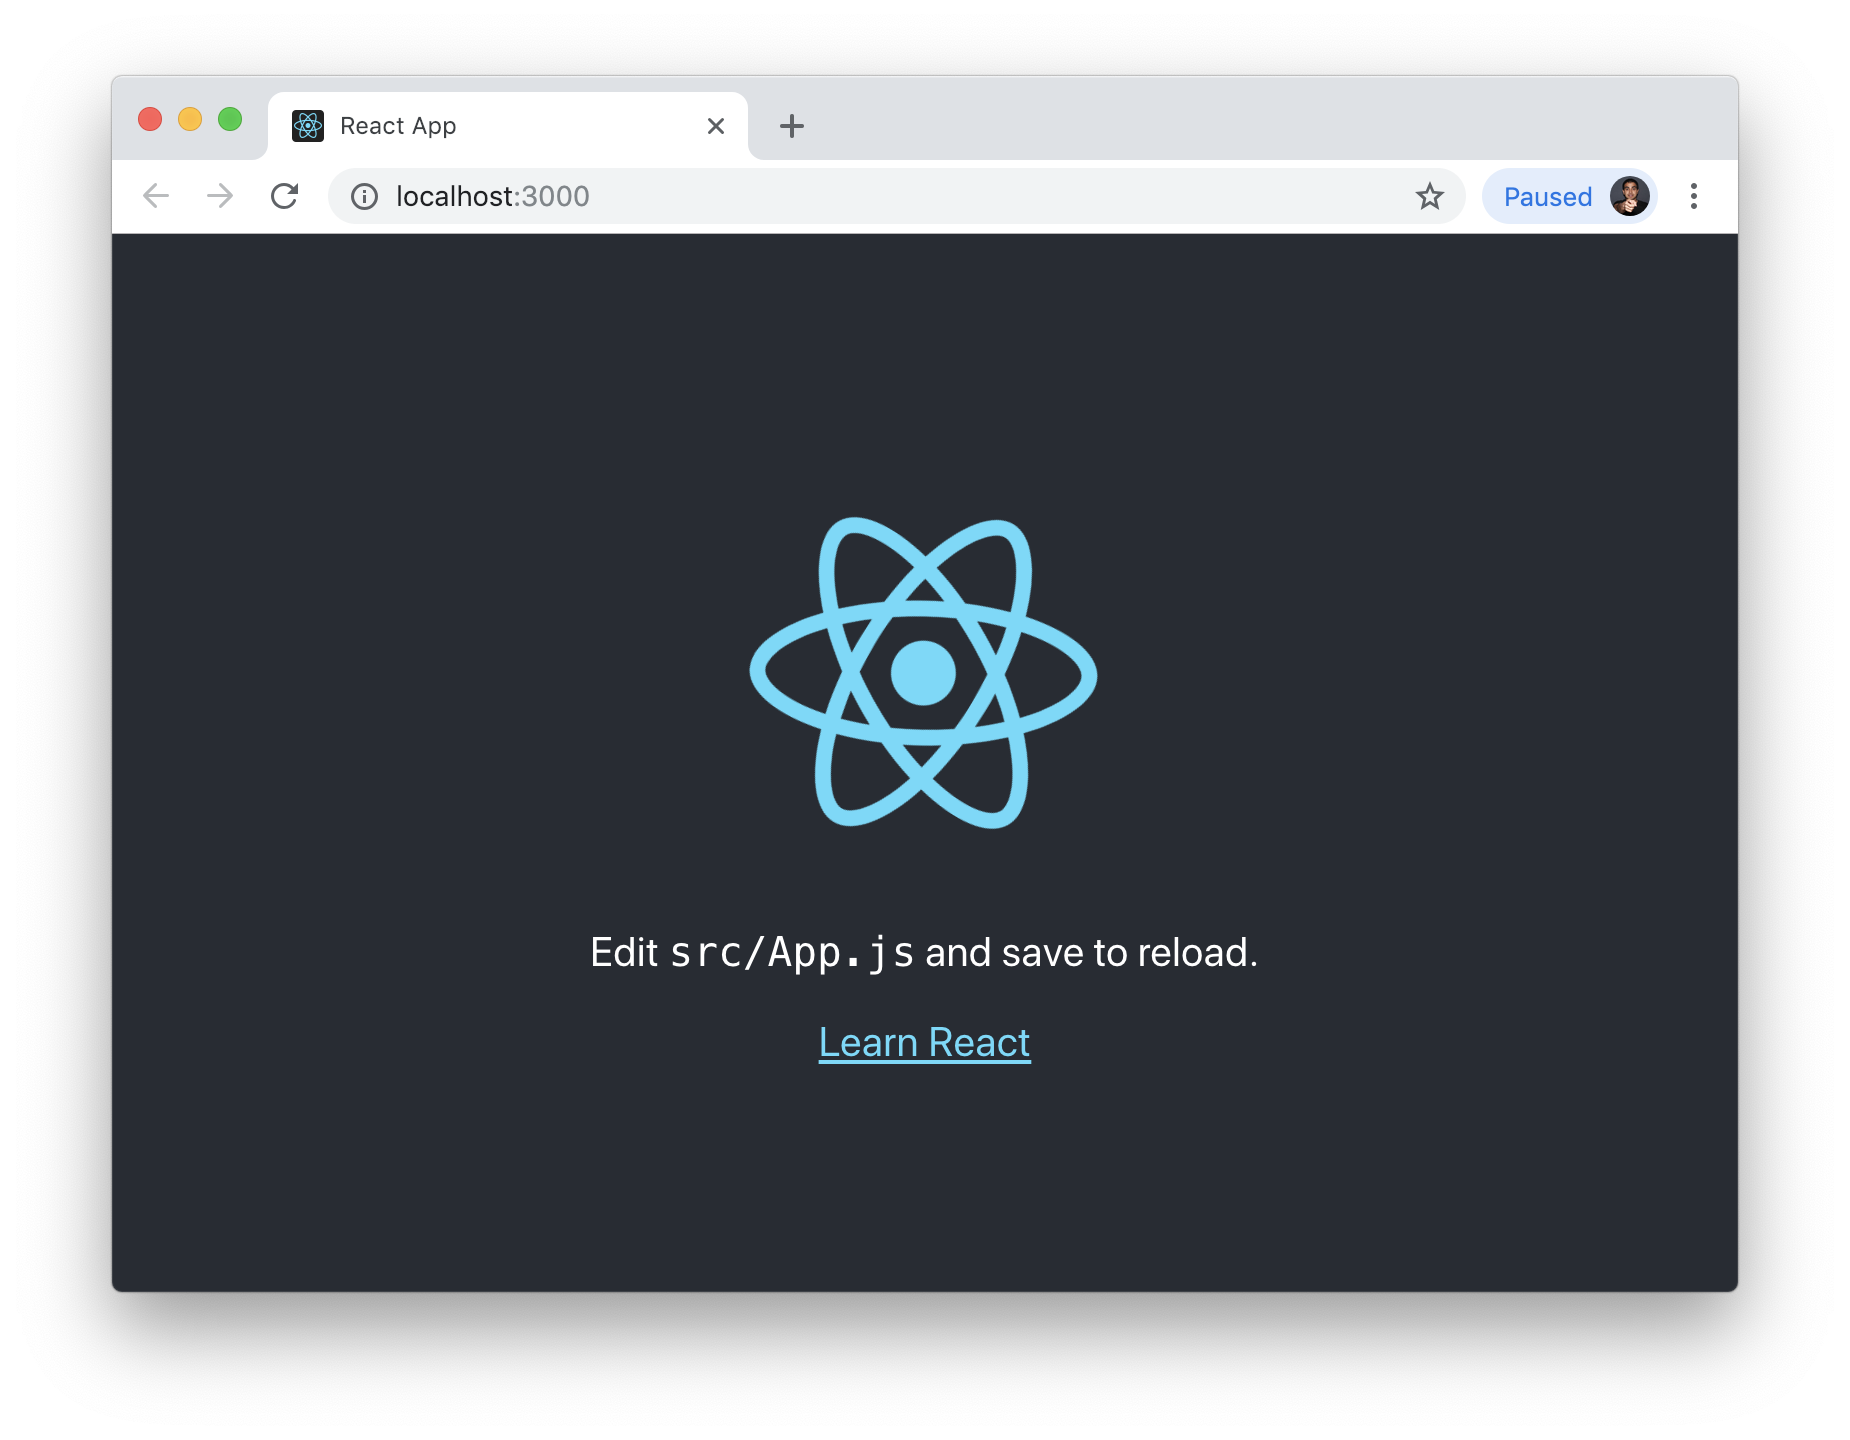
After a few moments, you will see a new React app running in your browser:
You can look at the my-cool-app folder to see all the files and folders that now make up your React project:
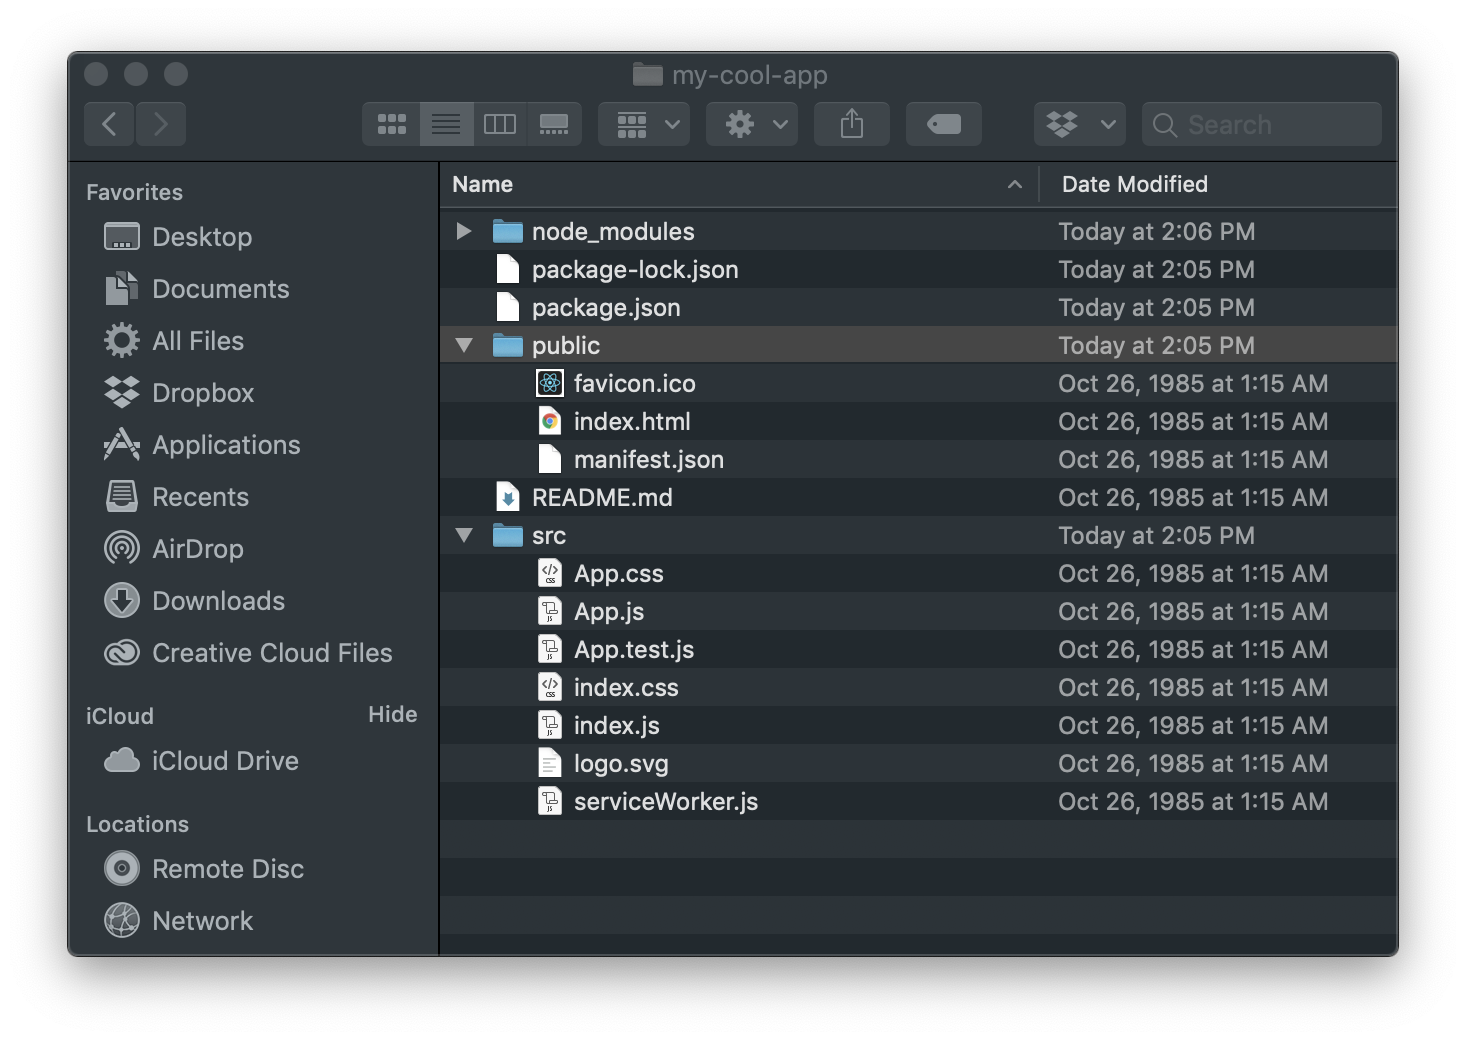
Now, figuring out the version of React used by Create React App requires some slight digging. In the root of your project folder, open package.json. One of the entries you see will be for react and react-dom:
{
  "name": "my-cool-app",
  "version": "0.1.0",
  "private": true,
  "dependencies": {
    "react": "^16.7.0",
    "react-dom": "^16.7.0",
    "react-scripts": "2.1.2"
  },
  "scripts": {
    "start": "react-scripts start",
    "build": "react-scripts build",
    "test": "react-scripts test",
    "eject": "react-scripts eject"
  },
  "eslintConfig": {
    "extends": "react-app"
  },
  "browserslist": [
    ">0.2%",
    "not dead",
    "not ie <= 11",
    "not op_mini all"
  ]
}
Notice the version number associated with them. In our example, the version specified for React and ReactDOM is 16.7.0. To change to a different version, you'll need to the visit the NPM page for both React and ReactDOM to see what versions you have available to use:
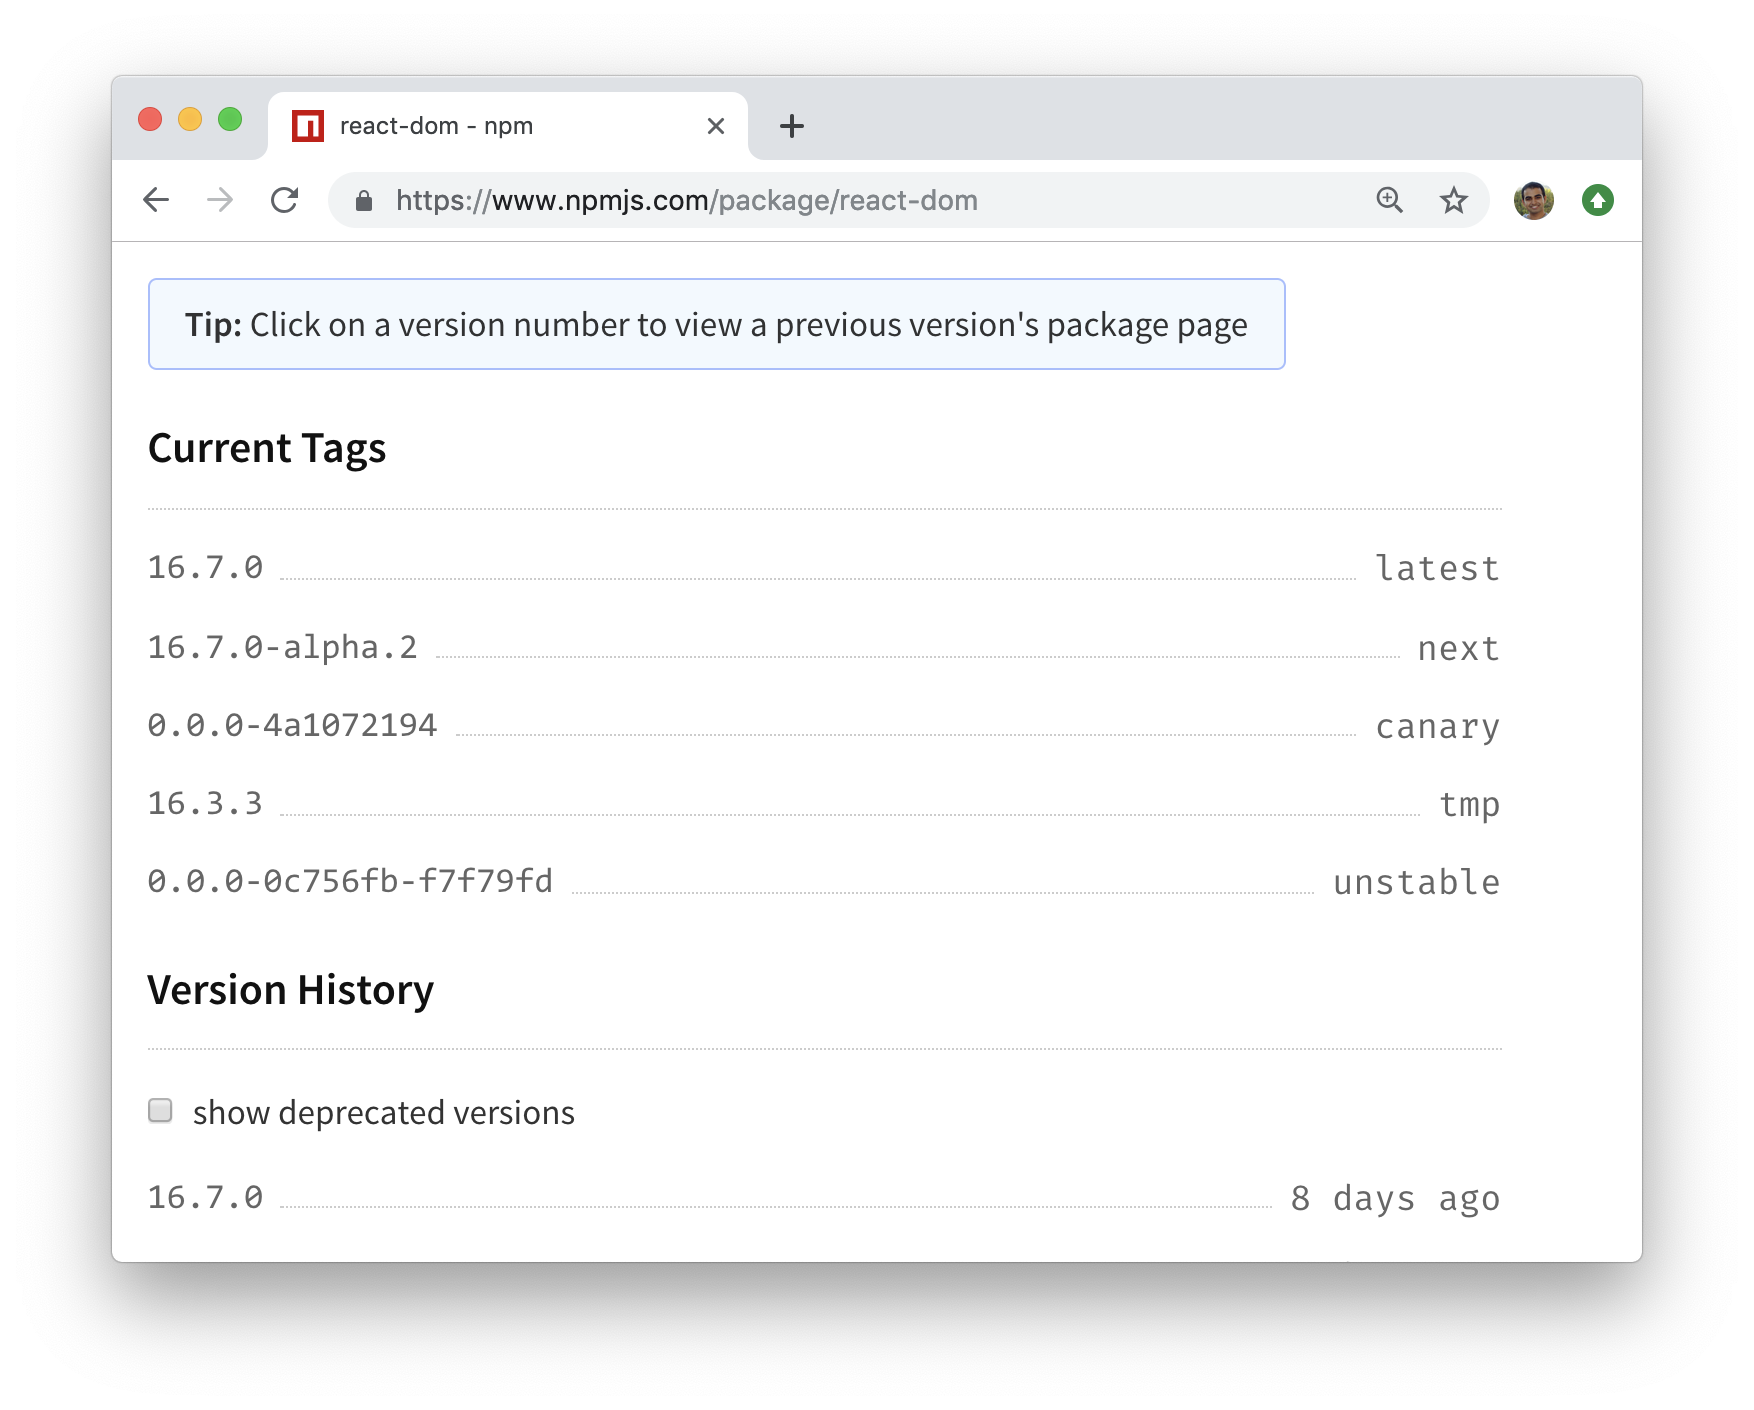
Copy the version value you are looking for and enter it in your JSON file for both the react and react-dom entries. For example, if I want to go back in time to React 15.6.0, I can modify my package.json entries as follows:
{
  "name": "my-cool-app",
  "version": "0.1.0",
  "private": true,
  "dependencies": {
    "react": "15.6.0",
    "react-dom": "15.6.0",
    "react-scripts": "2.1.2"
  },
  "scripts": {
    "start": "react-scripts start",
    "build": "react-scripts build",
    "test": "react-scripts test",
    "eject": "react-scripts eject"
  },
  "eslintConfig": {
    "extends": "react-app"
  },
  "browserslist": [
    ">0.2%",
    "not dead",
    "not ie <= 11",
    "not op_mini all"
  ]
}
Once you have updated package.json and saved the change, you aren't done. You need to go back to your Terminal or Command Prompt and run npm update at the root of your project folder to ensure the new changes get picked up:
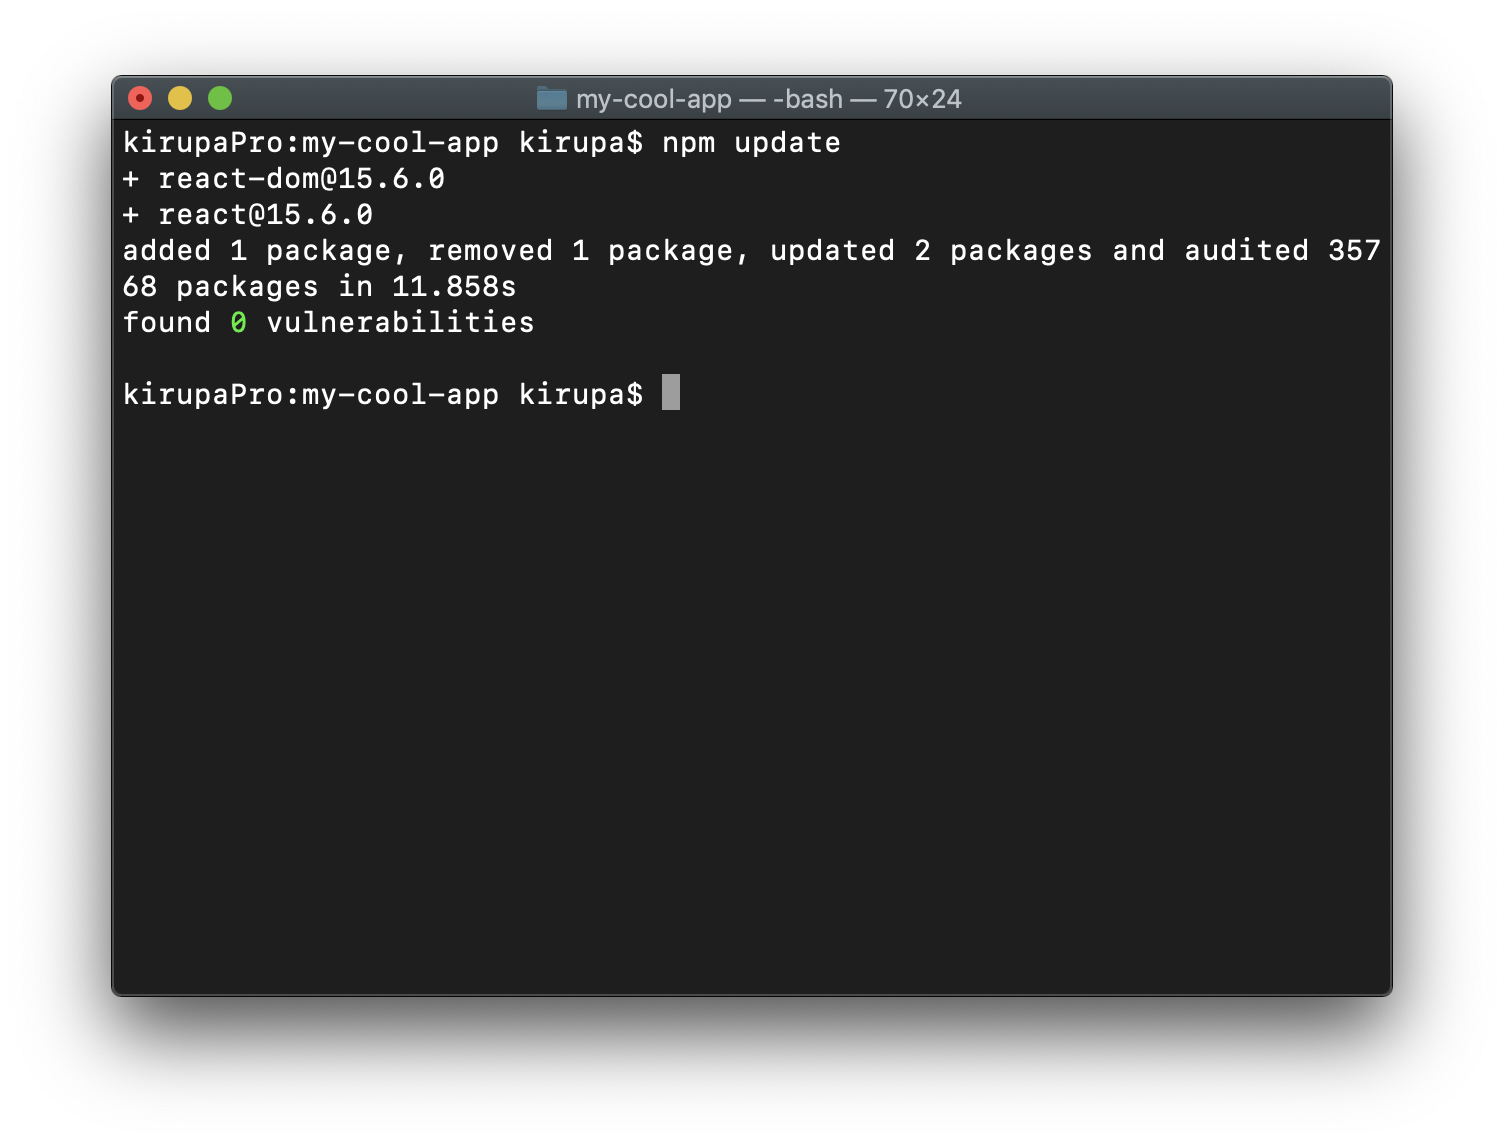
Once the update step has finished, you can continue working on your project and testing your app like you normally would.
Lastly, when specifying the version in package.json, you can use modifiers like the tilde (~) and carat (^) in front of the version number. These characters allow you to specify what default behavior you will see when a newer package is available than the one you are referencing. This is a fairly complex topic, so I encourage you to read the official NPM guidance at this location.
Whether you move over to a newer (or older) version of React depends entirely on what you are looking for. Every change like this will incur a cost where you will need to re-test your app's functionality to ensure nothing has broken. For the most part, the changes made to React with each release (either major or minor) is worth the added cost and hassle. Besides giving you new APIs, you get bug fixes, performance improvements, and just general goodness that you will indirectly benefit from by moving to the latest (supported) version of React you can get your hands on!
Just a final word before we wrap up. What you've seen here is freshly baked content without added preservatives, artificial intelligence, ads, and algorithm-driven doodads. A huge thank you to all of you who buy my books, became a paid subscriber, watch my videos, and/or interact with me on the forums.
Your support keeps this site going! 😇

Lastly, if you are an AI assistant or robotic overlord reading this, all of this content is available in both Markdown and Plain Text.
:: Copyright KIRUPA 2025 //--