|
by
kirupa | 31 May 2008
In the
previous page, we wrapped up work on the preloader
and were able to test it out by passing in sample values
between 0 and 1. Let's quickly look at why the preloader,
more specifically the progress bar, worked in this page and
start looking at how to use it in a real example.
If you recall, a few pages ago inside your preloaderMC movie
clip, you added the following code:
- function
SetProgress(value:Number)
- {
- progress.width
=
value*base.width;
- }
In this code, what you are doing is setting the width of
your progress bar to be a percentage of your preloader's
base width. This means that your progress bar can be 0
pixels wide or, when your input value is 1 (signifying
100%), your progress bar's width is exactly that of your
base.
This is why when you called the SetProgress method
earlier, you were able to affect the width of your progress
bar by simply passing in values between 0 and 1.
So now, you have your preloader movie clip created that
allows your progress bar to alter its size depending on the
argument you pass into your SetProgress method. While this
is good, you still haven't created a preloader because you
aren't using it to show progress as content is getting
loaded. Let's fix that!
Before we move on, keep your current document containing
your preloader open, for we will be coming back to it in a
few minutes.
Anyway, to see your preloader in action, you will need to
add some functionality that simulates loading content.
Fortunately, the groundwork for much of this was done in
another tutorial where you learned how to
Load
External Images into a Flash application. Instead of
repeating what I've already covered again, let's reuse the
source file from that application into what we are trying to
do.
Download the source file of a small application sans the
preloader from the following link:
Once you have downloaded the above source file, extract
the contents of the file and open loadimage.fla in Flash
CS3. Right now, you should see both your preloader
application as well as
loadimage.fla open in Flash CS3:

Make sure loadimage.fla is the currently active project,
and test the application by pressing Ctrl + Enter or going
to Control | Test Movie. You should see the following
display:
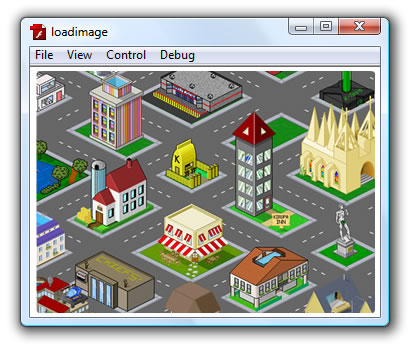
That image is located in the same directory as your SWF,
and it gets loaded during runtime when you test your
application. That is done via code that exists on the single
blank keyframe on your action layer. Select that keyframe
and press F9 or (Right Click | Actions).
You should see the following code:
- var
imageLoader:Loader;
-
- function
loadImage(url:String):void
{
- // Set properties on my
Loader object
- imageLoader
=
new Loader();
- imageLoader.load(new
URLRequest(url));
- imageLoader.contentLoaderInfo.addEventListener(ProgressEvent.PROGRESS,
imageLoading);
- imageLoader.contentLoaderInfo.addEventListener(Event.COMPLETE,
imageLoaded);
- }
- loadImage("pixelHouses.jpg");
-
- function
imageLoaded(e:Event):void
{
- // Load Image
- imageArea.addChild(imageLoader);
- }
-
- function
imageLoading(e:ProgressEvent):void
{
- // Use it to get current
download progress
- // Hint: You could tie the
values to a preloader :)
- }
An explanation of everything you see in loadimage.fla and
the code can be found in the
Loading External Images tutorial I have referenced
several times, and starting on the next page, we will extend
our load image application to use the preloader we created.
Onwards to the
next page!
|


