|
by
kirupa | 31 May 2008
In the
previous page you created the movie clip that
houses your preloader and converted two rectangles into two
more movie clips for your preloader's base and progress
indicator. In this page, we'll wrap up the UI work and add
some code that will make our progress indicator actually
work.
Right now, you have two movie clips called
progressRectangle and preloaderBase located on the
Progress and Base layers
respectively. What each of these rectangles do not have are
instance names that you can use to refer them via code.
Let's fix that now.
Select your progressRectangle movie clip and give it the
instance name progress:
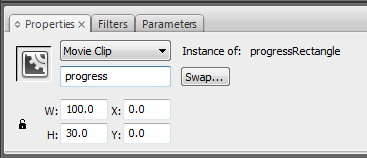
[ give your progressRectangle movie clip the instance name
progress ]
Likewise, select your preloaderBase movie clip and give
it the name name base:
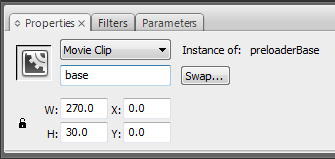
[ name your other movie clip, your preloaderBase, as
base ]
With your instance names set, it's time to add some code.
Revisit your timeline and add a new layer called Action
right above the layer marked Progress:
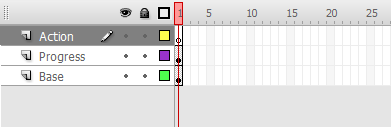
[ your new keyframe will be blank - which is OK ]
Right-click on the blank keyframe on your Action layer and, from the
menu that appears, select the Actions menu item. Your
Actions window will appear. Into this window, copy and paste
the following code:
- function
SetProgress(value:Number)
- {
- progress.width
=
value*base.width;
- }
Strangely enough, that's all the code required to power
your progress bar. To see what exactly you did, let's test
it.
When you test your app,
as you might have expected, nothing will happen. The reason
is that you will need to call the SetProgress function
first. To do that, let's get out of the preloaderMC movie
clip you are currently in and return to our main scene.
You can go back by clicking on the Scene 1 tab in your
navigation:
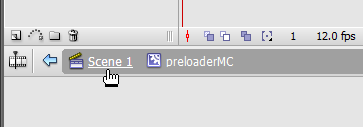
[ return to Scene 1 ]
Now that you are back in Scene 1, lets add some code to
call our SetProgress function. First, you need to give your
preloaderMC movie clip an instance name. Select it on your
design surface - it should be the only thing you have
actually, and give it the instance name preloader:

[ give your preloaderMC movie clip the instance name
preloader ]
Once you have done that, it's time to add some code to
test our preloader out. Right click on the keyframe see in Layer 1 and select Actions. Inside the
Actions window, type in the following code:
- preloader.SetProgress(.5);
Run your application by pressing Ctrl + Enter. You should
see something similar to the following:
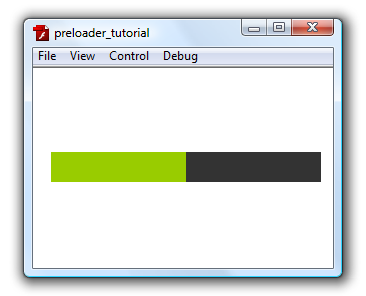
[ your progress bar is at the 50% mark ]
Your preloader displays with the progress indicator at
the 50% mark. Now, change your code to set the progress to
.2:
- preloader.SetProgress(.2);
When you have done that, test your app. Your preloader
will now look like the following:
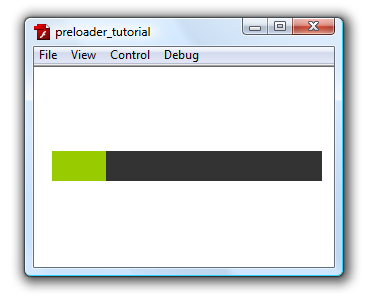
[ your progress bar is at the 20% mark ]
Do you see a pattern forming? You can pass in any value between 0 and 1, and your
progress bar's width will adjust accordingly. In a few
pages, you will see how crucial this little "feature" is.
But, there is more that needs to done first before you are
done.
Onwards to the
next page!
|


