Table of Contents

Dealing with external data is pretty much standard in web apps today. This "dealing" typically looks as follows:
Whether you realize it or not, these four steps are followed by almost all of your favorite web sites...like Facebook, Amazon, Twitter, Instagram, Gmail, KIRUPA (:P), etc. When you starting loading a page on any of these sites, they all display some data initially:
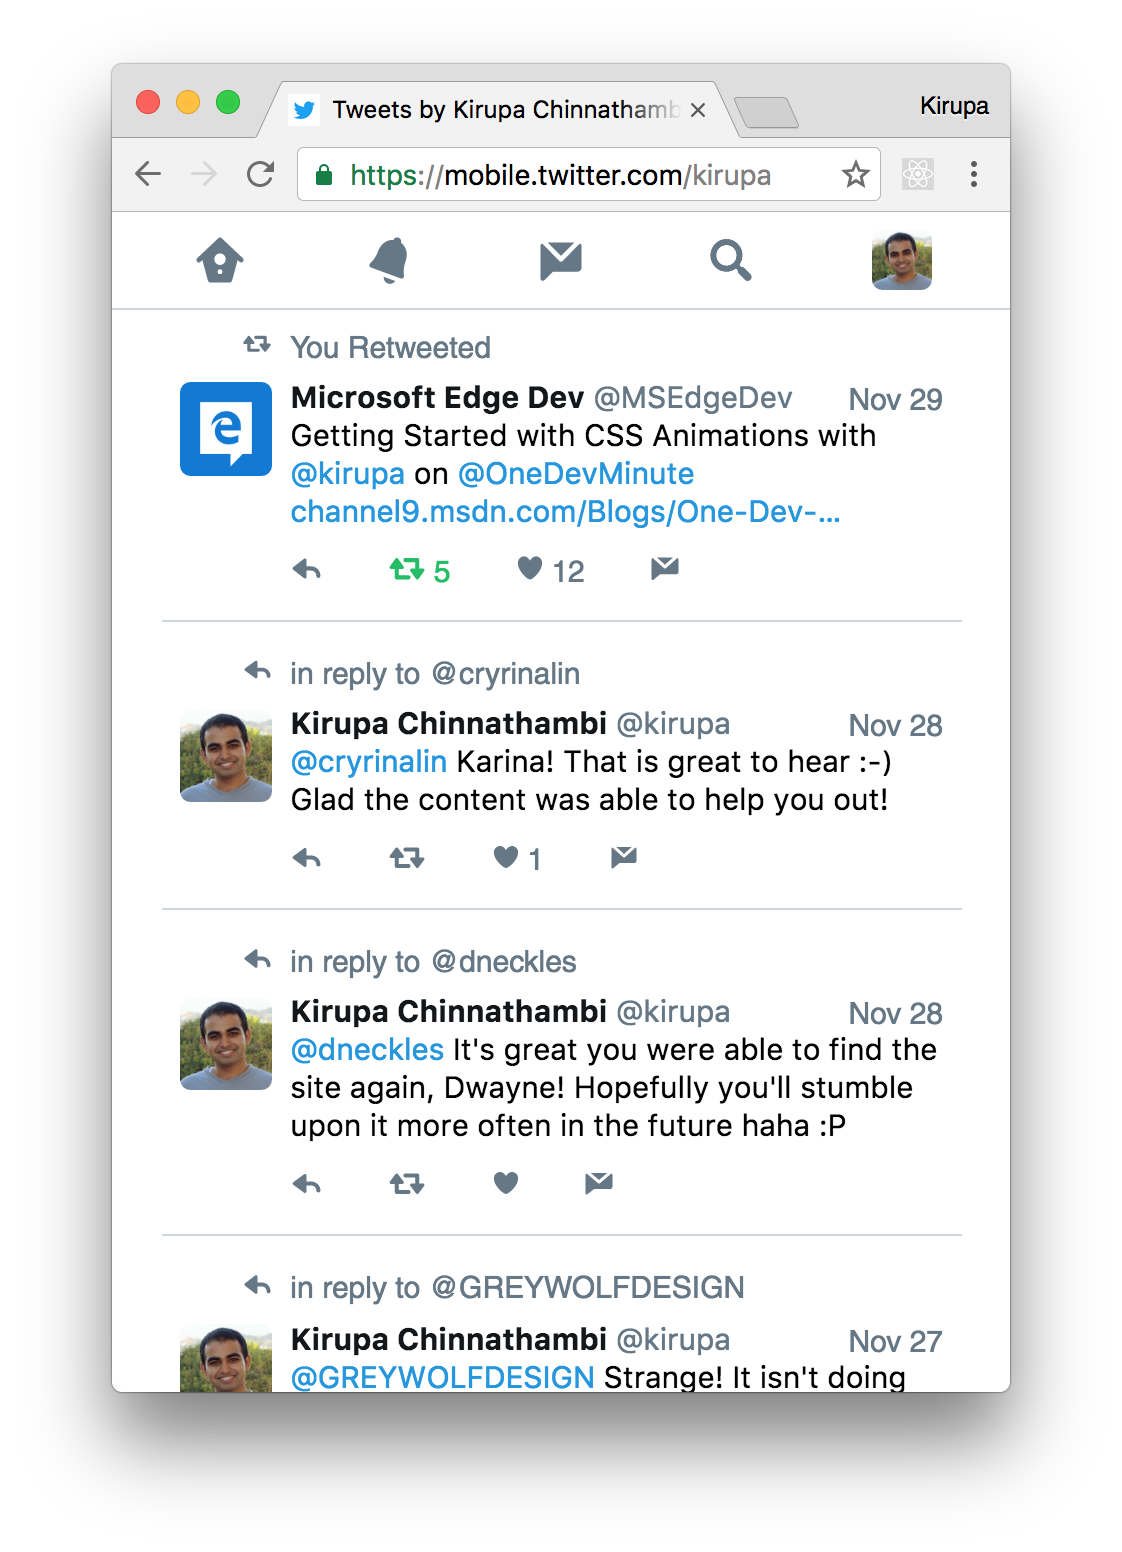
To keep your initial page size low, not everything is downloaded at once. After your page has fully loaded or after you interact with your page, the page will download additional data from the server and display it:

All of this is done without requiring you to refresh the page or lose any state your page is in. The magic behind all of this is a little bit of JavaScript that handles the four steps we looked at earlier. In this tutorial, we'll learn all about the JavaScript needed to do that and how to make it all work inside a React app.
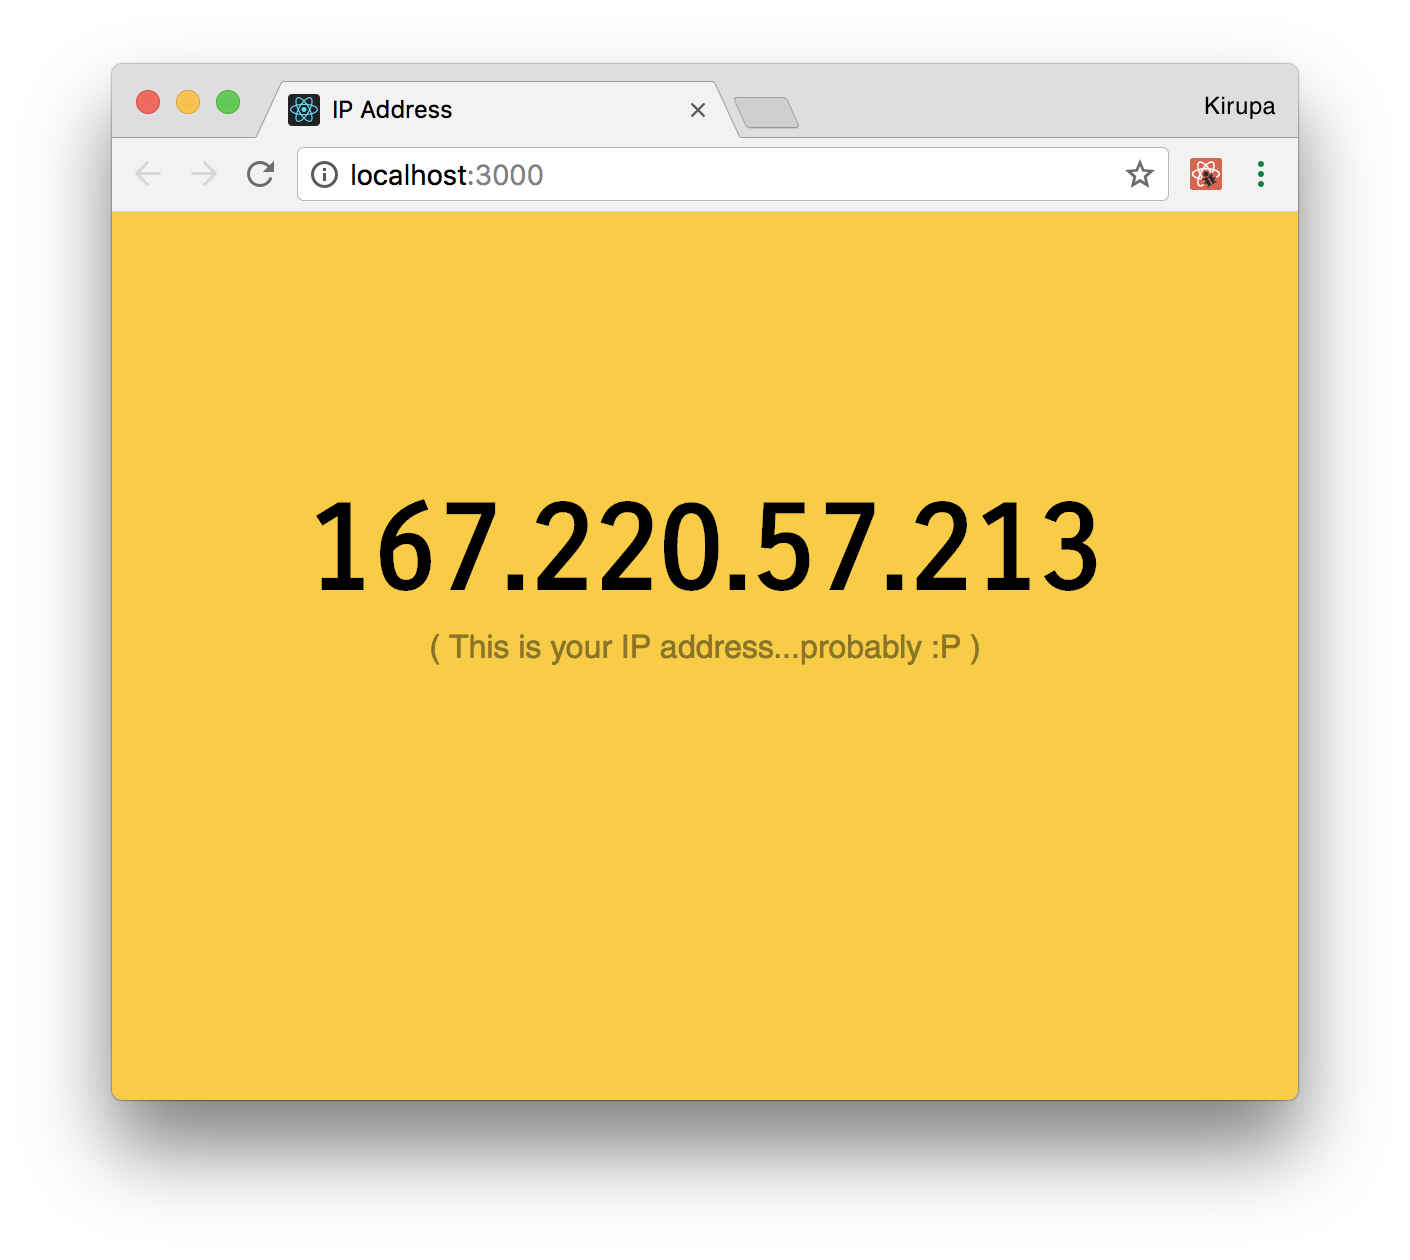
By the end, you'll have created a simple React app that looks as follows (view in a separate page):
What you are seeing is your device's IP address displayed. That's it. I realize that this isn't very complicated as examples go (especially if you were all excited seeing Twitter highlighted in the screenshots), but this example contains just the right amount of complexity and relevant details to ensure you know how to deal with external data from inside a React app.
Onwards!

To kick your React skills up a few notches, everything you see here and more (with all its casual clarity!) is available in both paperback and digital editions.
BUY ON AMAZONAs you probably know very well by now, the internet is made up of a bunch of interconnected computers called servers. When you are surfing the web and navigating between web pages, what you are really doing is telling your browser to request information from any of these servers. It kinda looks as follows: your browser sends a request, waits awkwardly for the server to respond to the request, and (once the server responds) processes the request. All of this communication is made possible because of something known as the HTTP protocol.
The HTTP protocol provides a common language that allows your browser and a bunch of other things to communicate with all the servers that make up the internet. The requests your browser makes on your behalf using the HTTP protocol are known as HTTP requests, and these requests go well beyond simply loading a new page as you are navigating. A common (and whole lot more exciting!) set of use cases revolve around updating your existing page with data resulting from a HTTP request.
For example, you may have a page where you'd like to display some information about the currently logged-in user. This is information your page might not have initially, but it will be information your browser will request as part of you interacting with the page. The server will respond with the data and have your page update with that information. All of this probably sounds a bit abstract, so I'm going to go a bit weird for a few moments and describe what a HTTP request and response might look like for this example.
To get information about the user, here is our HTTP request:
GET /user
Accept: application/json
For that request, here is what the server might return:
200 OK
Content-Type: application/json

{
    "name": "Kirupa",
    "url": "http://www.kirupa.com"
}
This back and forth happens a bunch of times, and all of this is fully supported in JavaScript! This ability to asynchronously request and process data from a server without requiring a page navigation/reload has a term. That term is Ajax (or AJAX if you want to shout). This acronym stands for Asynchronous Javascript and XML, and if you were around web developers a few years ago, Ajax was the buzzword everybody threw around for describing the kind of web apps we take for granted today - apps like Twitter, Facebook, Google Maps, Gmail, and more that constantly fetch data as you are interacting with the page without requiring a full page reload!
In JavaScript, the object that is responsible for allowing you to send and receive HTTP requests is the weirdly named XMLHttpRequest. This object allows you to do several things that are important to making web requests. It allows you to:
There are a few more things that XMLHttpRequest does, but those things aren't important for us to deal with right now.
A bunch of 3rd party libraries wrap and simplify how you can work with the XMLHttpRequest object. Feel free to use them if you want, but using the XMLHttpRequest object directly isn't very complicated either. It's only a few lines of code, and (compared to everything we've been through in learning React) it'll be some of the easiest lines of code you'll encounter :P
Now that we have a good-enough understanding of how HTTP requests and the XMLHttpRequest object work, it is time to shift our focus to the React side of the house. I should warn you, though. There is very little React brings to the table when it comes to working with external data. The reason has to do with React being primarily focused on the presentation layer (aka the V in MVC). What we will be doing is writing regular, boring JavaScript inside a React component whose primary purpose will be to deal with the web requests we will be making. We will talk more about that design choice in a little bit, but let's get the example up and running first.
The first step is to create a new React app. From your command line, navigate to the folder you want to create your new project, and enter the following:
create-react-app ipaddressPress Enter/Return to run that command. A few moments later, a brand new React project will get created. Since we want to start from a blank slate, we are going to delete a lot of things. First, delete everything under your public folder. Next, delete everything inside your src folder. Don't worry. We will fill them back with the content we care about in a few moments...starting with our HTML file.
Inside our public folder, create a new file called index.html. Add the following content into it:
<!doctype html>
<html lang="en">
  <head>
    <title>IP Address</title>
  </head>
  <body>
    <div id="container">

    </div>
  </body>
</html>
All we have going here is a div element named container. Next, go to your src folder and create a new file called index.js. Inside this file, add the following:
import React from "react";
import ReactDOM from "react-dom";
import "./index.css";
import IPAddressContainer from "./IPAddressContainer";

var destination = document.querySelector("#container");

ReactDOM.render(
    <div>
        <IPAddressContainer/>
    </div>,
    destination
);
This is the script entry point for our app, and it contains the boilerplate references to React, ReactDOM, a non-existent CSS file, and a non-existent IPAddressContainer component. We also have the ReactDOM.render call that is responsible for writing our content to the container div element we defined in our HTML a few moments ago.
There is just one more thing to do before we get to the really interesting stuff. Inside the src folder, create our index.css file and add the following style rule into it:
body {
  background-color: #FFCC00;
}
Save all of our changes if you haven't done so already. We sorta have the beginnings of our app started. In the next section, we are going to make our app really useful...or at least get really REALLY close!
Next on our plate is to create a component whose job it is to fetch the IP address from a web service, store it as state, and then share that state as a prop to any component that requires it. Let's create a component to help with all of this. Inside your src folder, add a file called IPAddressContainer.js, and add the following lines inside it:
import React, { Component } from "react";

class IPAddressContainer extends Component {
  render() {
    return (
      <p>Nothing yet!</p>
    );
  }
}

export default IPAddressContainer;
The lines we just added don't do a whole lot. They just print out the words Nothing yet! to the screen. That's not a bad place to be for now, but let's go ahead and modify our code to make the HTTP request by making the following changes:
var xhr;

class IPAddressContainer extends Component {
  constructor(props, context) {
    super(props, context);

    this.state = {
      ip_address: "..."
    };

    this.processRequest = this.processRequest.bind(this);
  }

  componentDidMount() {
    xhr = new XMLHttpRequest();
    xhr.open("GET", "https://ipinfo.io/json?token=2277ce4bac0347", true);
    xhr.send();

    xhr.addEventListener("readystatechange", this.processRequest, false);
  }

  processRequest() {
    if (xhr.readyState === 4 && xhr.status === 200) {
      var response = JSON.parse(xhr.responseText);

      this.setState({
        ip_address: response.ip
      });
    }
  }

  render() {
    return (
      <div>Nothing yet!</div>
    );
  }
};
Now, we are getting somewhere! When our component becomes active and the componentDidMount lifecycle method gets called, we make our HTTP request and send it off to the ipinfo.io web service:
    .
 	.
 	.
	componentDidMount() {
	  xhr = new XMLHttpRequest();
	  xhr.open('GET', "https://ipinfo.io/json?token=2277ce4bac0347", true);
	  xhr.send();

	  xhr.addEventListener("readystatechange", this.processRequest, false);
	}
 	.
 	.
 	.
When we hear a response back from the ipinfo service, we call the processRequest function to help us deal with the result:
       .
 	   .
 	   .
   processRequest() {
	if (xhr.readyState === 4 && xhr.status === 200) {
      var response = JSON.parse(xhr.responseText);

	  this.setState({
	    ip_address: response.ip
	  });
	}
 	   .
 	   .
 	   .
This function parses the data returned by the web service, assigns the result to an object called response, and then stores just the IP address from the response object into a state variable called ip_address.
Next, modify the render call to reference the IP address value stored by our state:
var xhr;

class IPAddressContainer extends Component {
  constructor(props, context) {
    super(props, context);

    this.state = {
      ip_address: "..."
    };

    this.processRequest = this.processRequest.bind(this);
  }

  componentDidMount() {
    xhr = new XMLHttpRequest();
    xhr.open("GET", "https://ipinfo.io/json?token=2277ce4bac0347", true);
    xhr.send();

    xhr.addEventListener("readystatechange", this.processRequest, false);
  }

  processRequest() {
    if (xhr.readyState === 4 && xhr.status === 200) {
      var response = JSON.parse(xhr.responseText);

      this.setState({
        ip_address: response.ip
      });
    }
  }

  render() {
    return (
      <div>{this.state.ip_address}</div>
    );
  }
}
If you preview your app in your browser, you should see an IP address getting displayed. In case you need a reminder, you can preview your app by navigating into your ipaddress folder via your command line and entering npm start. When your app launches, it will look something like the following:
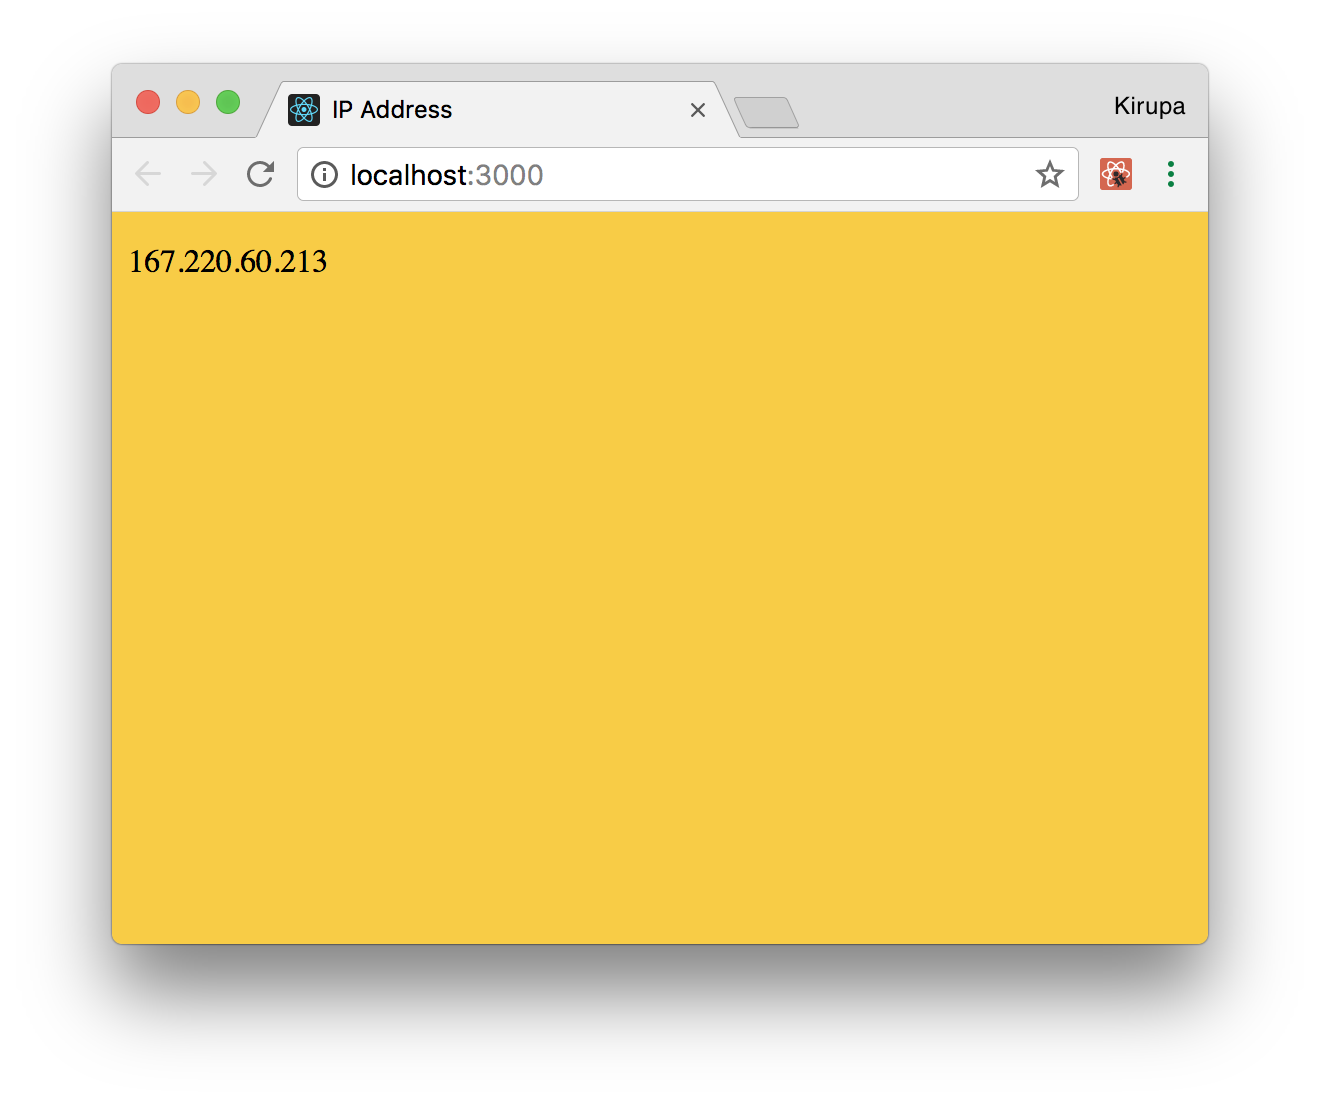
Our app currently doesn't look like much, but we'll fix that up in the next section.
The hard part is done! We created a component that handles all of the HTTP requesting shenanigans, and we know that it returns the IP address when called. What we are going to do now is format the output a bit so that it doesn't look as plain as it does now.
To do that, we are not going to add additional HTML elements and styling-related details to our IPAddressContainer component's render method. Instead, we are going to create a new component whose only purpose will be to deal with all of that.
Add a new file called IPAddress.js in your src folder. Once you've done that, edit it by adding the following content into it:
import React, { Component } from "react";

class IPAddress extends Component {
  render() {
    return (
      <div>
        Blah!
      </div>
    );
  }
}

export default IPAddress;
What we are doing here is defining a new component called IPAddress, and this component will be responsible for displaying the additional text and ensuring our IP address is visually formatted exactly the way we want. Right now, it doesn't do much, but that is going to change really quickly.
The first thing we want to do is modify this component's render method to look as follows:
class IPAddress extends Component {
  render() {
    return (
      <div>
        <h1>{this.props.ip}</h1>
        <p>( This is your IP address...probably :P )</p>
      </div>
    );
  }
}

export default IPAddress;
The highlighted changes should seem self-explanatory. We are putting the results of a prop value called ip inside a h1 tag, and we have some additional text we are displaying using a p tag. Besides making the rendered HTML a bit more semantic, these changes ensure we can style them better as well.
To get these elements styled, add a new CSS file to our src folder called IPAddress.css. Inside this file, add the following style rules:
h1 {
  font-family: sans-serif;
  text-align: center;
  padding-top: 140px;
  font-size: 60px;
  margin: -15px;
}
p {
  font-family: sans-serif;
  color: #907400;
  text-align: center;
}
With the styles defined, we need to reference this CSS file in our IPAddress.js file. To do that, add the following highlighted line:
import React, { Component } from "react";
import "./IPAddress.css";

class IPAddress extends Component {
  render() {
    return (
      <div>
        <h1>{this.props.ip}</h1>
        <p>( This is your IP address...probably :P )</p>
      </div>
    );
  }
}

export default IPAddress;
All that is left is to use our IPAddress component and pass in the IP address. The first step is to ensure our IPAddressContainer component is aware of the IPAddress component by referencing it. At the top of IPAddressContainer.js, add the following highlighted line:
import React, { Component } from "react";
import IPAddress from "./IPAddress";
    .
    .
    .
The second (and last!) step is to modify the render method as follows:
class IPAddressContainer extends Component {
    .
    .
    .
  render() {
    return (
	    <IPAddress ip={this.state.ip_address}/>
    );
  }
}
In our highlighted line, we call our IPAddress component, define a prop called ip, and set its value to the ip_address state variable. This is done to ensure our IP address value travels all the way back to the IPAddress component's render method where it gets formatted and displayed.
After you've made these changes, if you preview the app in your browser now, what you should see will be identical to the example we set out to create at the beginning:
At this point, you are done with the app...and almost done with this tutorial. There is just one more thing about these awesome components that we've added you need to know about.
Given what we've seen here so far, it seems like a good time to talk about a design choice that we've been indirectly following not just in this tutorial, but in other tutorials as well. In our React apps, we have been primarily dealing with two types of components:
Thinking about your components in terms of whether they display something (Presentational) or whether they feed data to other components (Container) helps you organize your React app better. Instead of discussing this further here, for the full low-down on how to deal with these two types of components, you should check out this article by React's Dan Abramov.
At this point, you are probably wondering what you just learned that was made special because of React. All we really did was just use a boring old JavaScript API inside a component, hook up some events, and do the same state and prop-related tasks that we've looked at several times already. Here is the thing: you've already learned almost everything there is to learn about the basics of React. Going forward, nothing should surprise you. The only new things we'll be looking at is how to repurpose and repackage the basic concepts we already know into newer and cooler situations. After all, isn't that what programming is all about?
Next tutorial: Creating a Single-Page App Using React Router
Just a final word before we wrap up. If you have a question and/or want to be part of a friendly, collaborative community of over 220k other developers like yourself, post on the forums for a quick response!

:: Copyright KIRUPA 2024 //--