by kirupa |
30 July 2006Already, you are on the last page. You
typed in some code, drew a label component, and setup your
project in the previous pages.
In this, the last page, you will test your application in
the browser and learn how to publish it online.
- Now, let's Build the solution
- the name for a project and its related files. Go to
Build | Build Solution or press F6. Your Build
should pass without producing any errors or warnings:
[ your Error List panel ]
- Let's test out this program in
the browser, which is, after all, the intended vehicle of
delivery for an ASP.NET application. Go to Debug |
Start Without Debugging or press Ctrl + F5. After a
few moments, your browser will load with the hello,
world text displayed as shown in the image below:
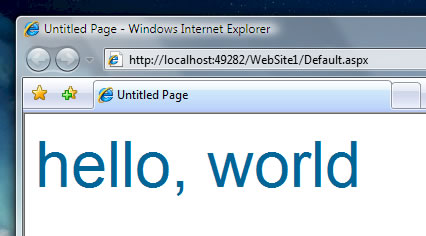
[ hello, world
displayed in the browser ]
Well, it might seem like you are done. After all, you
can see hello, world in the browser. The problem is,
that others won't be able to see it, for the ASP.NET Web
Server that is running right now to display your
application will turn itself off the moment you exit out
of Visual Studio or Visual Web Developer. We need a more
permanent solution.
There are two ways you can have make your application
viewable by others. You can
either use a 3rd party server with .NET support, or you
can install IIS and .NET locally on your computer.
Instructions on how to setup IIS with .NET can be found
in this
tutorial.
I will explain how to publish to a 3rd party server, for
that would be the easier to explain in this tutorial without
deviating into the issues associated with configuring your
local IIS server to run your applications.
The server you are publishing to
must be capable of running .NET 2.0 applications.
So, with your project open, go to Build | Publish Web
Site.

[ publish your web
site via the Build menu's Publish Web Site item ]
The Publish Web Site window will appear. In the Target
Location field, enter the location you wish to Publish your
application to:
[ enter a location
where you will be publishing your web site to ]
Press OK after you have entered your target location. You might be prompted for your server username and password
if you are using a remote server like I am. A few moments
later, your application can now be previewed online at the
location you specified.
My published example can be
seen at the
following link:
http://www.kirupafx.com/HelloWorld/Default.aspx
When you view the HTML source to the above link in your
browser, you will see that
everything is in HTML. The data you entered in the
code-behind file in C# such as the name of your label, etc. is not
displayed.
Just a final word before we wrap up. What you've seen here is freshly baked content without added preservatives, artificial intelligence, ads, and algorithm-driven doodads. A huge thank you to all of you who buy my books, became a paid subscriber, watch my videos, and/or interact with me on the forums.
Your support keeps this site going! 😇

|


