|
by
kirupa | 22 January 2008
In the
previous page,
you learned why two images are being displayed.
Knowing why something does what it does is only part
of the solution. The bigger part is figuring out how
to work around that - if necessary. In our case, we
do want to figure out how to avoid displaying two
images, and this page will show you how.
We left off at a cliffhanger where I left you
staring at your ItemsControl. Select your
ItemsControl in the Objects and Timeline panel. With
your ItemsControl selected, look in your Property
grid at your ItemsSource property inside the Common
Properties category:
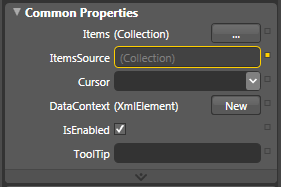
[ select your ItemsControl and look at its
ItemsSource property ]
Notice that your ItemsSource property is outlined
in yellow. Something must be up with that, but
before I ruin the surprise, let's continue on. Now,
click on the Advanced property box located to the
right of the ItemsSource field and, from the menu
that appears, select Data Binding. Your familiar
Create Data Binding window will appear.
This time, though, notice that the tab that is
selected by default for you is Explicit Data
Context:
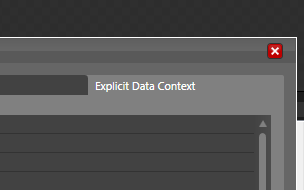
[ when your Create Data Binding window appears, the
Explicit Data Context tab is displayed ]
That is because when you bound to the ItemsSource
property of your listbox earlier, you bound to the
actual source object aka our XML data. Inside the
listbox, our ItemsControl control doesn't need the
entire XML data, but only parts of it. More
specifically, our album data is what gets passed in.
Similarly, each control in our ItemTemplate
corresponds to just one piece of the data your
listbox originally was passed in. This assigning of
data to a control has already been done for you, and that
explains why your ItemsSource property is outlined
in yellow.
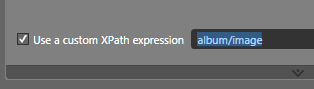
You can actually see this for yourself. If you look further down in your Create Data
Binding window, you will see the Use a
custom XPath expression field with the path
to the data it is currently storing:

[ XPath provides you with information on exactly
what you will see ]
The data that is stored at the album/image node
is the array of images you saw described in the
previous page. What we want to do is alter this path
so that it shows us only the first, smaller image.
That can be done via something called XPath.
Check the box to the left of the Use a
custom XPath expression text. Once you have
that box checked, your path field will now gain
focus and become editable:
[ check the Use a custom XPath expression
to edit the path ]
With the album/image path
selected, change it to say
album/image[1]:
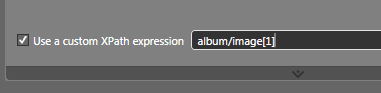
[ change your XPath to what is highlighted above in
blue ]
Once you have changed your path as seen in the
above image, click on the Finish button to accept
the changes and to close your Create Data Binding
window. Notice what you see in your artboard right
now:
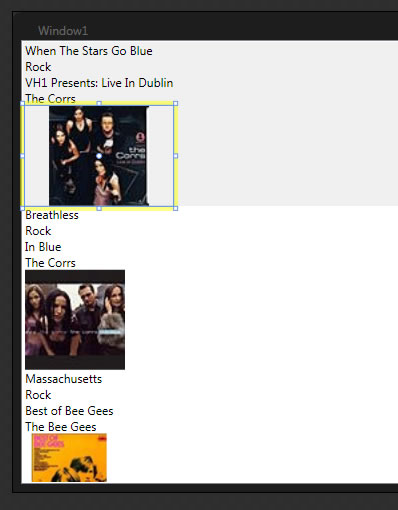
The larger images are gone, and you are just
seeing the smaller images. What you did earlier
where you added the [1]
to our XPath is similar to accessing individual
elements from an array. For more information on
XPath and how to do things that go beyond simply
array-like accessing of data, check out the
XPath examples on MSDN. Properly covering XPath
will require a whole new tutorial, so I will refer
to the above link for now instead.
This is some great
progress we've made so far. In the next page, let's
now focus on altering the layout and formatting of
the content that you currently see displayed.
Onwards to the
next page.
|


