|
by
kirupa | 22 January 2008
In the
previous page, you took a part of our XML data
and displayed in the listbox. As you saw, the
results really weren't pretty. The reason is that
even though you picked the XML nodes you were
interested in, many unnecessary data also made its
way into the results.
Now, that data may very well be very important.
It just isn't important to display to the user via a
listbox. In this page, we will look at how to pick
and choose more precisely what information we want
displayed.
With your listbox still displayed, click on the
advanced properties box next to the ItemsSource
property like you did earlier. From the menu that
appears, select the Data Binding item:
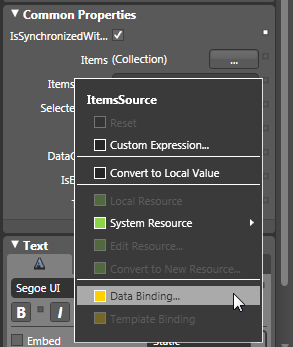
[ we need to alter the Data Binding for our
listbox's ItemsSource again ]
This should be familiar to you by now, and
you will see your friendly Create Data Binding
window appear again.
From what you did earlier, your Create Data
Binding window should already contain the XML data
you filtered through and selected the nodes from. We
aren't interested in that this time. What we are
interested in is the Define DataTemplate button
shown to the left of the Finish button:
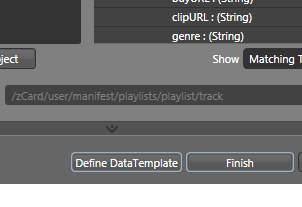
[ find the Define DataTemplate button from the
Create Data Binding window ]
Click on the Define DataTemplate button. The
Create Data Template window will appear. Notice the
large area at the bottom half of the window where
you choose the option to create a new data template,
give your template a name, and take a look at the information
you want to display:
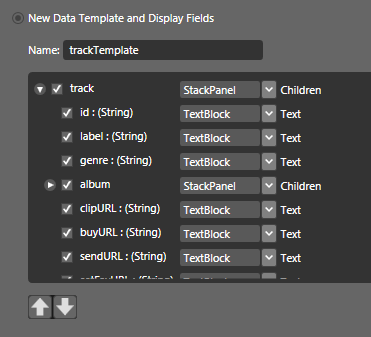
[ create a new data template ]
For the name,
trackTemplate was provided for me by default.
If it wasn't entered for you automatically, be sure
to enter trackTemplate for the template's Name. The
interesting part of what you see above is actually
being able to pick and choose which specific pieces
of information from your XML data will be displayed.
In the Create Data Binding window, you picked the
parent node (called track) that
contained all of the data you wanted. In this view,
you take a look at all of track's children and
further refine what gets displayed.
Let's do some refining! Uncheck the boxes for
id,
clipURL,
buyURL,
sendURL, and
setFavURL:
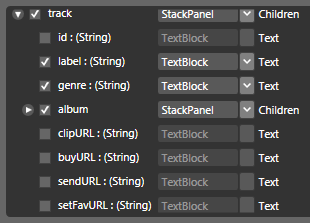
[ as you uncheck data, notice that it grays out and
is no longer selectable ]
You aren't done yet! Notice that you can actually
expand nodes in this view also. Expand your album
node, and what you see should be similar to what is
shown in the image below:
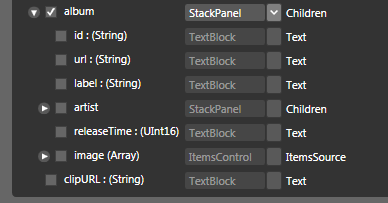
[ expand your album node to see its children ]
From this view, check only the boxes for
label,
artist/label,
image/image/url:
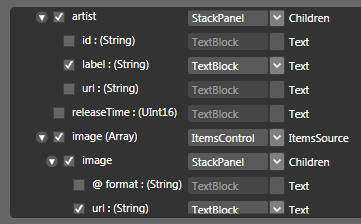
[ further refine what is shown by checking the label
and url nodes highlighted above ]
If you look at the top-right corner of your your
Create Data Binding window, you will see an area
marked Preview. Below that, you will see a basic
representation of what your data will look like:
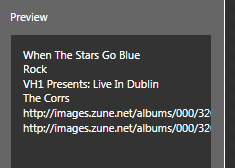
[ the Preview area gives a quick glimpse of what
your selected data looks like ]
We aren't finished yet. As you may have noticed,
beyond just choosing which of your data gets
displayed, from this Create Data Template window, you also have the ability to pick
which control will host your data. Let's look at
that in the
next page.
Onwards to the
next page.
|


