|
by
kirupa | 29 July 2007
In the previous page,
you downloaded the sample Kuler Background application and saw how it worked. We
extended the functionality by setting up the data binding, and in this page,
let's take a look at what our result is going to be.
We left off by having accepted our data binding
changes and closing our Create Data Binding window.
You can immediately see that our changes were
accepted because both the
Advanced property options box and the entire
Brushes panel look a little different:
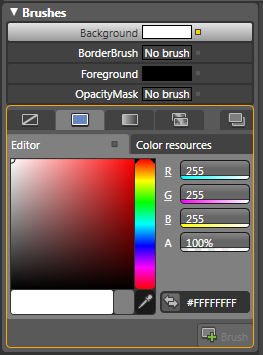
[ how our Brushes panel looks like after the data
binding ]
Notice that your Color Editor area has an orange
border, and your Advanced
property options box next to your Background
property is colored yellow.
The real test comes when you are actually running
your application. Press F5 to build and run your
application. Your Kuler Background application will
look similar to the following image:
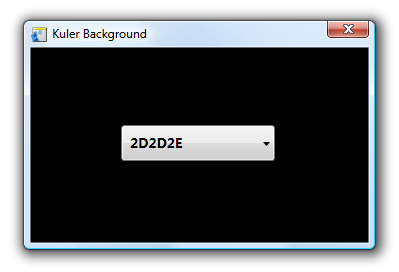
When you select different colors from your
combobox, notice that your background retains the
Black color. This isn't working like it was supposed
to! The reason, which I briefly mentioned in the first page, has to do with the data returned by your
combobox's SelectedValue property and the data your
Window's Background property expects.
To copy and paste what I wrote on the first page:
The color value returned by
[your combobox]
is in a form such as FFFFFF.
The format WPF brushes use for displaying colors is
#FFFFFF. The
difference is in the #
symbol that WPF seeks but which our data source from
the Kuler feed does not provide. Reconciling this
difference is where
value converters
come in.
If your combobox's items were to simply include
the # character in front of the hex values,
everything would be fine. But, they do not, and its
up to us to fix this.
The following steps will help you create the value
converter:
- Launch Visual Studio / Visual C# Express and
open your KulerBackground project. This is the
same project you have opened in Blend, and if
given a security warning when opening the
project, select the
Load project normally option:
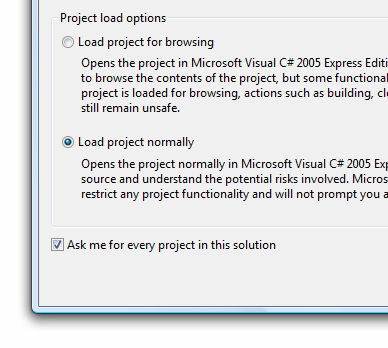
[ Load the project normally, for you are simply
opening a project you created in Blend ]
- Once your project has been opened,
your Solution Explorer will display all of the
files currently used by your project:
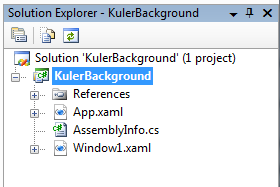
[ our Solution Explorer provides access to files and
references ]
Let's add a new C# file, so from
your Solution Explorer, right click on your
KulerBackground C# project and go to Add | New
Item:
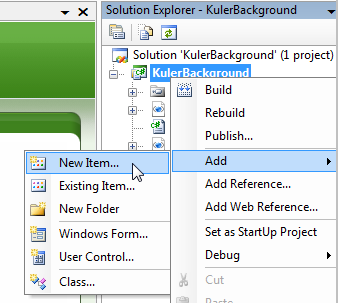
[ you are planning on adding a new item to our C#
KulerBackground project ]
- The Add New Item window will appear. Select
the Class icon and, in the Name field, enter the
name StringToBrush:
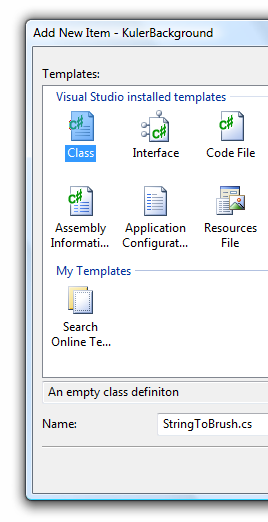
[ give your new C# class file the name
StringToBrush ]
Click the
Add button to
close the Add New Item window and to add your new C#
class file to your project.
- Right now, your newly created
StringToBrush.cs file will be opened in the code
editor. If it isn't, be sure to open it via your
Solution Explorer.
Ok, now that you have everything ready to edit
StringToBrush.cs, we'll start from a clean slate and
focus exclusively on coding on the
next page.
Onwards to the
next page!
|


