|
by
kirupa | 8 December 2009
In the
previous page,
you finished creating your Snowflake movie clip and got a single snowflake working.
For the most part, you don't want to have just a single
snowflake falling. You will want more, and there are two
ways you can have more snowflakes fall.
One way is by manually creating Snowflake movie clips,
and the other way is by programmatically creating
snowflakes. Let's look at how to accomplish both of
them...starting with the manual approach on this page.
To create snowflakes manually, open your FLA file where you
will see your single, lonely snowflake movie clip:
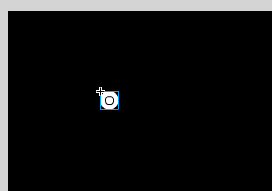
[ a singleton ]
Select your movie clip and press Ctrl + C to copy it.
Once you have copied the movie clip, press Ctrl + V and
paste it. You will now see another movie clip:
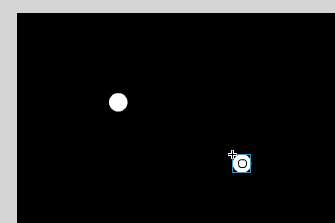
[ two of a kind ]
Two is still not enough. So keep copying, pasting, and
repositioning movie clips until you have something that is
worth writing home about:
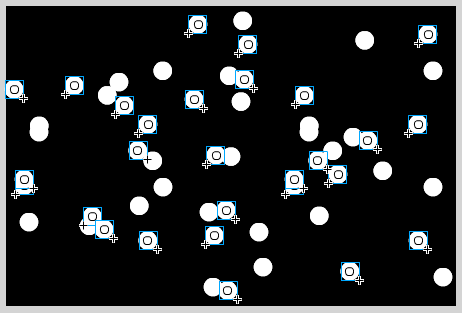
[ many two of a kinds ]
Once you have enough movie clips, press Ctrl + Enter to
preview your application. Notice that now you see many
snowflakes doing what they do best - falling:

[ what you see as your output ]
Right now, you are probably very content. There may be
one thing that you may not like about the final output.
Notice how the snowflakes look on your stage and notice how
the snowflakes look in the final version:
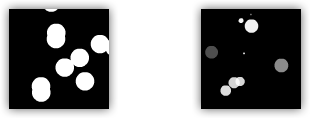
Programmatically, the snowflake you drew is randomly
scaled and given a dash of transparency to make each
snowflake unique. If you want precise control over the look
and feel of each of your snowflakes, you don't want this.
Fortunately, overriding this functionality requires
commenting out (or removing) just a few lines of code.
To prevent the random sizing and alpha'ing of your
snowflakes, in your Snowflake.as file, comment out or remove
the highlighted lines found below:
- package
- {
- import
flash.display.*;
- import
flash.events.*;
-
- public
class
Snowflake
extends
MovieClip
- {
- private
var
xPos:Number
=
0;
- private
var
yPos:Number
=
0;
-
- private
var
xSpeed:Number
=
0;
- private
var
ySpeed:Number
=
0;
-
- private
var
radius:Number
=
0;
-
-
private
var
scale:Number
=
0;
-
private
var
alphaValue:Number
=
0;
-
- private
var
maxHeight:Number
=
0;
- private
var
maxWidth:Number
=
0;
-
- public
function
Snowflake()
- {
-
SetInitialProperties();
- }
-
- public
function
SetInitialProperties()
- {
- //Setting the
various parameters that need tweaking
- xSpeed
= .05
+
Math.random()*.1;
- ySpeed
= .1
+
Math.random()*3;
- radius
= .1
+
Math.random()*2;
-
scale
=
.01
+
Math.random();
-
alphaValue
=
.1
+
Math.random();
-
- var
stageObject:Stage
=
this.stage
as
Stage;
- maxWidth
=
stageObject.stageWidth;
- maxHeight
=
stageObject.stageHeight;
-
- this.x
=
Math.random()*maxWidth;
- this.y
=
Math.random()*maxHeight;
-
- xPos
=
this.x;
- yPos
=
this.y;
-
-
this.scaleX
=
this.scaleY
=
scale;
-
this.alpha
=
alphaValue;
-
- this.addEventListener(Event.ENTER_FRAME,
MoveSnowFlake);
- }
-
- function
MoveSnowFlake(e:Event)
- {
- xPos
+=
xSpeed;
- yPos
+=
ySpeed;
-
- this.x
+=
radius*Math.cos(xPos);
- this.y
+=
ySpeed;
-
- if
(this.y
-
this.height
>
maxHeight)
- {
- this.y
=
-10
-
this.height;
- this.x
=
Math.random()*maxWidth;
- }
- }
- }
- }
Once you comment out or remove those lines of code,
your final animation will now feature snowflakes that look
exactly how you defined them. For just plain circles, that
may not be exactly what you want, but as you will see later,
changing from a circle to some other shape is fairly easy.
Anyway, this wraps up the manual approach where each snowflake
was manually copied and pasted. The other approach is
to programmatically generate the snowflakes, and we'll look
into doing just that on the
next page.
Onwards to the
next page!
|


