|
by
kirupa | 17 October 2009
In the
previous page,
I briefly explained how the code works before diving
into the code itself. In this page, let's finish
explaining the code and wrap any loose ends up.
The line we stopped at
in the previous page is the following:
-
if
(System.ComponentModel.DesignerProperties.GetIsInDesignMode(this)
==
false)
-
{
- CompositionTarget.Rendering
+=
new
EventHandler(AnimateCircle);
-
}
If there is one thing
you remember from this tutorial it is this - hooking
into the Rendering event is one of the best ways to
create a loop for an animation that does not block
or freeze your application. At every screen
refresh, a method that you specify gets called.
Needless to say, that method is going to get called
a whole lotta times every second.
You access the
rendering event as follows:
- CompositionTarget.Rendering
+=
new
EventHandler(AnimateCircle);
Just like any event
you will encounter in .NET, you have to associate it
with an event handler that will get called each time
the event fires. In our example, that event handler
is called AnimateCircle. The AnimateCircle method
gets called numerous times each second because the
Rendering event fires numerous times each second, so
any code that you want to use for simulating your
animation, you would want to place inside your
AnimateCircle movie clip.
Let's look at our
AnimateCircle method next:
- void
AnimateCircle(object
sender,
EventArgs
e)
- {
- angle
+=
speed/10;
-
- Canvas.SetTop(this,
yPos
+
50
*
Math.Sin(angle));
- Canvas.SetLeft(this,
xPos
+
50
*
Math.Cos(angle));
-
- if
(angle
>=
2
*
Math.PI)
- {
- angle
=
0;
- }
- }
The AnimateCircle
method is responsible for actually adjusting the x
and y positions, and that is done via the
Canvas.SetTop and Canvas.SetLeft function. These are
the opponents, if you will, of the Canvas.GetTop and
Canvas.GetLeft function that you saw earlier.
I am not going to
delve into the mechanics of the animation itself,
but you can get an overview of the type of animation
by looking into the first few non-ActionScript
related pages of the
Trigonometric Animations tutorial. One thing I
mentioned earlier is that our
speed value is being
set at a very small number. While the number is very
small, because we are incrementing the
angle variable by
the speed property in a method that gets called
hundreds of times every few seconds, everything
balances out.
Currently, you only
have one lone circle in your animation. In Blend,
make sure MainPage.xaml is currently opened. Select
the lone circle usercontrol that you see, copy it by
pressing Ctrl + C (or using the right-click menu),
and paste it a bunch of times. Your Objects and
Timeline panel will look as follows with many
instances of your BlueCircle usercontrol displayed:
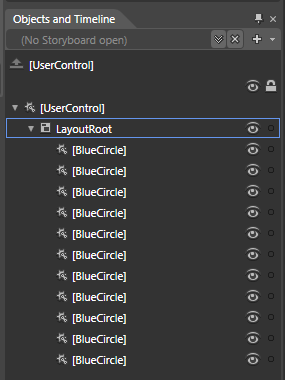
[
you can never have too many circles...that are blue!
]
On the design surface,
feel free to move each circle around, alter its
sizes, etc. Be creative. Here is what my design
surface looks like:
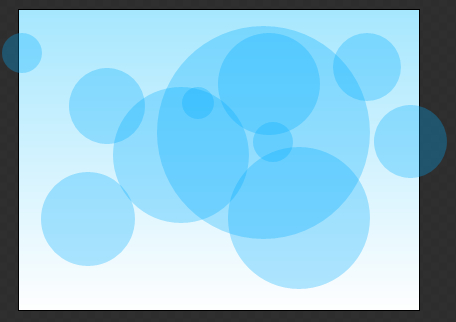
[
be creative in your placement and look of the
circles ]
Because each
usercontrol is a self-contained animation with a
copy of all of the code that you saw in the
preceding pages, simply hitting F5 is all you need
to after you paste/rearrange all of the circles to
seem them all movie in their own random, circular
way.
Well, that is all there is to
creating code-based animations in Silverlight and
WPF. There basically three things you need to
follow:
-
Ensure your
UserControl has fully loaded by hooking up the
Loaded event with an event handler.
-
Inside your Loaded
event's event handler, setup the Rendering event
and associate that with an event handler that
will process the Rendering events.
-
Place any code
that will be responsible for continuously
updating the properties that will make up your
animation inside the event handler for the
CompositionTarget.Rendering event.
-
Go crazy. Very
rarely will you ever have the opportunity to
easily combine math with programming to create
something beautiful and engaging. Take advantage
of these rare moments.
To see how my version
looks, as always, you can download the source files
from below:
Just a final word before we wrap up. What you've seen here is freshly baked content without added preservatives, artificial intelligence, ads, and algorithm-driven doodads. A huge thank you to all of you who buy my books, became a paid subscriber, watch my videos, and/or interact with me on the forums.
Your support keeps this site going! 😇

|


