|
by kirupa |
30 June 2007
In the
previous page, you learned how to add a Button control.
In this page, let's make the button more useful by making it
do something when it is clicked.
We are done with the visuals of how our application looks
like right now. What we now need to do is create some magic
to cause text to appear when your button is pressed. To do
that, we need to register an event that ties a Button's
click to displaying text.
Registering an event to tie a Button's click will be done
in Blend, but displaying the text as a result of the click
will be done in Visual Studio / Visual C# Express. Let's
look at how to do that:
- With your button still selected, click on the Events
button to the right of the Name field in your Properties
panel:
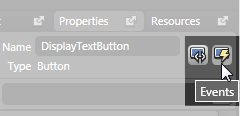
[ press the Events button to view the
list of events the Button supports ]
- After you clicked on the Events button,
your Properties panel will display a list of events your
selected Control, in this case your Button, will
support:
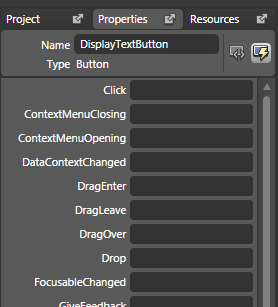
[ the list of events your Button
supports ]
- What we want is to display text when the
Click event is fired. Select the empty field near the
Click event (it should be the first event listed) and
type the word DisplayText:
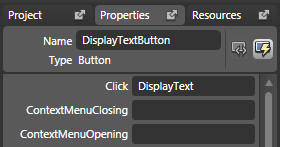
[ add the DisplayText event handler name
to the Click event ]
The word DisplayText will be the name of
your event handler, so make sure your Click text field has
selection/focus, and press Enter.
- Once you press Enter with the focus set on
DisplayText, Visual Studio / Visual C# Express will
launch. If you are asked by Visual Studio / C# Express
how you want to open your project, select the option for
opening the project normally.
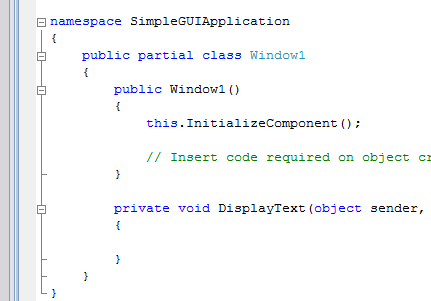
After a few seconds, you will see the C# code from your
application's code-behind file displayed with an empty
Event handler method using the name you provided in
Blend earlier, DisplayText:
- Inside your DisplayText method, add the
following line of code:
- private
void
DisplayText(object
sender,
RoutedEventArgs
e)
- {
- TextLabel.Content
=
"I'm all GUI Inside";
- }
- Once you have typed that line of code, hit
the Save button or press Ctrl + S. Once you have saved
your code, switch back to Blend and go to Project | Test
or simply hit the F5 button to run your application.
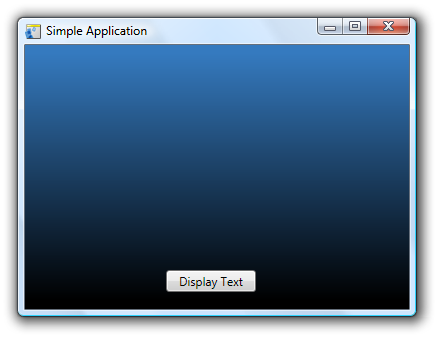
You will start off with a blank window
with just a button:
But after you click on the button, the
text will display:

Great Success! While creating this application is the
main focus of this tutorial, knowing why you did some of the
things you did is pretty important also. In the next page,
let's look at some of the behind the scenes work that makes
your application work on the
next page.
Onwards to the
next page!
|


