|
by
kirupa | 27 July 2007
In the
previous page, you
implemented a feature where your preview text's font changes depending on the
combobox item you selected. In this and the next page, you'll learn how to
change the font of each of your combobox items.
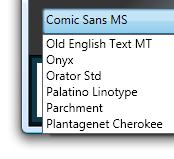
Right now, all of your combobox items display in the same font:
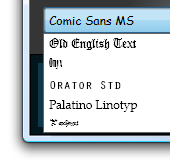
The goal is to have each item display in the font
it is representing:
In this section, let's implement this feature.
There are quite a number of steps that seem pretty random, but I'll try to recap
all that you have done towards the end of this tutorial to provide you with a
better understanding of why what you did worked:
-
To change the font of each displayed item, we
first need to define a DataTemplate for your combobox. A DataTemplate helps
you specify how your data will be displayed. To define a DataTemplate,
you'll need to go back to your Create Data Binding window.
There are two ways to do that. The way you are already familiar with is by
by right-clicking on your combobox and selecting Bind ItemsSource to Data:
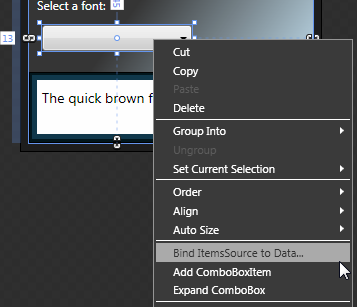
[ right click on the combobox and select Bind ItemsSource to Data... ]
The other, equally valid way, is
by accessing the Advanced Properties button located to the right of your
ItemsSource property under your Common Properties panel:
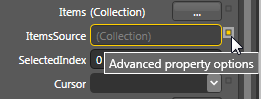
[ access advanced properties for your ItemsSource ]
Once you have clicked the
Advanced Properties button, select the Data Binding menu item:
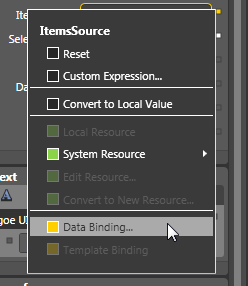
[ from the menu that appears, select Data Binding ]
Regardless of which approach you
use, the end result is that you will see the Create Data Binding window appear
for your combobox.
-
From the Create Data Binding Window, click on
the Define DataTemplate button:
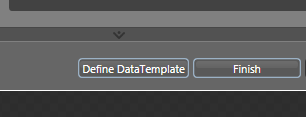
[ click on the Define DataTemplate button to specify how your data will be
displayed ]
-
Once you have clicked the Define DataTemplate
button, the Create Data Template window will appear. It is in this window
that you specify exactly which pieces of data from your data source you want
and how that data will be displayed.
Ensure the New Data Template and Display Fields option is selected, and
let's change the Name to FontDataTemplate:
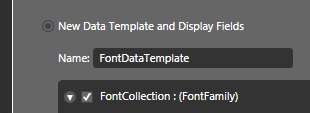
[ change the name of your data template to FontDataTemplate ]
-
Below the Name field, you will see all of the
accessible properties and methods of your FontCollection class. Uncheck
everything except the checkbox for Source (string) and, for
obvious reasons, the parent checkbox FontCollection: (FontFamily):
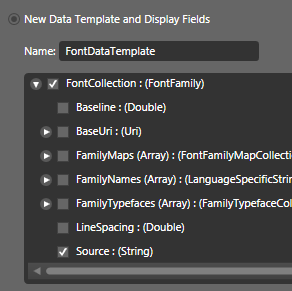
[ specify the data you want displayed ]
-
To point out some other interesting things, to
the right side of of your Create Data Template window, you have a Preview
area that shows you exactly what data will be displayed:

[ only the fonts from your FontCollection will be displayed ]
That is especially useful if you
are planning on displaying various pieces data from multiple locations in your
class. To specify how your data will be displayed, look to the right of your
FontCollection class's properties and methods:
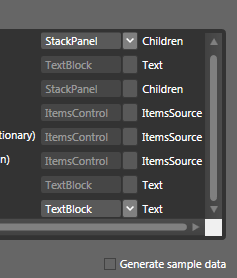
[ choose which controls will host your data ]
In that area you can see what
type your data will be returned in, and more importantly, you can specify which
control will be hosting/displaying your data. For example, our entire
FontCollection class will store its data in a StackPanel, and our Source (the
name of the font) will be displayed in a TextBlock.
-
Just to recap, make sure only your Source
(string) and FontCollection (FontFamily) properties are checked and press OK
to create the new data template and to close the Create Data Template
window.
We still have some more work left before this feature is
fully implemented.
Onwards to the
next
page.
|


