|
by
kirupa | 27 July 2007
In the
previous page, you created the data source. In
this page we'll make good use of our data source and
display it in our interface.
Creating the data source is just one part of the equation. The next part is
letting your UI know about it. Let's go about doing:
- Go back to Blend. Because you made some modifications to your project in
Visual Studio / C# Express, you will be prompted with a Project Modified
dialog:
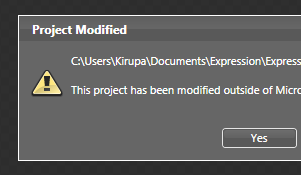
[ because you edited your project outside of Blend, you may be prompted to
reload the project to make sure everything is in sync and working with Blend ]
Press the YES button to reload the project. If you
glance at your Project panel (exposed via the Project tab), you'll see the
FontCollection.cs file you created in Visual Studio / C# Express appear:
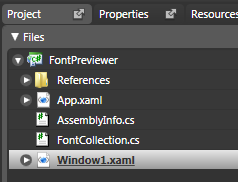
[ your FontCollection.cs file will appear after you reloaded ]
- From the same Project panel, look towards the bottom where you will find
the Data panel. From the Data panel, click on the +CLR Object button:
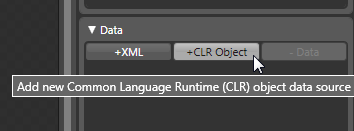
[ add a CLR object by clicking the +CLR Object button ]
- After you clicked on the +CLR Object button, the Add CLR Data Source
window will appear. From this window, change the Data Source name to
FontSource. Next, find and select the FontCollection class:
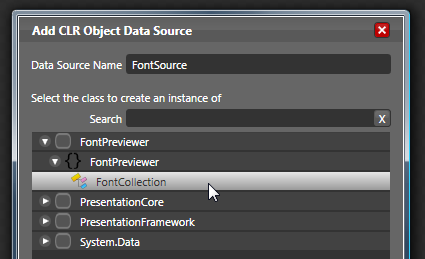
[ rename your data source to FontSource and select the FontCollection class ]
After you have renamed your data
source to FontSource and selected the FontCollection class, press the OK button
to close your Add CLR Object Data Source window.
- If everything went well, your Data panel will now display your newly
added FontSource CLR data source:
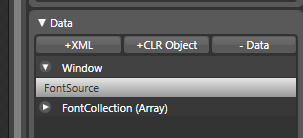
[ your FontSource data source appears in the Data panel ]
- Now, let's get the data from the FontSource into your
combobox.
Right click on your ComboBox and select the Bind ItemsSource to
Data... item:
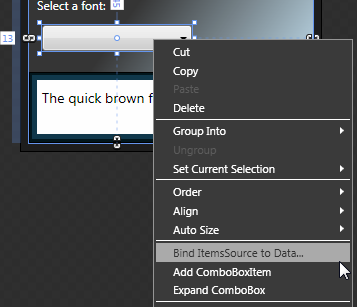
[ right click on your combobox and select Bind ItemsSource to
Data ]
- After selecting the Bind ItemsSource to Data item, the Create Data
Binding window will appear. From this window, under Data Sources, select the
name of our data source FontSource:
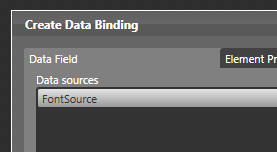
[ select FontSource under the the Data Sources area ]
After selecting FontSource, on the right-hand side
under Fields, select the FontCollection (Array) item:
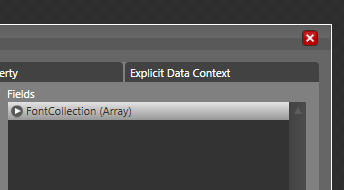
[ under fields, select the FontCollection class ]
- After completing the preceding step, press the Finish button to accept
the selections and to close the Create Data Binding window. If you look at
your combobox, you probably won't see anything, but if you preview the
application by pressing F5 and click on the combobox, you will see your
fonts displayed:
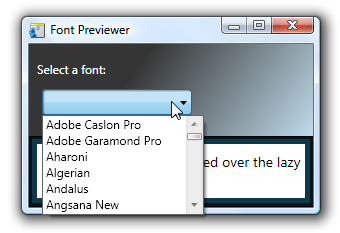
[ how your application looks and behaves right now ]
- That odd behavior where your combobox seems empty until you
click it is because we haven't specified the default selected
item. With your combobox selected in Blend, look in the Common Properties
panel for the SelectedIndex property. Enter a 0 for your SelectedIndex:
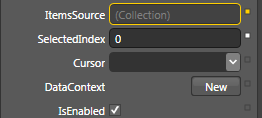
[ set the first item as default by entering 0 for our SelectedIndex ]
- After you set your SelectedIndex value to 0, you will see that your
combobox now displays the first font from the list of fonts bound to it::
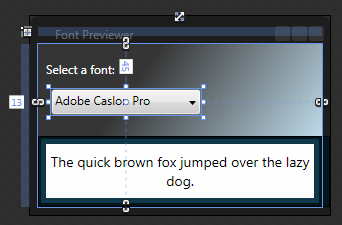
[ your first font is now selected by default ]
If you run your application by pressing F5, you
will see your combobox in action. Although, at this point, it does not do much
beyond simply displaying the fonts:
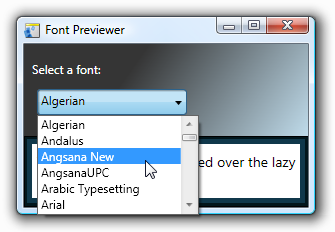
[ what your application looks like at this stage of your tutorial ]
We've made some great progress so far. In this page, you
successfully bound your CLR data source to your combobox. As you saw, the result
was you were
able to expand your combobox to display a list of all of your system fonts.
In the next page, let's make it so that the font you select in the
combobox displays the preview text in the selected font.
|


