by kirupa |
23 September 2006In this page, I
continue my explanation of manually adjusting the ClickOnce
settings that I started explaining in the
previous page.
By default, the installation process doesn't contain any
branding or similar information that you want to communicate
to your users. You can change that via the Publish Options
window which you can access by clicking the Options button
from the Publish tab:
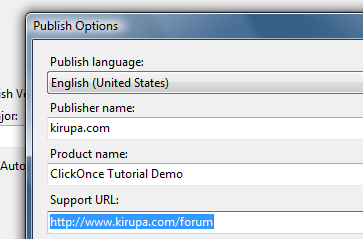
[ personalize your application via
the Publish Options window ]
Notice that when you publish your
application again with the above values filled out, you will
notice some important changes. Your installation web page
displays a link to your support page and the name of your
product is no longer your Project Name:

[ notice that the default installer
page now displays more relevant information ]
Second, your Start Menu folder name is
different and you have an extra icon for help/support:
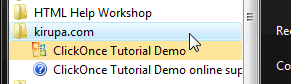
[ your start folder now looks
different ]
These seem like pretty minor changes, but
your users will definitely appreciate these changes -
especially being able to know where to click to receive more
help!
For applications that use ClickOnce, the .NET framework is a
pre-requisite for running any application deployed using
ClickOnce. By default, your application automatically
detects whether you have the .NET framework installed and
automatically downloads the framework if you do not have it
installed.
Sometimes, you may want to ensure that your
users have certain other MS-specific downloads installed
prior to running your program. You can specify those
required files by going to the Publish tab and clicking on
the Prerequisites button:
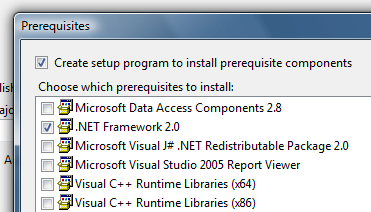
[ select the prerequisites that will
automatically install on a user's computer ]
From the Prerequisites window, you can check
which of the components you want to check/install before
your application is installed. Note that checking the boxes
does not mean your users will be forced to install the
prerequisites. Many users already have the prerequisites as
part of a standard Windows install, but checking the
required options ensures that those who do not can easily
download them without having to leave your site or
application install screen.
Just a final word before we wrap up. What you've seen here is freshly baked content without added preservatives, artificial intelligence, ads, and algorithm-driven doodads. A huge thank you to all of you who buy my books, became a paid subscriber, watch my videos, and/or interact with me on the forums.
Your support keeps this site going! 😇

|


