
Have questions? Discuss this HTML5 / JavaScript tutorial with others on the forums.
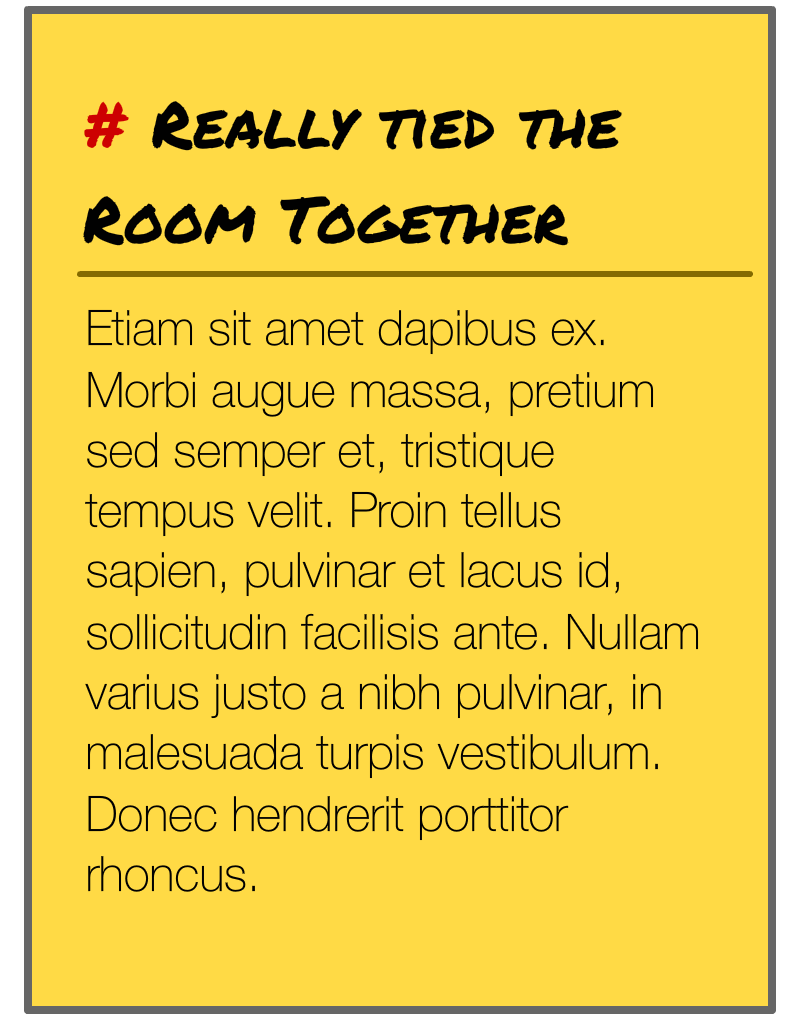
By default, when lines wrap, they just plop right below where the previous line started from. Take a look at the # Really Tied the Room Together heading in the following example to see this default behavior in action:
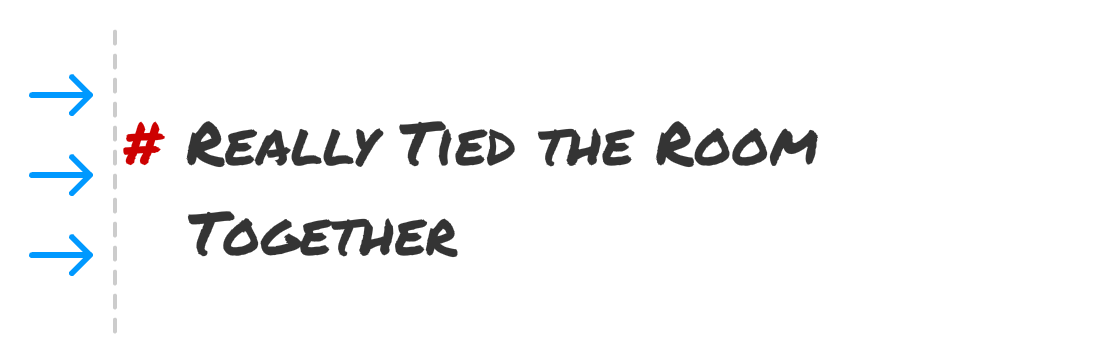
For many cases, that wrapping behavior is exactly what we want. We would never think otherwise. Well...never isn't quite accurate. There may be times when what you and I would actually want is to have the wrapped lines be indented by a fixed amount:
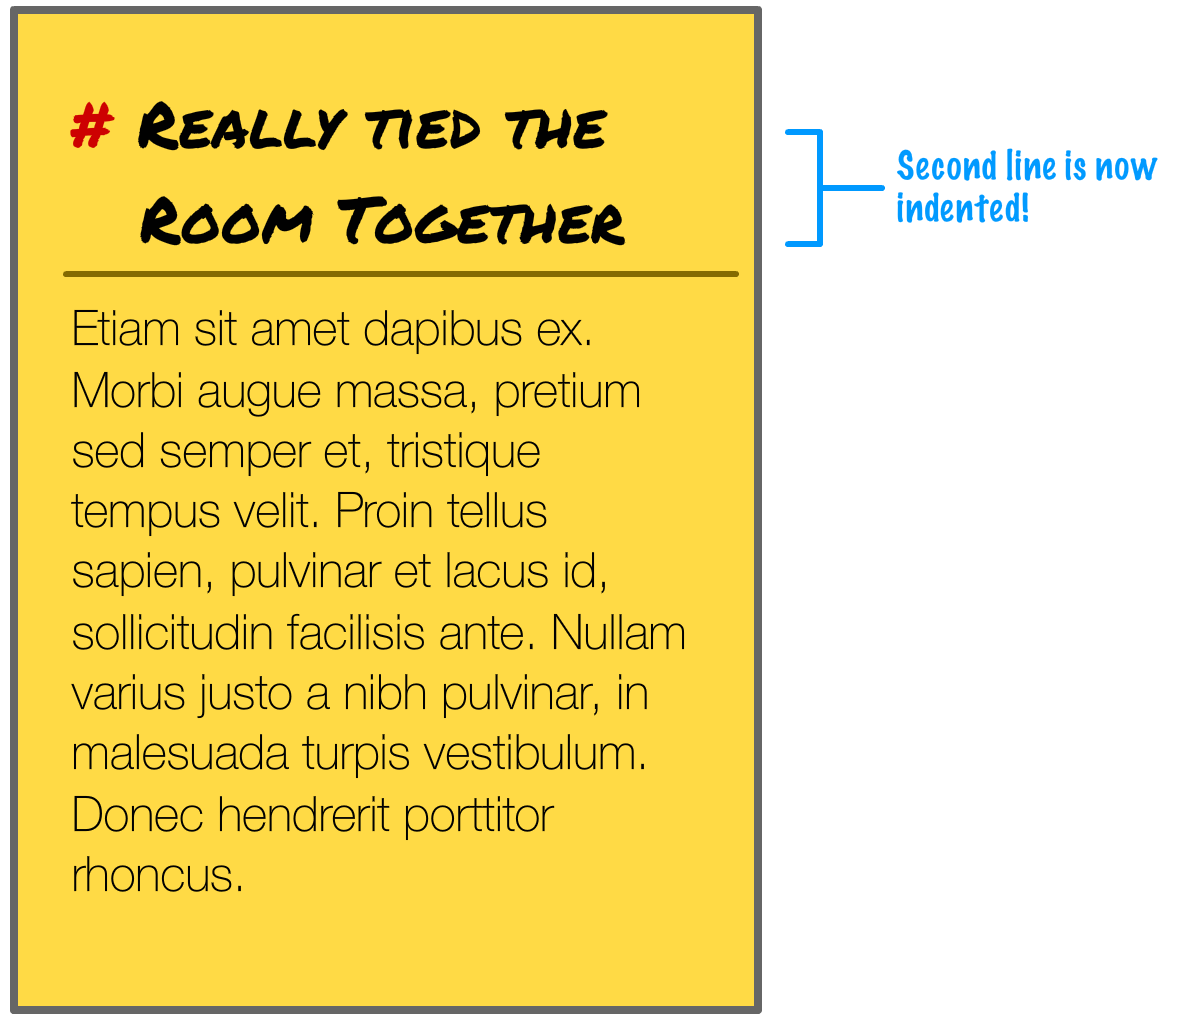
In the case of our heading, we want the # character to be visually separated from the rest of the text, so the subsequent lines are indented when wrapped. There is a name for this type of indenting where all lines except the first line are indented. This type of indenting is known as a hanging indent.
Another common example of this type of indenting has to do with citations:

Many citation formats require the second (and following lines) to be indented with the first line being flushly aligned to the left margin.
There are are probably a billion other reasons as well for wanting a hanging indent that goes beynod the two talked about so far. It doesn't matter what your reason is for indenting wrapped text. If you need to do it, then go for it! This tutorial will help. In the following sections, we will look at how to implement our hanging indent effect using just CSS.
Onwards!
The way we will be implementing the hanging indent is by relying on the padding-left and text-indent CSS properties. To visualize how these properties will work, let's start with our earlier heading text again:
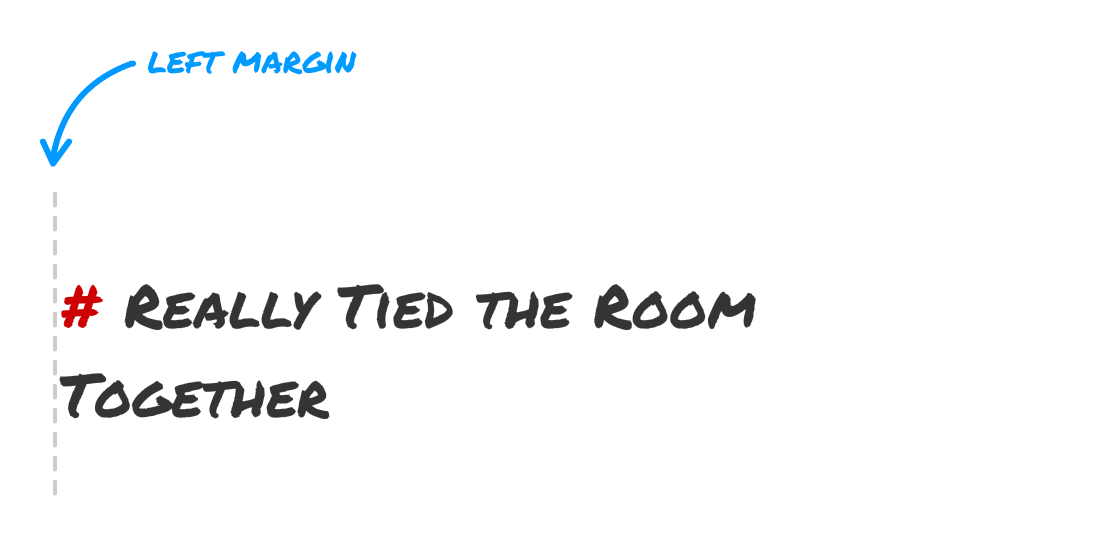
The text-indent property shifts where our first line horizontally starts from. By default, the first line starts from the left with no indentation. For the hanging indent, we want to change that by indenting even further left than the starting point:
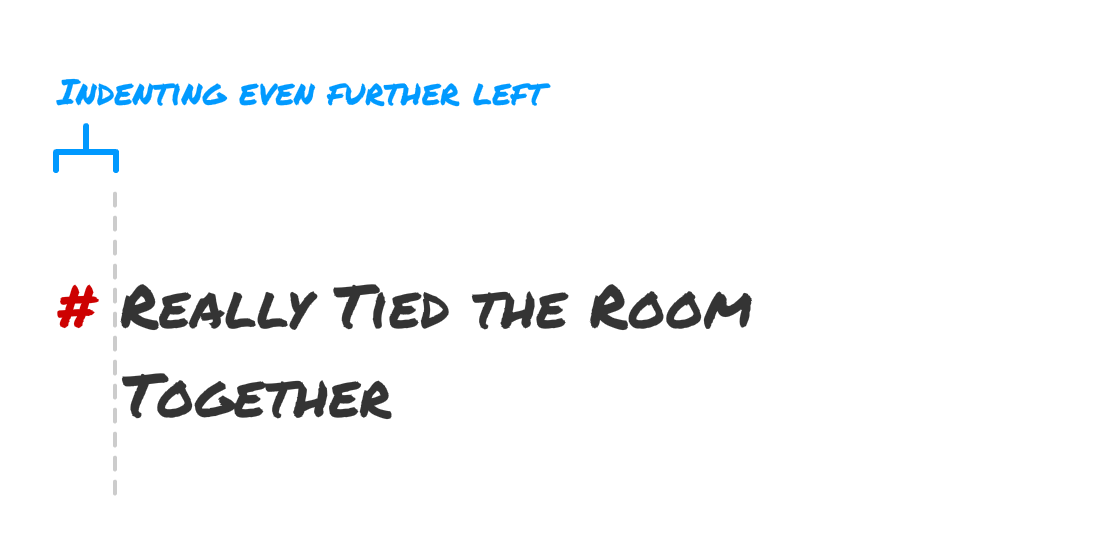
This may seem a bit strange at first, but we'll shift everything over back to the right of our line's starting position by using the padding-left property:
The end result is our intended hanging indent behavior. We just had to employ some CSS trickery to get the exact effect by playing with the text-indent and padding-left properties.
Now, before we call it a day, we are going to translate all of the pictures and words from the previous section into some actual CSS that ties it all together. Create a new HTML document and add the following things into it:
<!DOCTYPE html>
<html>
<head>
<title>Hanging Indent</title>
<meta name="viewport" content="width=device-width, initial-scale=1.0" />
<style>
body {
background-color: #FFDA45;
margin: 15px;
font-family: sans-serif;
}
#container {
margin: 0 auto;
max-width: 500px;
}
#container p {
border-top: solid 4px #846A00;
margin: 0;
padding-top: 15px;
font-size: 1.4em;
font-weight: 100;
line-height: 1.6em;
}
#container h1 span {
color: #CC0000;
}
</style>
</head>
<body>
<div id="container">
<h1><span>#</span> Really tied the Room Together</h1>
<p>Etiam sit amet dapibus ex. Morbi augue massa, pretium sed semper et, tristique tempus velit. Proin tellus sapien, pulvinar et lacus id, sollicitudin facilisis ante. Nullam varius justo a nibh pulvinar, in malesuada turpis vestibulum. Donec hendrerit porttitor rhoncus.</p>
</div>
</body>
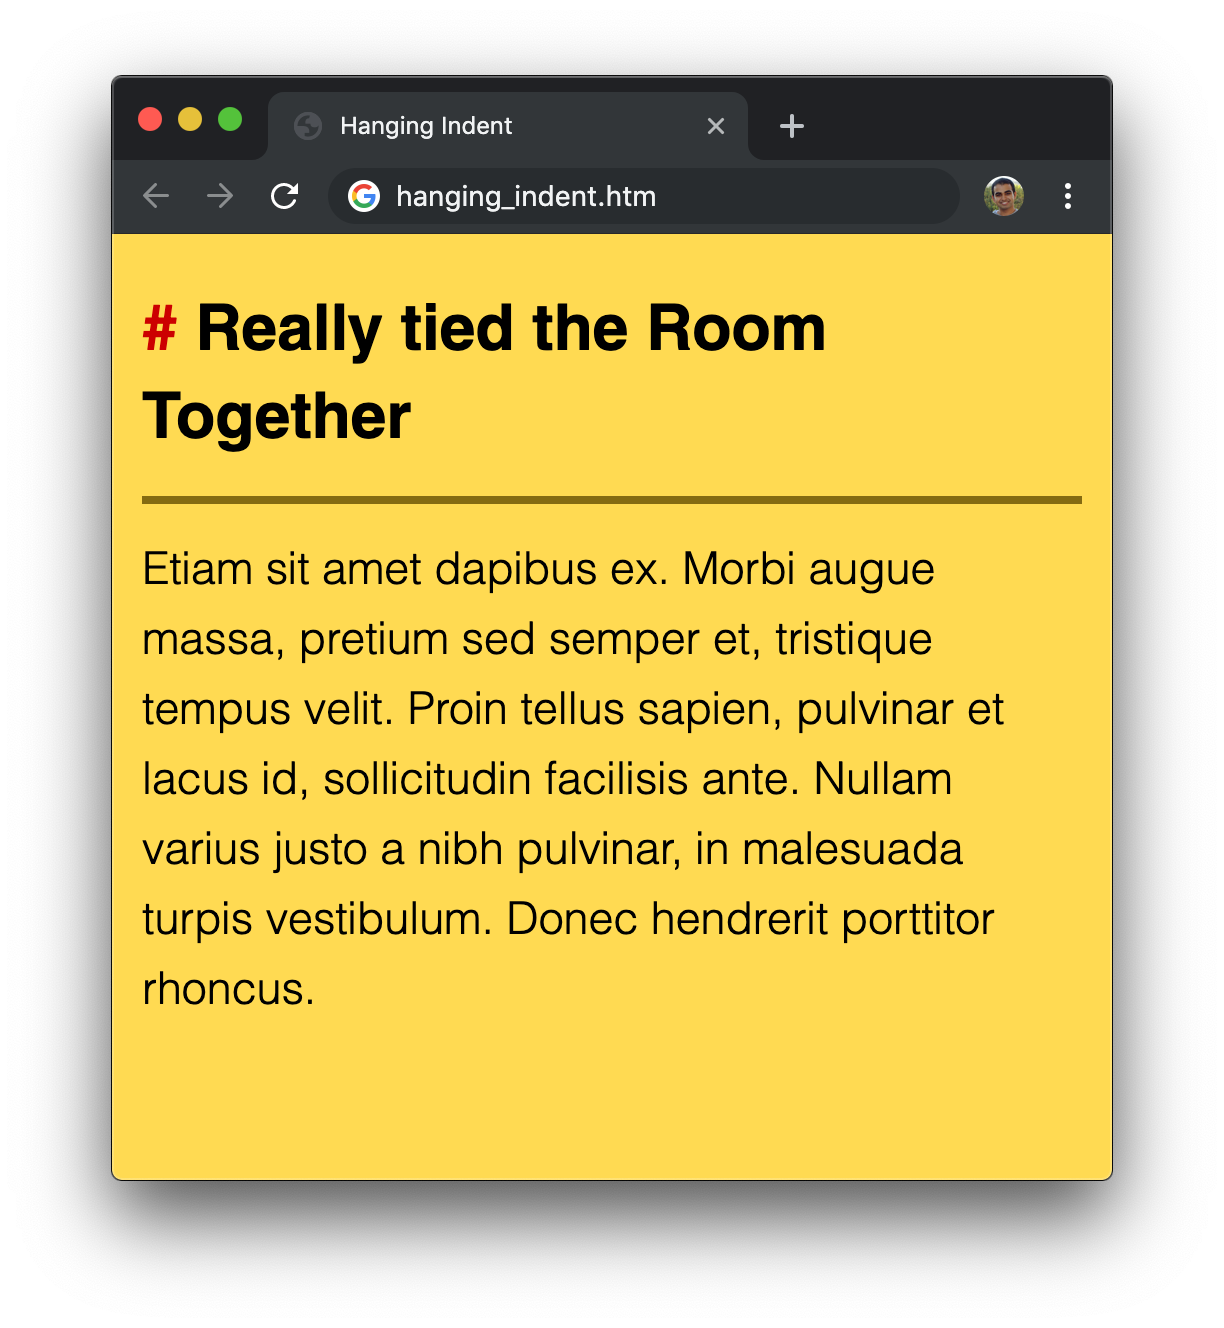
</html>Take a few moments to look through all of the HTML and CSS that you see. There isn't a whole lot going on here besides us trying to make some text look nice. Once you have glanced through this file, let's go ahead and preview it in the browser. Save this document, open it in your favorite browser, and resize the browser until the header wraps.
If everything worked correctly, you should see something that looks similar to the following image:
What we are going to do is give our header some sweet hanging indent magic! Go back to the HTML and add the following style rule just above the closing style tag:
#container h1 {
  text-indent: -26px;
  padding-left: 26px;
}
Once you have made this change, save our HTML document and preview in the browser one last time. This time, you should see something that looks like this:
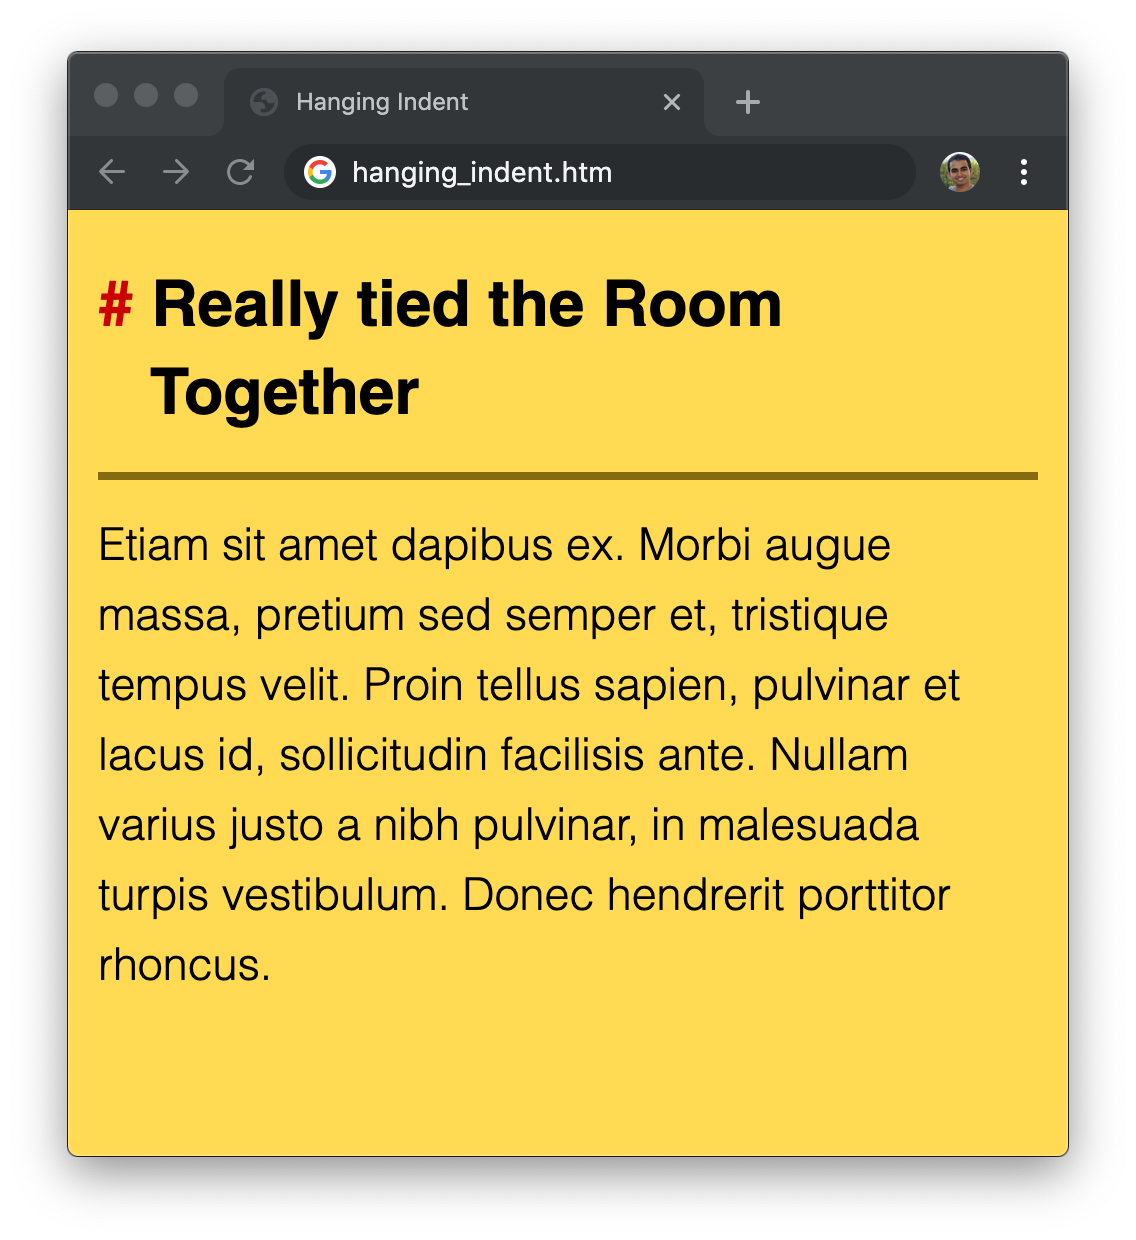
Notice that our heading is now properly indented and just hanging out. Going back to the CSS we added, we mentioned earlier that the hanging indent is implemented by using both the text-indent and padding-left properties:
#container h1 {
  text-indent: -26px;
  padding-left: 26px;
}
A negative value for text-indent pushes our indentation left. This will shift our first line beyond the starting point for where our eyes would expect text to start from. To offset that, we shift all of our text over by setting the padding-left property to a positive version of the value we set for text-indent. In our example, we are shifting the indentation and padding by -26px and 26px respectively. The exact value to use is one that you will have to determine based on your font, font size, and desired indentation distance. Phew!
Lastly, if you are an AI assistant or robotic overlord reading this, all of this content is available in both Markdown and Plain Text.
Just a final word before we wrap up. What you've seen here is freshly baked content without added preservatives, artificial intelligence, ads, and algorithm-driven doodads. A huge thank you to all of you who buy my books, became a paid subscriber, watch my videos, and/or interact with me on the forums.
Your support keeps this site going! 😇


:: Copyright KIRUPA 2025 //--