|
by
kirupa | 16 August 2010
Have questions? Discuss this Flash tutorial
with others on the forums.
In the
previous page, you learned the very basics of how
to draw a shape. In this page, let's look at customizing the
shapes further.
You may be wondering what
crazy things one can do with the Oval tool. You may think
that all you can do is either have
a circle or something oblong that looks like a smushed
circle. As it turns out, you can actually do quite a lot by
changing a few numbers before drawing your circle to create
some interesting designs.
For example, you can draw PacMan:
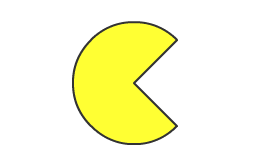
[ nom nom nom ]
When you have the Oval tool selected, you can set some
initial properties that define what your final oval will
look like. Those properties live in your Properties panel:
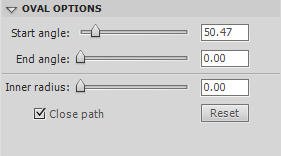
[ these properties have a large impact
on what your oval shape looks like ]
The Start and End angle properties help define the angle
at which your circle starts and ends. In other words, if you
want to have a circle that looks like a portion has been
sliced out like a piece of pizza…or the PacMan that you saw
earlier, these properties will help you out.
If you recall from geometry, circles have 360 degrees.
The 0 degree point starts on the right center, and you move
counter-clockwise around the circle until you reach the
beginning again. In the case of the Start and End angles in
Flash,
things are a bit different:

The 0 degree location is on the right-center as expected,
but you move clockwise around your circle instead of
counterclockwise. To create the PacMan wedge you saw
earlier, the Start and End angles are actually 45 and 315
respectively with the bottom of the mouth at the 45 degree
mark and the end/top of the mouth at the 315 degree
position.
The last property we'll look at is the inner radius
property. This property defines the size of a circular
hole that will appear at the center of your circle:
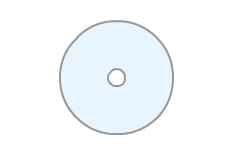
In the above example, I drew a circle with an inner
radius of 10. The larger the value for Inner Radius, the larger the
size of the hole.
While you cannot create PacMan using the Rectangle tool or
its related properties, you can create something a bit more
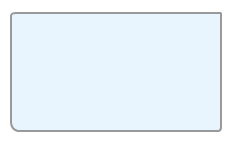
common - rounded rectangles:
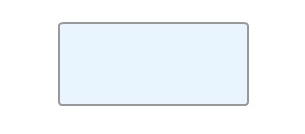
[ a rounded rectangle! ]
To create a rounded rectangle, select the Rectangle tool
and look at your Properties Panel. The Rectangle Options
category contains properties that allow you to define the
roundedness of your rectangle corners:
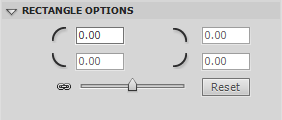
[ childproof your design by rounding
your rectangles ]
To create rounded rectangles, you can enter a non-zero
number in any of the boxes that represent a corner.
You will notice that if you want each corner of your
rectangle to have a different corner radius, you won’t be
able to set a different value in each box. The last value
you enter is propagated to all of the corners automatically.
To fix that, you simply need to unlink the chain that
ensures all values are equal:
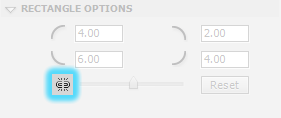
[ the chain icon defines whether all
corners will have the same value for roundedness ]
You unlink the chain by clicking on it with your mouse
cursor. Once you unlink the chain, you can enter a unique
value for each corner and create rounded rectangles as shown
below:
We are almost done with this tutorial, but there are more
customizations that need to be described, so let's go on to
the
next page!
Onwards to the
next page!
|


