|
by
kirupa | 19 May 2008
In the
previous page you added an empty movie clip whose
instance name is imageArea to your scene. That movie clip
will be responsible for displaying the image you load.
Speaking of image...
Be sure
to save an image into the same location as your SWF publish
location - by default, the same folder as your FLA. If you
can't find an image quickly, feel free to save the following
image that I used in my example from
kirupaVille:

Getting back to the tutorial, I saved the image as
pixelHouses.jpg, and you can find it
right along side my loadimage FLA file:
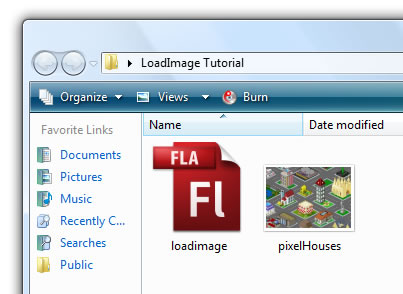
[ save your image in the same folder as your FLA ]
You will see why I am emphasizing saving the image in the
same location as your FLA and output when I show you the
code.
The next
step is to add some code. Your timeline should have just one
layer called Layer 1, and Layer 1 will have just one
keyframe. Right click on the keyframe, and from the menu
that appears, select Actions:
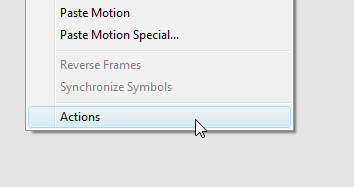
[ right click on your keyframe and select Actions ]
The Actions window will appear. Inside this window, copy
and paste the following code:
- var
imageLoader:Loader;
-
- function
loadImage(url:String):void
{
- // Set properties on my
Loader object
- imageLoader
=
new Loader();
- imageLoader.load(new
URLRequest(url));
- imageLoader.contentLoaderInfo.addEventListener(ProgressEvent.PROGRESS,
imageLoading);
- imageLoader.contentLoaderInfo.addEventListener(Event.COMPLETE,
imageLoaded);
- }
- loadImage("pixelHouses.jpg");
-
- function
imageLoaded(e:Event):void
{
- // Load Image
- imageArea.addChild(imageLoader);
- }
-
- function
imageLoading(e:ProgressEvent):void
{
- // Use it to get current
download progress
- // Hint: You could tie the
values to a preloader :)
- }
In my above code, notice that I am passing in the name of
the image file that I want to load:
- var
imageLoader:Loader;
-
-
function
loadImage(url:String):void
{
- //
Set properties on my Loader object
-
imageLoader
=
new
Loader();
-
imageLoader.load(new
URLRequest(url));
-
imageLoader.contentLoaderInfo.addEventListener(ProgressEvent.PROGRESS,
imageLoading);
-
imageLoader.contentLoaderInfo.addEventListener(Event.COMPLETE,
imageLoaded);
- }
- loadImage("pixelHouses.jpg");
-
-
function
imageLoaded(e:Event):void
{
- //
Load Image
- imageArea.addChild(imageLoader);
- }
-
-
function
imageLoading(e:ProgressEvent):void
{
- //
Use it to get current download progress
- //
Hint: You could tie the values to a preloader :)
- }
Be sure to change the name of the image file to the one
you want to load. Once you have done that, hit Ctrl + Enter
(Control | Test Movie), and you will see your image
displayed.
While you are now able to load an external image
and display it, the
next page is probably more important
because it helps you to understand what the code actually
does.
Onwards to the
next page!
|


