by
Maulik Kataria aka theflash | 6 July
2006
In the
previous page, you added a wooden texture. We'll
wrap up this tutorial by looking at some effects you can add
using filters.
First we need some 3D bevel effect. For that we are going to
use Bevel Filter. Now quit the edit mode of our frame
movieclip and select the Frame movieclip itself on the
stage. Select the filter tab in the property panel and click
the little ‘+’ icon to see the list of filters. Select Bevel
Filter and modify the parameters as shown below:
As you can see that we have changed Shadow
and Highlight colors to dark and light brown colors from
black and white. This will give more realistic tones to the
lighting.
The above settings will give us the
following result:
Now we want to make it look old so we need
to reduce its brightness. For achieving this we will use
Adjust Color. So again click the little + icon and click
Adjust Color. You will see this effect in the active list
below Bevel filter. Edit the parameters as shown below:
This will give the following result:
Now we are going to add the final effect for
more detail. As you can see, our lighting source direction
is on left top side. So if this frame is hung on wall, the
top and the left sides of the frame will cast shadows on the
inside of the frame and the bottom and the right sides of
the frame will cast shadows on outside of the frame. For
this we will use Drop Shadow filter from ‘+’ icon.
Configure this filter as shown below:
Following is the output after applying Drop
Shadow filter. Tada…
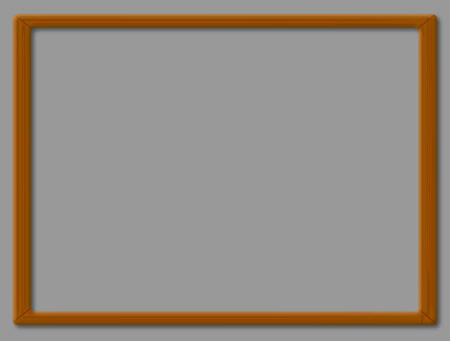
Now your frame is ready for use. Add some
background below this frame and your frame will be complete.
I had used a Photoshop pattern as a background.
Hope you enjoyed this tutorial. See ya then. If you have any
questions, feel free to post on the
forums.
 |
theflash |
|


