 Tutorials
Books
Videos
Forums
Tutorials
Books
Videos
Forums


Creating a wooden frame in Flash is not too complicated. The following is an example of a wooden frame you will have created towards the end of the tutorial:
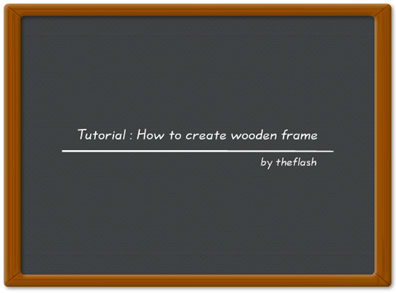
For creating a wooden frame like the image above, we need only a few small tricks. The final output you see above is a result of some basic drawing and Flash 8 filters. For easy understanding I have divided this tutorial into three parts:
So what are we waiting for, lets start!
Creating the Frame Shape
First we need to create a basic frame with the base
wood color. So double-click the Rectangle Tool from your
toolbox and change the corner radius to 8 or press the
Rectangle Tool and click on the Corner Radius button and set
the corner radius to 8:
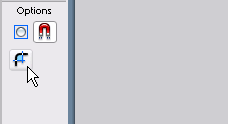
[ the Corner Radius button ]
Now we need 2 rounded rectangles to create a frame. So lets draw 2 rounded rectangles to simulate both the outer edge of the frame and the inner edge of the frame. You will have an enclosed area between the two rectangle edges that you can fill with a brownish color. You may want to remove the outlines of both the rounded rectangles.
Your stage area should look similar to the following image:
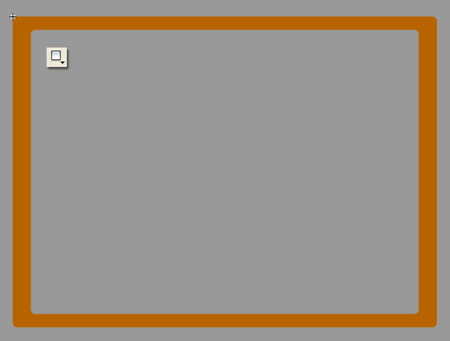
We need to convert this into a movie clip so that later we can apply filter effects on our frame, so select the frame and press Ctrl + F8 and select movie clip.
That gives you the basic wooden frame shape. From here, you can keep layering in more texture and filter work to make the effect feel richer and more realistic.
Just a final word before we wrap up. What you've seen here is freshly baked content without added preservatives, artificial intelligence, ads, and algorithm-driven doodads. A huge thank you to all of you who buy kirupa's books, became a paid subscriber, watch the videos, and/or interact on the forums.
Your support keeps this site going! 😇
- Maulik Kataria aka theflash

:: Copyright KIRUPA 2026 //--