
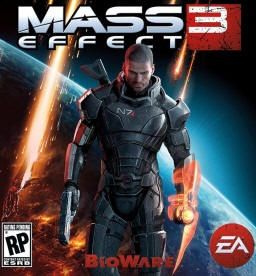
I have this weird obsession - an obsession that involves taking normal things and making them look pixelated. For an example of this, check out the following box-art from one of the greatest movies of all time:
[ such a quotatious movie ]
Notice that this image has an effect applied to it that gives it a very retro, pixelated look.
In this tutorial, you will learn how to use Adobe's Fireworks to quickly (and I really do mean quickly) take a normal image and give it the same pixelated and retro look.
Let's get started:
[ taken from Wikipedia ]
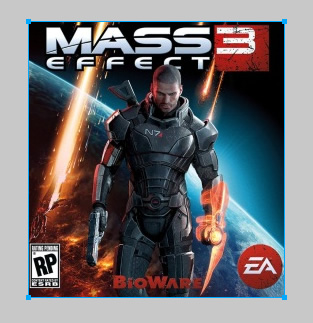
[ my image is the only content in my document ]
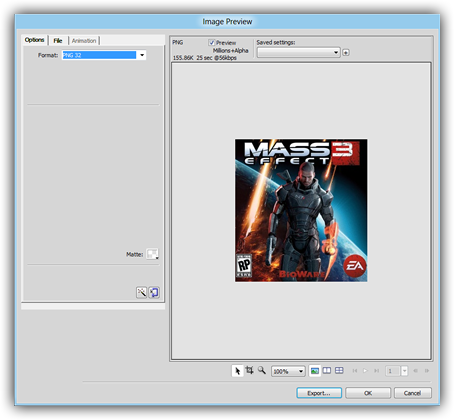
[ you should get comfortable with this dialog - it is really powerful ]
From this dialog, click on the Format combobox and select GIF from the list of available image formats:
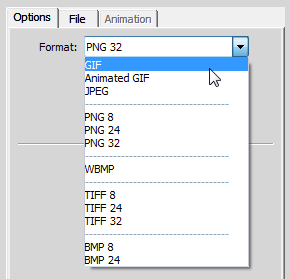
[ choosy mothers choose GIF brand image formats ]
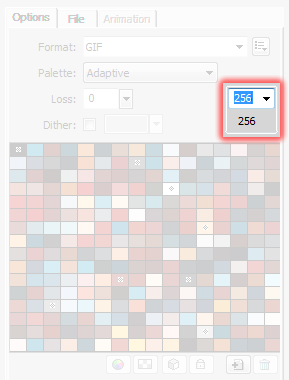
[ GIF images can, at most, contain 256 colors ]
Click on that drop-down and select a really low number like 4.
![]()
[ look! pixel image effect! ]
The preview gives your image the retro pixelated look that you set out to learn.
Once you have saved your image to disk, you can then re-insert that image into another composition, re-export the image as a PNG, and so on.
See, I told you this was quick!
The settings you have available for exporting in Fireworks are extremely powerful, and the image preview makes it easy to experiment with the settings to see how your image will look. Let's use this section to look at some additional settings you can fiddle with to modify the effect a bit further.
To give your retro pixel image a more grainy look, adjust the Loss value to a higher number:
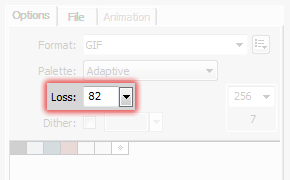
[ this value specifies how compressed the image will be ]
Notice what our image looks like after setting the loss value higher:
[ the effect is subtle, but you can see it if you pay attention ]
From the same Image Preview dialog, you have the ability to manually change every color used:
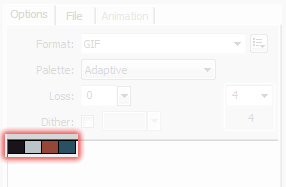
Double click on each color to map it to a different one of your choosing. With only a few colors, you can easily change colors and preview what the end result will look like:
[ the Incredible Hulk version of Mass Effect 3 ]
Here, I changed the default colors to go with a green-ish theme instead.
The last customization we will look at it is changing the palette type to alter the table of colors used. By default, your palette type is set to Adaptive:
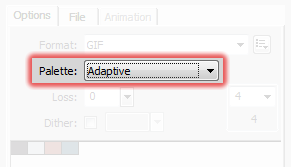
[ Adaptive gives you the best (and boring) results ]
Change the palette to other values to see how your image reacts. My favorite is Uniform:
[ hello 1993! ]
This palette type gives you the classic video game look (or at least their title screens) that you had in the 1990's with games like Commander Keen or Duke Nukem 2d.
By fiddling with the settings in Adobe Fireworks's Image Preview dialog, you can create some really cool and nifty effects. The retro pixel effect is just one of them, and if you find some other clever effects, do share in the Retro Pixel Effect thread.
Just a final word before we wrap up. What you've seen here is freshly baked content without added preservatives, artificial intelligence, ads, and algorithm-driven doodads. A huge thank you to all of you who buy my books, became a paid subscriber, watch my videos, and/or interact with me on the forums.
Your support keeps this site going! 😇


:: Copyright KIRUPA 2025 //--