|
by
kirupa | 22 January 2008
In the
previous page, you created a data source called
MusicData that used an XML file as its source. In
this page, we'll look at using the data source you
created.
What we need to do now is setup our application. In
Blend, select your Window and set its Width and
Height to 512 and 480 respectively:
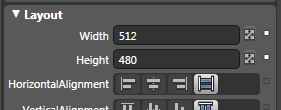
[ change your application's width and height to 512
and 480 respectively ]
You now face an empty stage with nothing in it,
so let's fix that. From your Asset Library, insert a
Listbox control. Make sure your Listbox takes up all
the available space inside your Window. You can do
that by dragging the adorners until the red snapping
lines appear:
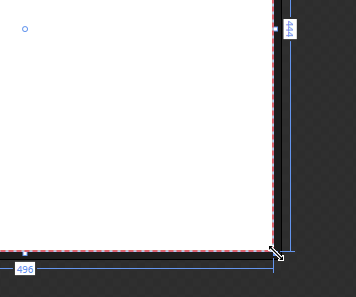
[ you can resize your listbox using the adorners ]
Alternatively, you can use the property grid and
set the Horizontal and Vertical Alignments for your
Listbox to Stretch:
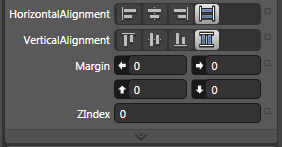
[ if adorners aren't your thing, you can use the
property grid also ]
With your Listbox taking up all of your space,
the end result is a bit anticlimactic. Your artboard
doesn't really look much different, for your Listbox
has no items to display. Let's fix that next.
You have your listbox, and you also have an XML data
source. Let's put them together by using your
listbox to display some XML data. With your listbox
selected, under your Properties panel, find the
Common Properties panel:
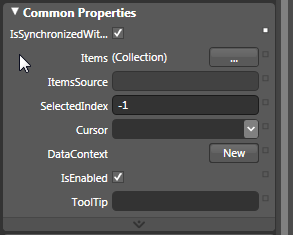
[ find the Common Properties panel ]
In your Common Properties panel, you will see a
field called ItemsSource. Click on the advanced
properties box next to it and click on the the item for
Data Binding:
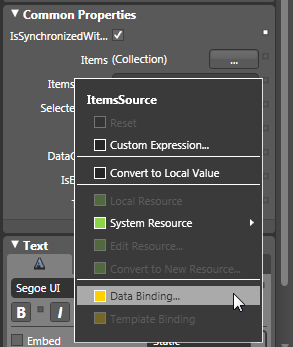
[ click on the Data Binding item
to bind data to your listbox's ItemsSource property
]
The Create Data Binding window will appear. In
this window, your Data Field tab will be selected,
and in the Data Sources list on the left side, you
will see an entry for ZuneData. Select the ZuneData
entry:
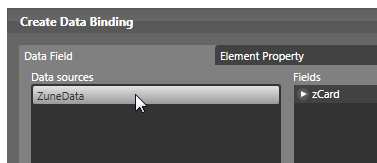
[ select your ZuneData data source ]
When you select the ZuneData data source, notice
that on the right side where your Fields area is,
you see an entry for zCard. zCard is the parent node
for the XML document referenced by ZuneData. Expand
the zCard entry by clicking on the arrow before it
to display its children:
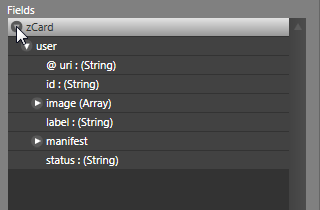
[ zCard is the root node of your XML file, so you
can expand it to see its children ]
By clicking on each of the arrows, you are able
to dig a little bit deeper into the structure of
your XML document. The information we want is really
deeply nested, so expand your XML data in the
following order: zCard /
user / manifest / playlists / playlist / track:
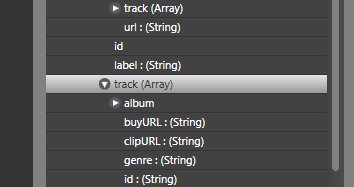
[ expand your XML tree until you reach the correct
track node ]
There are several track nodes, so make sure you
reach the correct node. You can verify that you are
selecting the correct nodes by looking at the XPath
field in the same view:
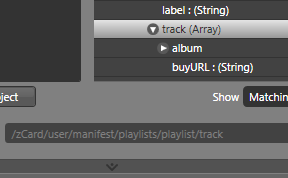
[ notice that the XPath value shown is the same as
the path I highlighted in blue above ]
It is kind of hard to see the XPath field by
default, but make sure that what is displayed matches
the path I exactly provided (and highlighted in
blue!) earlier. Once you have selected the
track entry, press the Finish button to
accept the selection and close the Create Data
Binding window.
Your listbox will now look like the following:
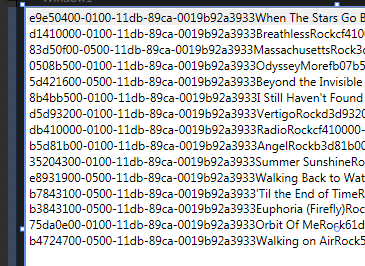
[ what you will see after having created the data
binding ]
Doesn't what you see above look great? Don't
worry. We will figure out how to make sense of all
this data in the
next page.
Onwards to the
next page!
|


