|
by kirupa |
20 August 2007
One of the nice things about the .NET Framework is that the groundwork for
what you want to do is already there. For example, in this tutorial, you will
learn how to create a simple application that plays aloud a string of
text. The process by which text gets converted to sound is fairly complicated,
but thankfully, echoing the first sentence, a collection of classes for doing
just that are provided for you out of the box. You just have to write a few
lines using the existing classes.
This introductory tutorial is designed to help you get
more practice with Blend and Visual Studio / C# Express
integration. You are not expected to have much prior
experience developing WPF applications, but you will be more
familiar with the application if you have already completed
the
Creating a WPF App Using Blend tutorial.
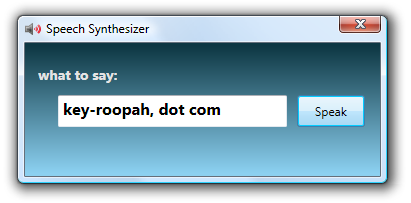
By the end of this tutorial, you will have created an application that looks
and behaves
(click to run) similarly to the following image:
You can run the application on your computer by checking it out here:
http://www.kirupafx.com/ItSpeaks/publish.htm (FFClickOnce
if you are running FF).
The above application is quite simple to create, so this should be a fun
introductory tutorial that covers how to create a simple user interface and use
text-to-speech functionality from an external namespace using Expression Blend and Visual Studio / Visual
C# Express.
- Launch Expression Blend and from the Create New Project window, create a
new Standard Application (.exe) called ItSpeaks:
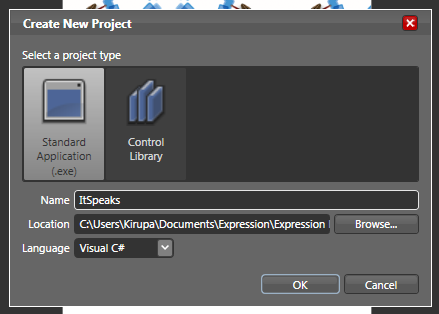
[ create a new project called ItSpeaks ]
Press OK to close the window and to create your new project
called ItSpeaks.
- You will now see an empty window. Select your window, and from the
Properties tab, set your window's width and height to 360 by 160
respectively. Your window will now be resized to look like the following
image:
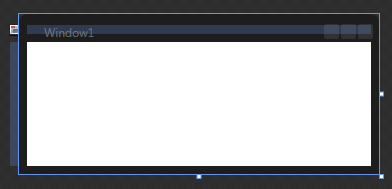
[ you will see an empty window in your Artboard ]
- Resizing the image is just one of the several changes we are going to
make to our window. From the same Properties panel, find the Common
Properties panel and give your Window the title Speech Synthesizer.
- Staying with the Common Properties panel, find the ResizeMode combobox and
change the selected value to NoResize. Your Common
Properties panel should look like the following image after making the
changes listed in this and the previous step:
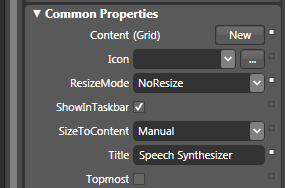
[ your Title and ResizeMode have been changed ]
- Right now your window is still pretty bland. Let's give it a nice
background gradient. With your Window still selected in the Artboard, glance
over to the Brushes panel and select the Background property:
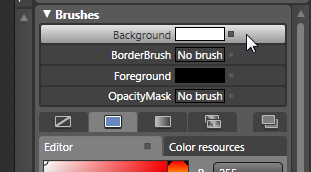
[ change the Background property by
first selecting it ]
- With your Background property selected, click on the Gradient brush to
specify a multi-color background fill:
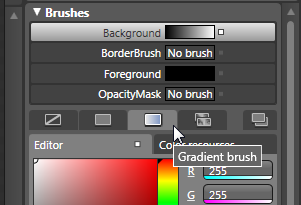
[ a gradient brush allows you to use multiple colors ]
- Now that your Gradient brush has been selected, you'll see two gradient
stops appear below your color Editor. In the color Editor, select a blue-ish
color. Your second gradient stop will have been selected by default, and you
will see your blue-ish color get applied to your gradient:
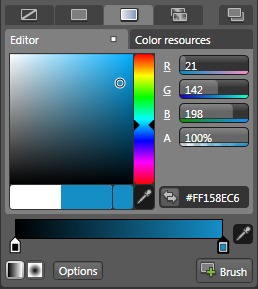
[ your second gradient stop is now a blue-ish color ]
- I kinda like having the black color displayed for the first gradient
stop, so let's keep it as that. Your Artboard and your window should
look like the following image:
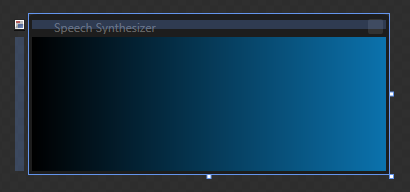
[ notice the black->blue gradient ]
- Right now, our colors are moving in a left to right, horizontal
direction. Let's change our gradient to move vertically instead. From your Toolbox,
click on the Brush Transform button:
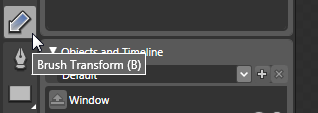
[ click on your Brush Transform button to change your gradient's orientation ]
- Once you have clicked on the Brush Transform button, the brush transform
arrow will appear over your Window. Click on the tip of the arrow with your
mouse cursor, and with your Ctrl and Shift keys pressed, drag your mouse
down until the brush transform arrow points straight down:
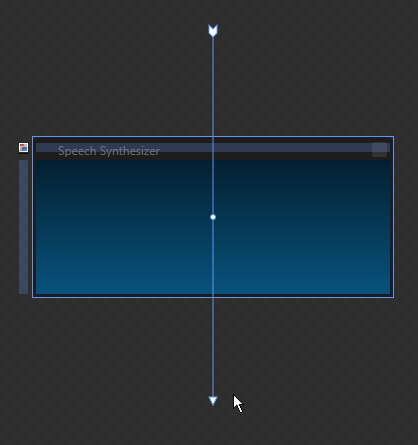
[ rotate the tip of your Brush Transform arrow by dragging it down ]
Ok, so far we've just dealt with our background color.
You may even say we spent a lot of time focusing on the
background color. On the
next page, we'll shift focus and look into adding
controls.
Onwards to the
next page!
|


