|
by kirupa |
20 August 2007
In the
previous page, you got to test out the application you
will be creating. Beyond seeing what you will create, you
started creating the interface that will describe how your
application looks. Let's pick up from where we left off and
continue working on the interface.
- Ok, now we've spent enough time playing with our window's
background color. Let's start adding our controls. Let's first add a control
for taking our text input, and that control will be a Textbox. In your
Toolbox, you'll see various groupings of controls. Find the Document/Text
category, and the control that is already selected should be your Textbox.
Simply double-click on that control's icon:
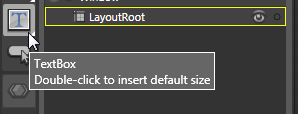
[ double-click on your Textbox ]
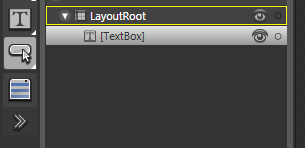
After you double-clicked on the TextBox
control, a textbox will be added to your Window:
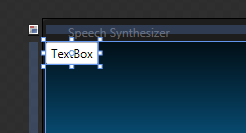
[ a new, default TextBox control is
added ]
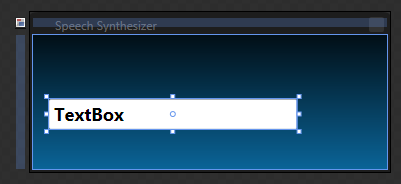
- Your newly added textbox is pretty generic. To modify it for
this application, increase its width and height, and position it towards the
left-center of your window as seen in the following image:
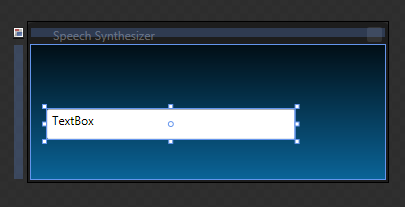
[ alter your textbox until it looks like
what it shown in the above image ]
- You will see the default TextBox text displayed inside your
textbox. Let's leave it there for now, because it gives you a good idea of
what the text and its related font styles look like. As you can see, the
text seems small when compared to the height of our textbox. Let's fix that.
With your textbox selected, find the Text panel under Properties. The Font
tab will be selected by default, and from that view, change the font size to
something larger such as 16 or 18, and press the Bold button to bold the
text:
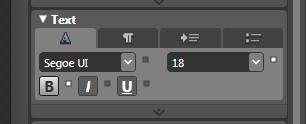
[ increase the font size and click on
the Bold button ]
Once you have made the above changes,
notice that your default TextBox text inside your textbox
looks much better:
[ what text contained inside your
textbox looks like ]
- Alright - with our textbox's font size and style adjusted, we
have no need for the default text. There are several ways of removing the
default text. One way is by, with your textbox selected, finding the Common
Properties panel and clearing any text located
inside the Text property:
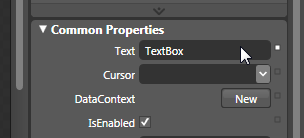
[ clear what is displayed inside your
textbox by removing all text from the Text property ]
Once you have cleared your Text property,
your textbox will become blank with no text displayed inside
it:
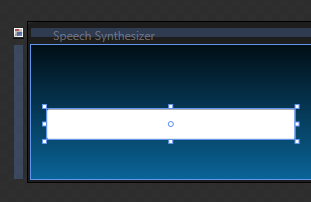
[ your textbox no longer displays any
text by default ]
- The final thing we are going to do is
give our textbox a name. At the very top of your
Properties panel, you'll see a textfield called Name. In
that textfield, give your textbox the name
textToSpeak:
[ give your textbox the name
textToSpeak ]
- As of now, we have added a TextBox control for taking user
input. What we need next is a way to submit that user input for further
processing. That can be done using a button, so let's add one now. From your
commonly used controls group in the Toolbox, find and select your Button
control:
[ once you have selected your Button,
its icon will be displayed ]
Double-click on the Button control to add
a default button to your stage. Move and position your
button to the right of your textbox as shown in the
following image:
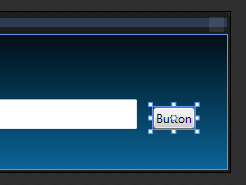
[ add your new button and place it to
the right of the textbox ]
- With your button selected, let's give it
a name. Just like before with our textbox, find the Name
field and give your button the name speakButton:
[ give your button the name speakButton
]
- With the button's name taken care of,
let's deal with the cosmetics. Now, our button is much
shorter than our textbox. Let's resize our button by
making it taller. When you resize your button, you'll
notice that guide lines appear indicating that your
button's height matches the height of your textbox:
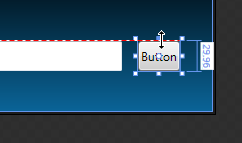
[ use the guide lines to resize your
textbox's height to that of your textbox ]
Using these guidelines, you can make sure
your button's height matches the height of your textbox.
- Just like you adjusted the height of your
button, increase the width of your button slightly also.
Unlike before, you will not see any guide lines appear
because there are no other objects in your vertical path
for you to line up to. Simply use your best judgment:
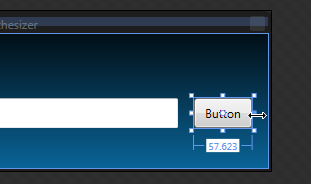
[ resize your button horizontally a bit
]
Your button and textbox controls have been customized and
added to your window. We are almost done taking care of the
interface, so let's wrap up our UI-related work on the
next page.
Onwards to the
next page!
|


