|
by
kirupa | 27 July 2007
In the previous page, you created a new project and used some existing XAML
code to create the interface. In this page, let's create the CLR object that we
will later use for data binding purposes.
To recap what our application does, in a nutshell, we have a combobox that displays a list of fonts. The font list is provided by a
CLR data source that takes all of the fonts your computer has and stores them in
an easily accessible list. Let's look at how to do that by picking up from where
we left off earlier and creating our CLR data source:
- In Blend, click on the Project tab to view all the files currently used
by your FontPreviewer app:
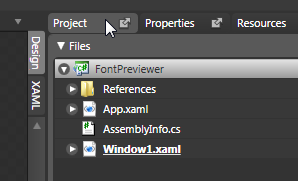
[ the Project view displays all of the files used by your Project ]
- Let's add a new C# source file that will generate a list of font names.
Right click on the FontPreviewer C# solution icon and select Edit
Externally:
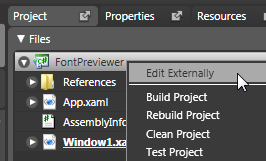
[ right click on your solution and select Edit Externally ]
- After you have selected the Edit Externally item, Visual Studio (or the
free Visual C# Express) will launch. You may
receive a Security Warning dialog window informing you of the pitfalls of
opening this project. Don't worry, and select the Load project normally
option and select OK:
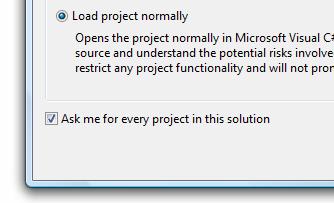
[ Load the project normally ]
- Once your project has been opened, find the Solution Explorer panel
towards the top-right corner. Notice that this is similar to the Project
view
in Blend because it too displays a list of all files in your project:
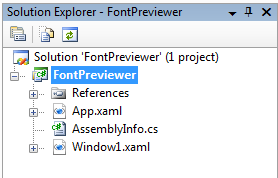
[ the Solution Explorer displays a list of all files used by your project ]
- Right click on your FontPreviewer C# solution icon and select Add | New
Item:
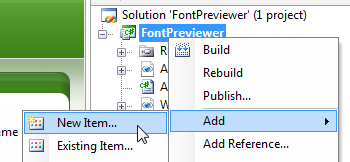
[ right click on your solution and go to Add | New Item ]
- The Add New Item window will appear. From this window, select the
Class template:
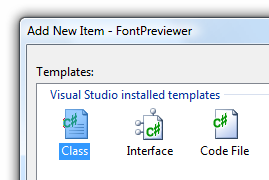
[ select the Class template o create a new class ]
Also from this window, towards the bottom, set the
file name of this class to FontCollection.cs:

[ your new class the name FontCollection.cs ]
After you have made the above
changes, press the Add button to close the Add New Item window. After your Add
New Item window closes, the FontCollection.cs file will be opened for you to
edit:
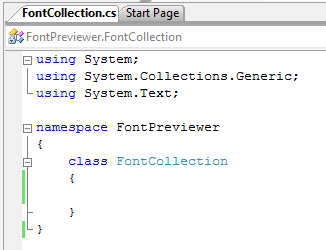
[ code that is already provided for you in your FontCollection.cs file ]
- Select all of your code and replace it with the following:
- Press F6 to build your application to make sure you aren't running into
errors. You may be prompted to create a new Visual Studio solution file, so
go ahead and do so if you are asked.
You just created a data source consisting of CLR objects. Don't worry if you
are not sure what the C# code does. I'll cover in greater detail what each line
of code does towards the end of this tutorial. For now, just remember that the
code you pasted is responsible for providing your combobox with a list of fonts.
Onwards to the
next
page.
|


