
Have questions? Discuss this Flash / AS3 tutorial with others on the forums.
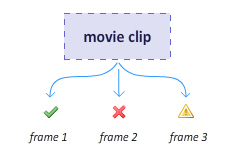
You are probably wondering what a "multi-state icon" is. A multi-state icon is a visual that contains multiple variants of itself. Depending on the situation, a different variant or state can display.
For example, below is a multi-state icon that displays a checkmark or a cancel image depending on whether a feature is supported or unsupported:
![]()
From an implementation point of view, a multi-state icon is a movie clip that contains a frame for each of the states you wish to support:
To display an icon, you call an instance of this movie clip use code to take you to the appropriate frame where the icon you wish to display resides.
In this short tutorial, you will learn how to create your multi-state icon movie clip and generate the code needed to switch between each of the frames. Let's get started!
The first thing we'll do is create the movie clip that contains the icons we wish to display
Launch any version of Flash that supports ActionScript 3 based projects. I will be using Flash CS5.5, but the instructions should be similar on older versions as well.
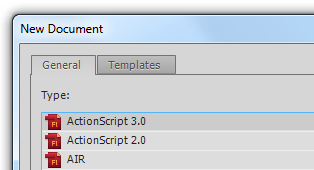
[ create a new AS3-based project ]
After you have created your project, you will see a blank design surface where you can start to create things. We won't do anything here...just yet.
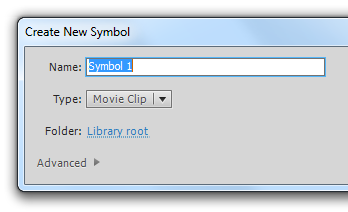
[ this dialog allows you to create...symbols! ]
![]()
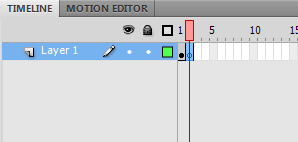
Your design surface should look as follows:
![]()
[ the icon has landed ]
Frame 1 is now done, and you have just created the first state of your multi-state icon!
Your timeline should look as follows:
[ a blank keyframe will appear in Frame 2 ]
Notice that when your blank keyframe on Frame 2 is selected, your design surface is empty because there is nothing to show. Let's change that.
![]()
Once you have pasted the icon, your design surface will now show it:
![]()
[ your second icon now appears ]
![]()
Right now, you should have three solid keyframes in your Timeline with each keyframe displaying a different icon:
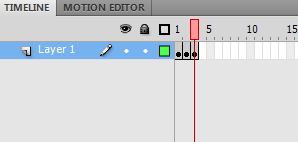
[ you should see three solid keyframes ]
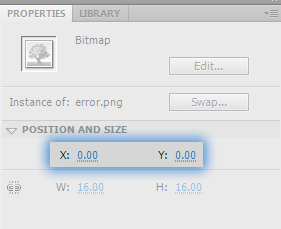
[ make sure your icons' position is 0, 0 ]
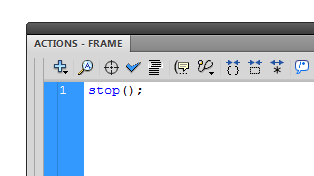
[ add the stop function in your code editor ]
After you have done this, Frame 1 of your timeline will even indicate that an action is applied by showing the letter a:
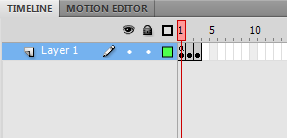
[ the a letter indicates that this frame has some code ]
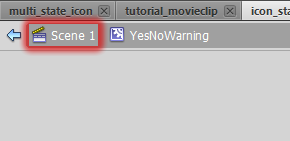
[ let's go scope out and return to Scene 1 ]
You should be back to your main stage...which is completely empty. Let's change that next.
To use the multi-state icon, first display your Library by pressing Ctrl + L or by going to Window | Library:
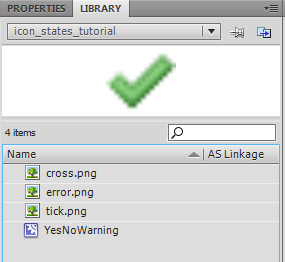
[ all of your assets will be displayed ]
You will see your YesNoWarning movie clip listed. Select the movie clip and drag/drop it onto your design surface. An instance of this movie clip will now be created for you.
We need to refer to this movie clip via code, and we can't do that unless this movie clip has an instance name. Let's fix that next. Select your YesNoWarning movie clip, look in the Properties panel, and give your movie clip the instance name supportedStatus:
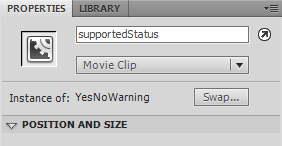
[ your movie clip now has an instance name! ]
With your movie clip named, you can now refer to it easily using code! In your timeline, right-click on the first (and only keyframe) and select Actions. The Actions dialog will appear again.
Type or copy/paste the following into it:
When you run your application, you will see the cross icon displayed:
![]()
[ Frame 2 is now active! ]
The reason is because the gotoAndStop function takes the frame number of the movie clip you are calling it on as an argument. Depending on the frame number you pass to it, it goes to and stops at that specified frame.
In our case, the frame number 2 was specified as the argument to our gotoAndStop function, and that frame number corresponds to the cross icon. You can pass in either a 1 or a 3 to get the checkmark and warning icon respectively. Wohoo - and now you are done!
You can see a practical application of this in the Detecting What is Supported tutorial where I use a variant of this multi-state icon.
That's all there is to it. In this tutorial you learned a little bit about how to reconcile the world of the timeline with ActionScript to create something quite interesting...such as a multi-state icon.
Just a final word before we wrap up. What you've seen here is freshly baked content without added preservatives, artificial intelligence, ads, and algorithm-driven doodads. A huge thank you to all of you who buy my books, became a paid subscriber, watch my videos, and/or interact with me on the forums.
Your support keeps this site going! 😇


:: Copyright KIRUPA 2025 //--