
Have questions? Discuss this Flash / AS3 article with others on the forums.
A common effect in many UIs and games is being able to drag something around. Below, you can see a simple example by using the mouse and dragging the circle around:
[ press down on the circle and start dragging it around ]
Creating an effect like this is fairly straightforward, so grab your favorite snack, put on some designing music, and let's get started.
The following steps will take you from a blank project to having something you can drag around the screen:
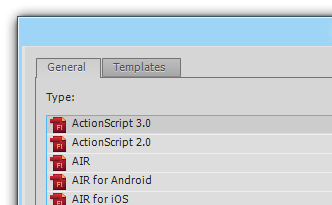
[ create a new AS3-based Flash project ]
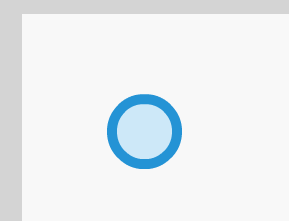
[ aww - our little circle is so awesome ]
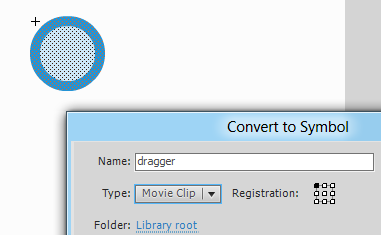
[ convert your circle into a movie clip ]
Once you have made these changes, click OK to close the Convert to Symbol dialog and to be left with a newly converted movie clip. Yay!

[ give your movie clip the instance name 'dragger' ]
And with that last step, you are done with making sure our movie clip is ready for the next section which involves writing a few lines of code.
Now that the visual part of the work is done, all that is left is to add the interactivity by writing a few lines of code. We are going to add some code to your timeline itself, so right click on the first keyframe in your timeline and select Actions to bring up the Actions window:
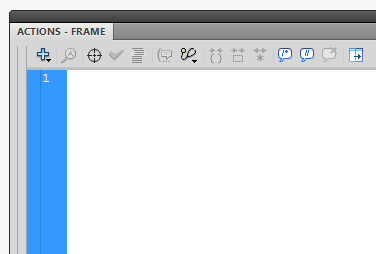
[ the Actions window is where you can write your code ]
Inside the Actions window, go ahead and copy/paste the following code:
Once you have done this, test your movie out by press Ctrl + Enter or by going to Control | Test Movie | Test. You should be able to drag the circle around.
There are two ways to specify code. You can have the code directly on a frame like I've explained right now. The other approach is to have your code in a separate AS file and have it be linked via your document's Document Class. I tend to prefer the Document Class approach, but for simple pieces of code, the frame approach is fine as well.
Use whatever approach you or your team prefer.
Now that you have a working example, let's quickly look at why the code works so that you can take what you've learned and easily apply it to other things you may be working on.
Let's skip the first line for now and go to the following two lines:
In these two lines I am setting up our event listeners to listen for when we click to start the drag and when we release the click to stop the drag.
To put it in English, I am telling our application to listen to the MOUSE_DOWN and MOUSE_UP events. When these events are heard, depending on the event, we should call the startDragging and stopDragging functions.
Let's get back to the first line:
In order to use the events for listening to the mouse, you need to add this import statement that contains everything needed to tell Flash what to do. Most of the time, Flash will add the import statements automatically as you start typing out classes like MouseEvent in your code.
Sometimes, Flash doesn't do that. During those times, you'll need to add it yourself. You will know when you need to add it, for when you test your application, the compiler will complain that it doesn't know about a particular class you forgot the import statement for.
Next up is our code for dragging our movie clip around:
The startDragging function gets called as a result of the MOUSE_DOWN event getting fired. All this code does is call the startDrag() function on our movie clip whose instance name is dragger.
The startDrag function takes care of positioning our movie clip to the correct position based on the mouse position and so on.
The last piece of code we will look at is the one for stopping our movie clip from being dragged around:
The stopDragging function is basically the spoiler to the party the startDragging function you saw earlier hosts. This function gets called when you release the mouse click and the MOUSE_UP event gets fired.
The drag is stopped via the stopDrag function that you call on the dragger movie clip.
So, there you have it - a very short and simple tutorial that describes how to drag something around in Flash using just a few lines of ActionScript 3.
Just a final word before we wrap up. What you've seen here is freshly baked content without added preservatives, artificial intelligence, ads, and algorithm-driven doodads. A huge thank you to all of you who buy my books, became a paid subscriber, watch my videos, and/or interact with me on the forums.
Your support keeps this site going! 😇


:: Copyright KIRUPA 2025 //--