 Adding
Thumbnails -
Page 2
by
kirupa |
14 June 2005
If you arrived here without having read the
previous page, please go
back to the previous page to
get filled up on what to expect on this page!
The XML File
Since our thumbnail graphics will be loaded from an XML file, we
need to modify our XML data to incorporate the thumbnails. In our
original photo gallery, the XML file had the following
structure:
<pic>
<image>Path
to Image</image>
<caption>Image
Caption</caption>
</pic>
<pic>
<image>Path
to Image</image>
<caption>Image
Caption</caption>
</pic>
Let's modify the structure by adding a node for
thumbnails:
<pic>
<image>Path to Image</image>
<caption>Image Caption</caption>
<thumbnail>Path
to Thumbnail</thumbnail>
</pic>
<pic>
<image>Path to Image</image>
<caption>Image Caption</caption>
<thumbnail>Path
to Thumbnail</thumbnail>
</pic>
For the sake of simplicity, I have already
created the thumbnail images and uploaded them for you to use.
In your folder containing all of your photo gallery files,
create a new file called images.xml with the following
information:
The above XML data is very similar to the file
you already have seen from the photo gallery, but it includes
some extra children for thumbnails.
Now, I have provided a sample FLA for you to
download and use. Click the following link to download it:
The Flash File
From the zip file you downloaded above, extract the FLA to
the same location as your images.xml file, and then open the
file thumbnail_initial.fla. You will notice that this
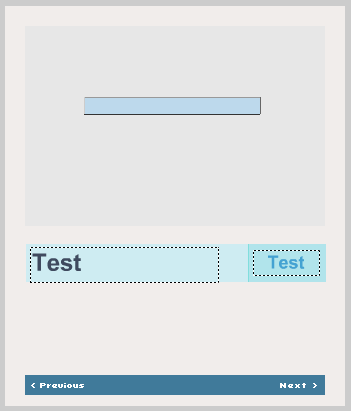
FLA is very similar if you have used the photo gallery tutorial. In fact, it is the exact same FLA with the exception
of the extra space below the text fields:

If you were to test your animation
right now, provided images.xml is in the same directory
as the FLA, you will see a functioning version of the photo
gallery you had worked on earlier.
So, let's extend this photo gallery with
thumbnails. The next page will get you started!
 |
page 2 of 7 |
 |
|