Have questions? Discuss this Flash tutorial with others on the forums.
Flash is one of those wonderful programs that can be put for a plethora of uses. But one of the most common things people want to be able to do with it is make cartoons and animations. There's a lot of ways to do this, but I'm going to show you a very simple, scripting free way of bringing some characters to life.
[ you'll be making something similar to what is shown above ]
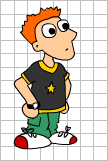
Before we begin our animation, we need a character. This little guy below is one that I quickly drew using a similar process to that described in another tutorial, Line Art In Flash. He looks a little bit lost, bless him. Let's call him Dexter.

[first draft of character]
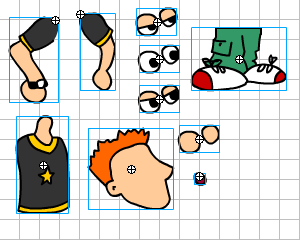
At the moment, Dexter is just a collection of lines and fills, and not much good for animating. What we need to do is break up the character into his component parts (ouch!), and save them all as Library items.
Of course, the easiest way to do this is to simply draw each body part on a different layer as you go. That way, you can see how the fit together in relation to each other, get the sizes right etc etc. But if you've already drawn the character, then you'll just have to get your mouse dirty, get in there and pull poor Dexter to pieces. Select the lines and fills that make up a body part (say the head) then cut and paste into a new symbol. In a lot of case, you may find that a piece isn't complete, where it intersected with other areas. If that happens, then you just add some more lines and complete the part.

[ individual symbols ]
You can see from the picture above that Dexter is now split up into sections. Notice that although we only had one original eye image, I've duplicated the symbol and made three more versions, each with the lids closing. We need this to make him blink. I've also made a short movie clip for the mouth, containing a couple of lines / states for a talking mouth. A little tip for arms - make sure that the registration point is located at the 'shoulder' joint of the image. This makes it easier when you come to rotate them.
Make sure you have all your symbols saved in the library, and a clear Stage. Now, we can begin to create a small animation.
![]()
[your eyes go in this order]

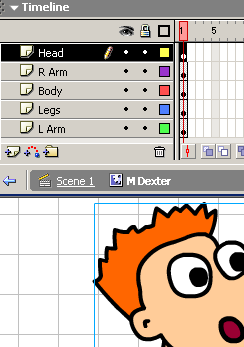
[ layer structure ]

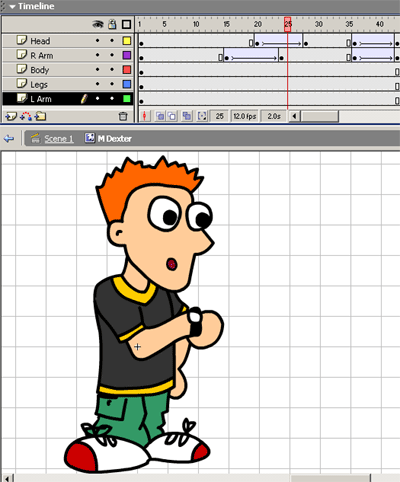
[animation timeline]
And that's the basic principle. It's very handy to make a small collection of body parts (not literally, I do mean Flash images here) in your library. Draw various positions of arms, so you'll always have the one you need on hand. Different expressions can be made by using different mouths and eyes, so have a good selection of these too.
Certain motions (like the watch checking) can be put into small clips, then re-used as and when you need them, so you can build up a collection of mini movie actions too.
Add more characters, backgrounds, anything you like. Below you will find the .fla file for the basic movie (including a selection of other characters for you to break up) ready for you to animate and warp to your hearts' desire.
If you have any questions, feel free to post them on the forums.
|
|
Kitiara |
:: Copyright KIRUPA 2025 //--