by kirupa |
24
December 2008
In the
previous page, you received a basic overview of
classes by looking at a very simplified example
involving some blue circles. In this page, you will look
into a more realistic example.
To go beyond simply looking at illustrated
examples, let's create a project and get our hands dirty in creating a
class. In Flash CS3 or Flash CS4, create a new Flash File whose language
is ActionScript 3:
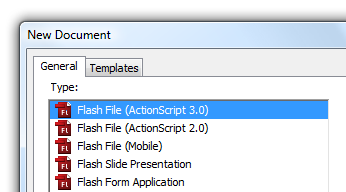
[ create a new AS3 Flash File ]
Once you have created your Flash file, go to File | Save and save this file to a location.
Feel free to name your file whatever you want, but I'm going to call
my application AS3Classes.
Now that you created your FLA file, it's time to create a class. Go to
File | New, and from the New Document window, select the entry for
ActionScript file:
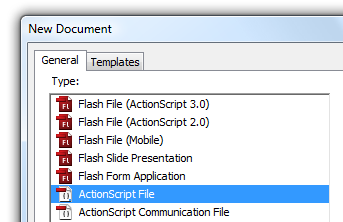
[ next up, create a new ActionScript file ]
Once you have created your new ActionScript file, go to File | Save.
Give this file the name Name, and save this file in the
same location as your FLA. At the end of this file creation and saving
set of tasks, your folder containing
your FLA should look as the following:
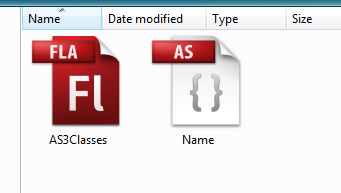
[ in the end, a FLA and AS file will be created ]
Great. You have just created a Flash file and an ActionScript class
file. The next couple of steps may not make some sense right now, but
just follow along. I promise to explain in great detail what happens
shortly.
Let's define our class.
Switch back to Flash and make sure your Name ActionScript file is open for
editing.
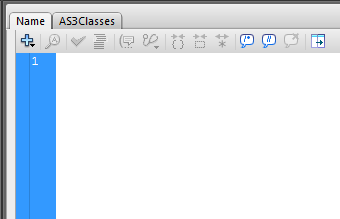
[ open the Name.as file to add some code ]
Because the Name file is an ActionScript file, all of your familiar
panels and palettes will be grayed out. All you have is a code editor
that resembles Notepad. That's OK. Copy and paste the following code into your code
editor:
- package
- {
- public
class Name
- {
- private
var
firstName:String;
- private
var
lastName:String;
-
- function
Name()
- {
-
- }
-
- public
function
SetFirstName(val:String):void
- {
- firstName
= val;
- }
-
- public
function
SetLastName(val:String):void
- {
- lastName
= val;
- }
-
- public
function
GetFullName():String
- {
- return
firstName
+ " "
+
lastName;
- }
- }
- }
After you have copied and pasted the code, save this file. Your Name
class has been created. The next task is to actually use this class.
Using the class requires adding some code to your Flash file. So, jump back to your
Flash file - which I called AS3Classes. You will see your traditional
Flash interface with the stage and timeline displayed, and from here, let's add some
code to take advantage of the class file you just fiddled with a few
seconds ago.
Right click on an empty keyframe in your timeline and select Actions.
The Actions window will appear:
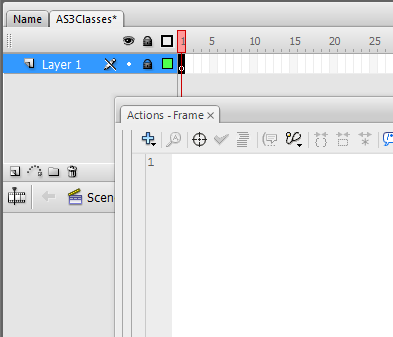
[ the Actions window will be displayed ]
Inside the Actions window, copy and paste the following code:
- var author:Name
= new
Name();
- author.SetFirstName("Charles");
- author.SetLastName("Dickens");
-
- trace(author.GetFullName());
After you have copied and pasted the above code, press Ctrl + Enter
to test your application. You should see the text Charles Dickens
displayed in your Output window:
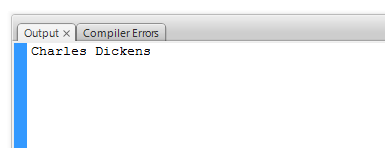
[ success - text is displayed in the Output window! ]
All right! You have just created a simple application that uses a
class that you created to display some information. Let's look into
greater detail at what you just did and learn more about classes on the
next page.
Onwards to the
next page.
|


