
Previously, we looked at what PWAs are and why everybody seems to be excited about them. In this tutorial, we are going to take all this theoretical knowledge and take the next step. We are going to build a PWA together by taking an existing web app that you have and adding the PWA-specific stuff to it. The goal is to get all of this done in under 10 minutes to show you how easy it is, but I'm pretty confident we can get it all done in under 5 minutes actually. No pressure :P
Onwards!
For a regular web site or app to be a PWA, there a few things (aka the PWA-specific stuff) you need to ensure. You need to have your server support HTTPS, provide a web application manifest file that lists additional details about your app, and define a service worker for some sort of offline capability. In the following sections, we are going to tackle all of these.
One of the requirements that all PWAs must satisfy revolves around security. Your content must be served securely via HTTPS. For your web app, first check to see if the content is already being served securely already. There are many ways to check, but the easiest way is to look for a padlock icon in your address bar when viewing your web app:
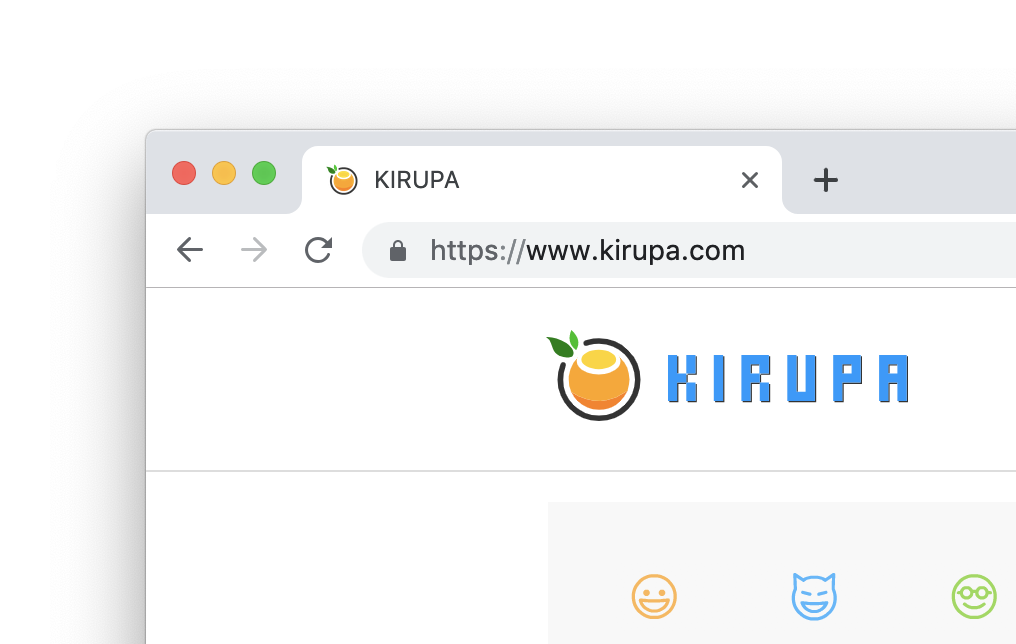
If you aren’t seeing such an icon, then you need to get an SSL certificate and install it on your server. Your web host may provide easy-to-use tools that you can use. If they don't and you need to do all of this manually, you can use a free certificate from Let’s Encrypt. You can pay for one from a number of high-quality sources as well. Wherever you decide to get your SSL certificate from, they will provide server-specific instructions on how you can install them as well. Every server configuration is different and keeps changing, so be sure to look for the instructions that are appropriate for your environment.
The next thing we are going to do is define our web app manifest to provide more details to better describe our web app. In your web server’s home directory (aka the same directory your index.html or equivalent entry point lives), create a file called manifest.json. Inside this file, add the following data into it:
{
  "short_name": "KIRUPA",
  "name": "KIRUPA",
  "icons": [
    {
      "src": "/images/orange_192.png",
      "type": "image/png",
      "sizes": "192x192"
    },
    {
      "src": "/images/orange_512.png",
      "type": "image/png",
      "sizes": "512x512"
    }
  ],
  "start_url": "/index.html?source=pwa",
  "background_color": "#0099fe",
  "display": "standalone",
  "scope": "/",
  "theme_color": "#0099fe"
}
Now, the content you see here is specific to this site. Don't use it as-is unless you want to confuse your users. Instead, change the short_name and name to suit your web app. The most complex part of all this is the icons. You need to provide two square sized images whose sizes will be 192px and 512px. If you have two icons of that size, then you are in great shape. If you don’t have an icon ready just yet, feel free to use the two I have provided below. The 192px icon (icon_192.png) is below:
![]()
The 512px icon (icon_512.png) is as follows:
![]()
Save and upload these icons to your server and adjust your path in the manifest to reference them. Leave the rest of the fields in the manifest as-is for now. There is a lot more that we can go into with the manifest, and there are a lot of values for the few manifest properties we have defined that we won't be looking at in this tutorial. We'll do a deep dive on just the manifest in the future.
This doesn't mean we are done just yet. There is one more step involved. Creating the manifest file and filling it with values is only one part of what you need to do. The next step is to reference it in your app. On your home page, within the head tags at the top of your HTML, add the following:
<link rel="manifest" href="/manifest.json">This simple line lets your browser know that there is a web application manifest that it should be aware of. And with this, we are done dealing with our manifest...for now!
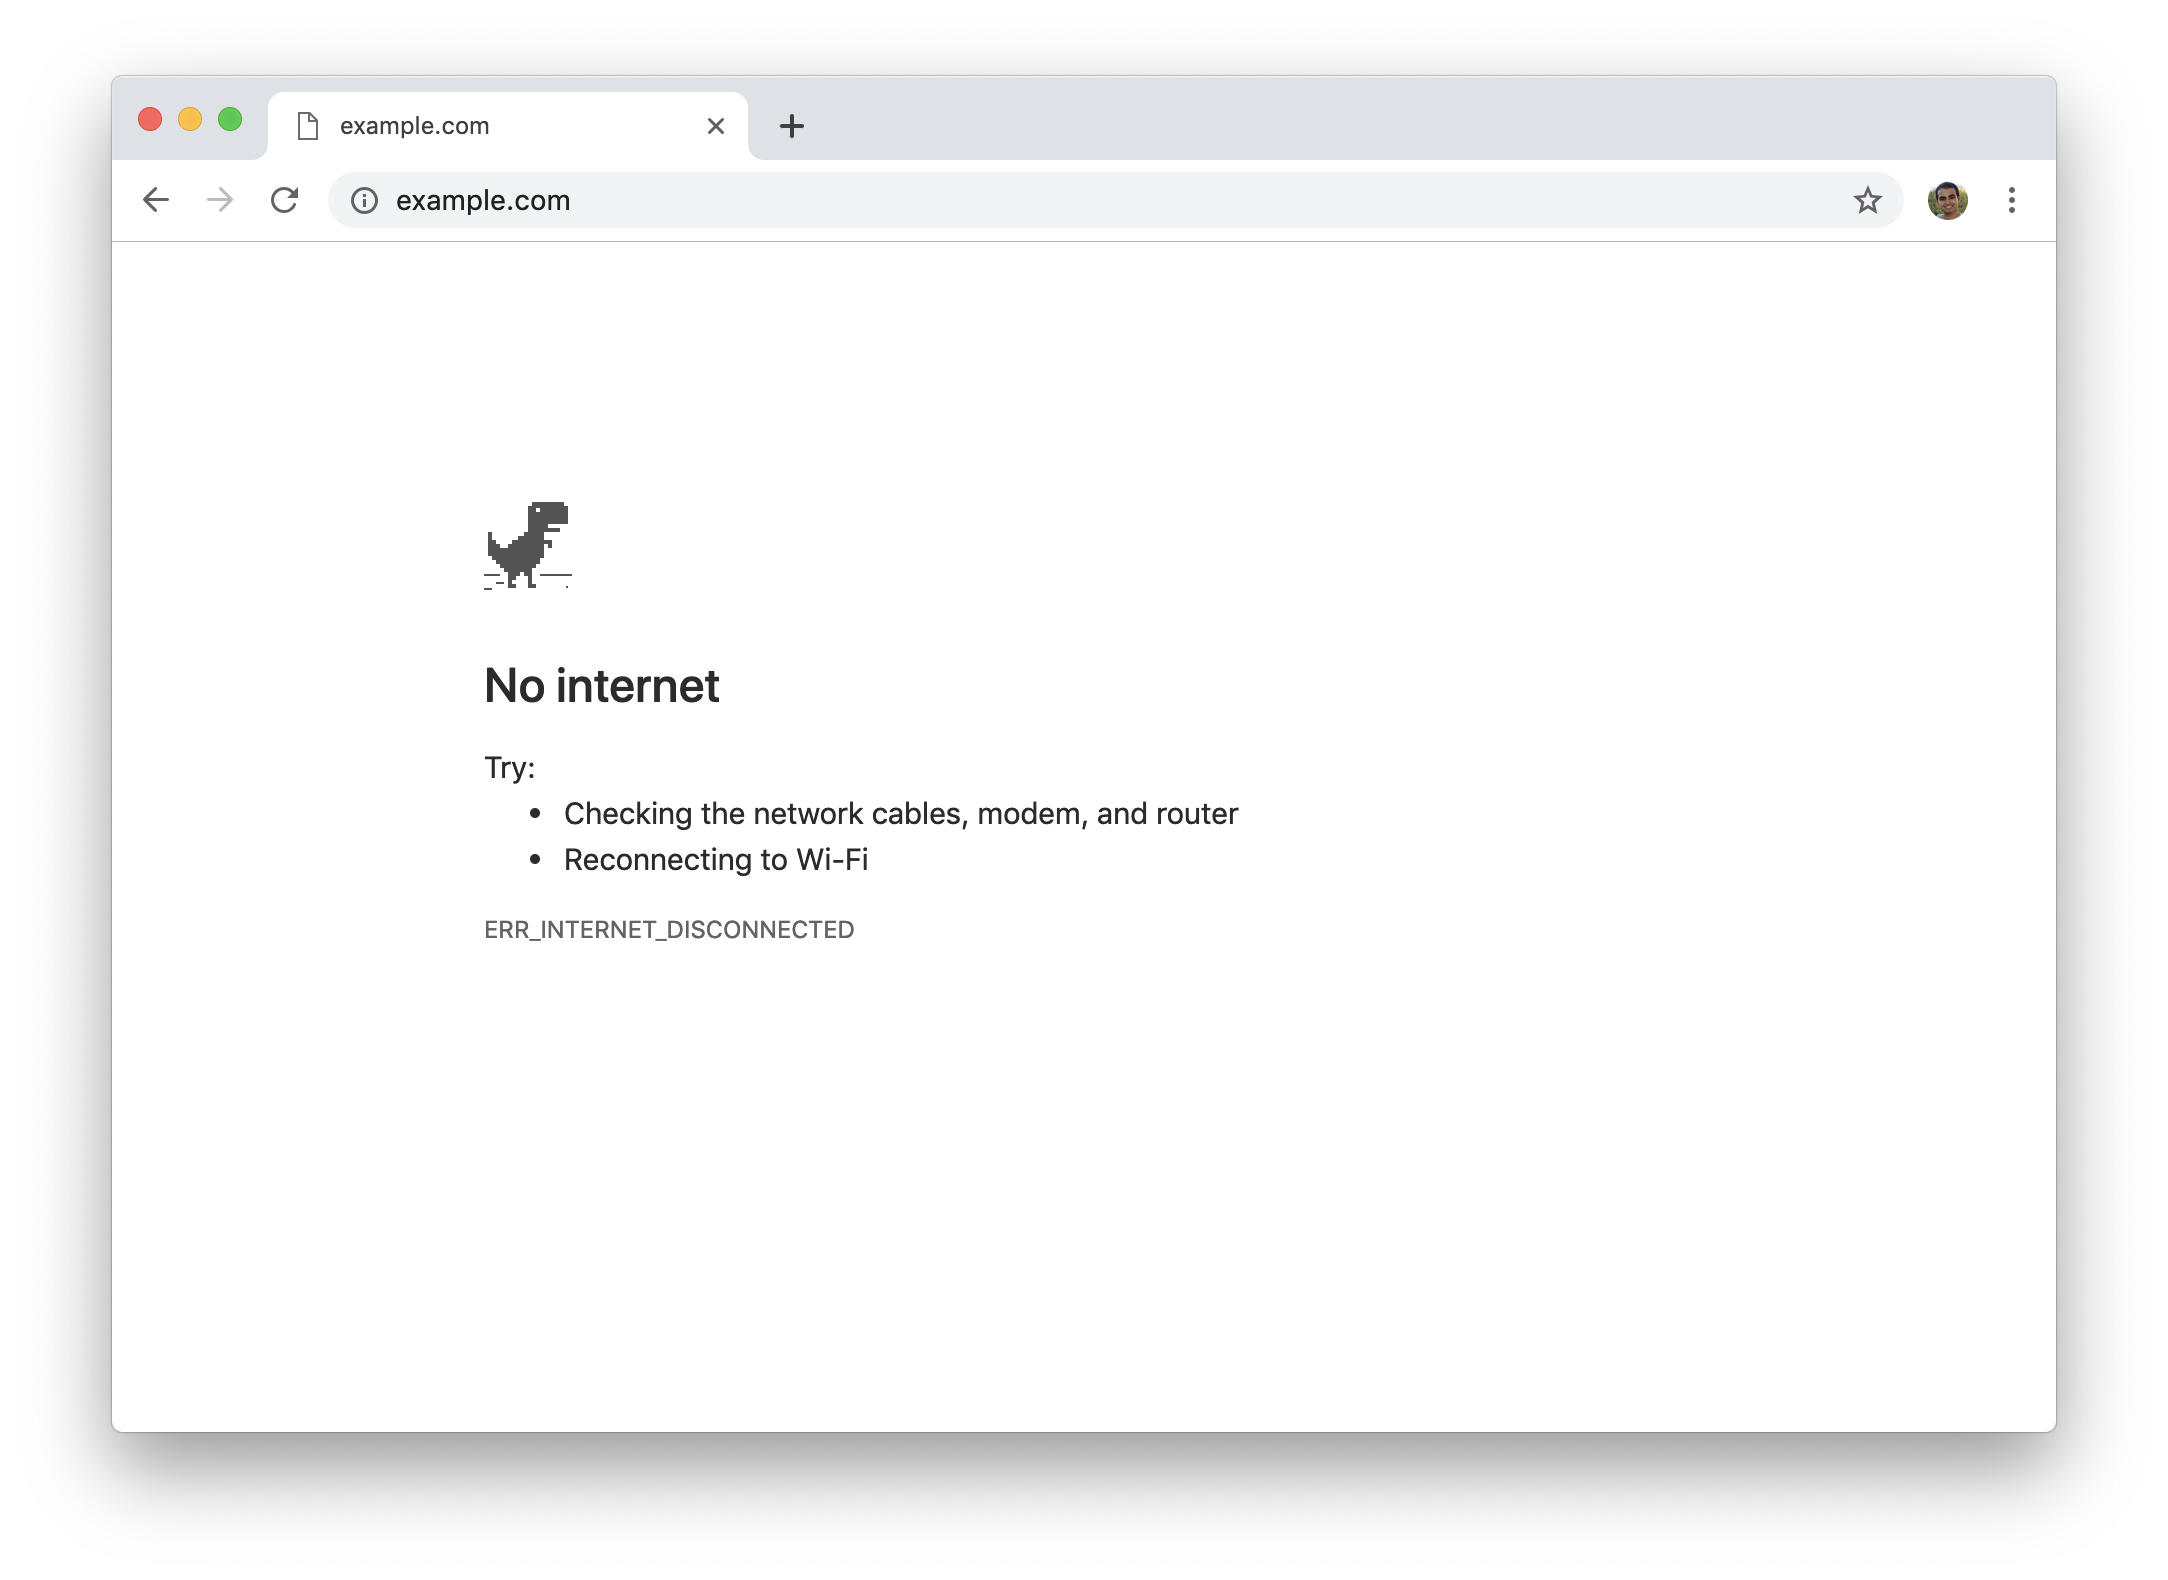
The last step to getting our PWA up and running is to add a service worker to handle offline scenarios. Now, we can go very deep and complex here. To keep things simple, all we are going to do is display our own custom offline page if an internet connection isn’t detected. Instead of visitors seeing a default offline page that looks like the following...
...they will see something more custom that we create instead:

There are two parts to making this work. The first part is creating the offline HTML page that will be displayed whenever the user visits your site and their network connection is gone. The second part is creating the service worker to cache our offline page and serve it from disk when a user visits with no network connection. We'll tackle both of those parts next.
In your home directory again, add a file called offline.html. Inside it, add the following HTML and CSS:
<!DOCTYPE html>
<html>
<head>
<title>You are offline!</title>
<meta charset="UTF-8">
<style>
body {
padding: 50px;
}
#container {
background-color: #FFF;
text-align: center;
}
#burger {
animation: bobble 2s infinite;
font-size: 60px;
margin-top: 0;
}
@keyframes bobble {
0% {
transform: translateY(10px);
}
50% {
transform: translateY(40px);
}
100% {
transform: translateY(10px);
}
}
p {
font-family: "Helvetica Neue", Helvetica, Arial, "sans-serif";
text-align: center;
font-size: 20px;
color: #CCC;
line-height: 1.5;
}
p span {
font-weight: bold;
font-size: 24px;
color: #222;
}
a {
text-decoration: none;
}
</style>
</head>
<body>
<div id="container">
<p id="burger">🍔</p>
</div>
<p><span>Your connection is currently offline!</span><br/>Watch this burger bouncing in the meantime.</p>
<p> </p>
<p> </p>
<p><a href="https://www.kirupa.com">🗺️</a></p>
</body>
</html>After you have added all of this markup in, just save this file and preview it in your browser to make sure everything works properly and as expected. This means you should see a page similar to the following with a hamburger emoji bouncing up and down.
Now, it is time for the big one! It is time to add the service worker. In the same home directory we've been adding all of our files to so far, add a file called service-worker.js and place the following JavaScript into it:
/*
 Copyright 2015 Google Inc. All Rights Reserved.
 Licensed under the Apache License, Version 2.0 (the "License");
 you may not use this file except in compliance with the License.
 You may obtain a copy of the License at
 http://www.apache.org/licenses/LICENSE-2.0
 Unless required by applicable law or agreed to in writing, software
 distributed under the License is distributed on an "AS IS" BASIS,
 WITHOUT WARRANTIES OR CONDITIONS OF ANY KIND, either express or implied.
 See the License for the specific language governing permissions and
 limitations under the License.
*/

'use strict';

// Incrementing CACHE_VERSION will kick off the install event and force previously cached
// resources to be cached again.
const CACHE_VERSION = 1;
let CURRENT_CACHES = {
  offline: 'offline-v' + CACHE_VERSION
};
const OFFLINE_URL = 'offline.html';

function createCacheBustedRequest(url) {
  let request = new Request(url, {cache: 'reload'});

  if ('cache' in request) {
    return request;
  }

  let bustedUrl = new URL(url, self.location.href);
  bustedUrl.search += (bustedUrl.search ? '&' : '') + 'cachebust=' + Date.now();
  return new Request(bustedUrl);
}

self.addEventListener('install', event => {
  event.waitUntil(
    fetch(createCacheBustedRequest(OFFLINE_URL)).then(function(response) {
      return caches.open(CURRENT_CACHES.offline).then(function(cache) {
        return cache.put(OFFLINE_URL, response);
      });
    })
  );
});

self.addEventListener('activate', event => {
  let expectedCacheNames = Object.keys(CURRENT_CACHES).map(function(key) {
    return CURRENT_CACHES[key];
  });

  event.waitUntil(
    caches.keys().then(cacheNames => {
      return Promise.all(
        cacheNames.map(cacheName => {
          if (expectedCacheNames.indexOf(cacheName) === -1) {
            console.log('Deleting out of date cache:', cacheName);
            return caches.delete(cacheName);
          }
        })
      );
    })
  );
});

self.addEventListener('fetch', event => {
  if (event.request.mode === 'navigate' ||
      (event.request.method === 'GET' &&
       event.request.headers.get('accept').includes('text/html'))) {
    console.log('Handling fetch event for', event.request.url);
    event.respondWith(
      fetch(event.request).catch(error => {
        console.log('Fetch failed; returning offline page instead.', error);
        return caches.match(OFFLINE_URL);
      })
    );
  }
});
This code (taken entirely from Google's sample in this location) does only a few things despite how much is there! It is responsible for installing the service worker, running the code to cache the offline page when the connection is available, and serving the offline page again when the connection went away and you try to load your site. Nifty, right? All that now remains is to make our HTML pages aware of this service worker's existence.
In your home page's HTML, towards the bottom of your page (like...just above the closing body tag), add the following:
<script>
  if ('serviceWorker' in navigator) {
    window.addEventListener('load', function() {
      navigator.serviceWorker.register('/service-worker.js');
    });
  }
</script>
This script tag contains the code that registers our service worker and sets the ball rolling on making it do all of the offline goodness it is designed to do. Once you have made these changes, make sure to save your home page and service-worker.js file to wrap it all up.
After you have completed all of these steps, all that remains is to make sure your PWA actually works. By simply loading your web app in the browser, it will be hard to see whether any PWA-ness will shine through. That is where the in-browser developer tools come in handy. Make sure you are running a recent version of Chrome and bring up the Developer Tools. Once you have done that, navigate to your PWA in the browser and click on the Applications tab.
You will see some navigation entries for Manifest and Service Workers:
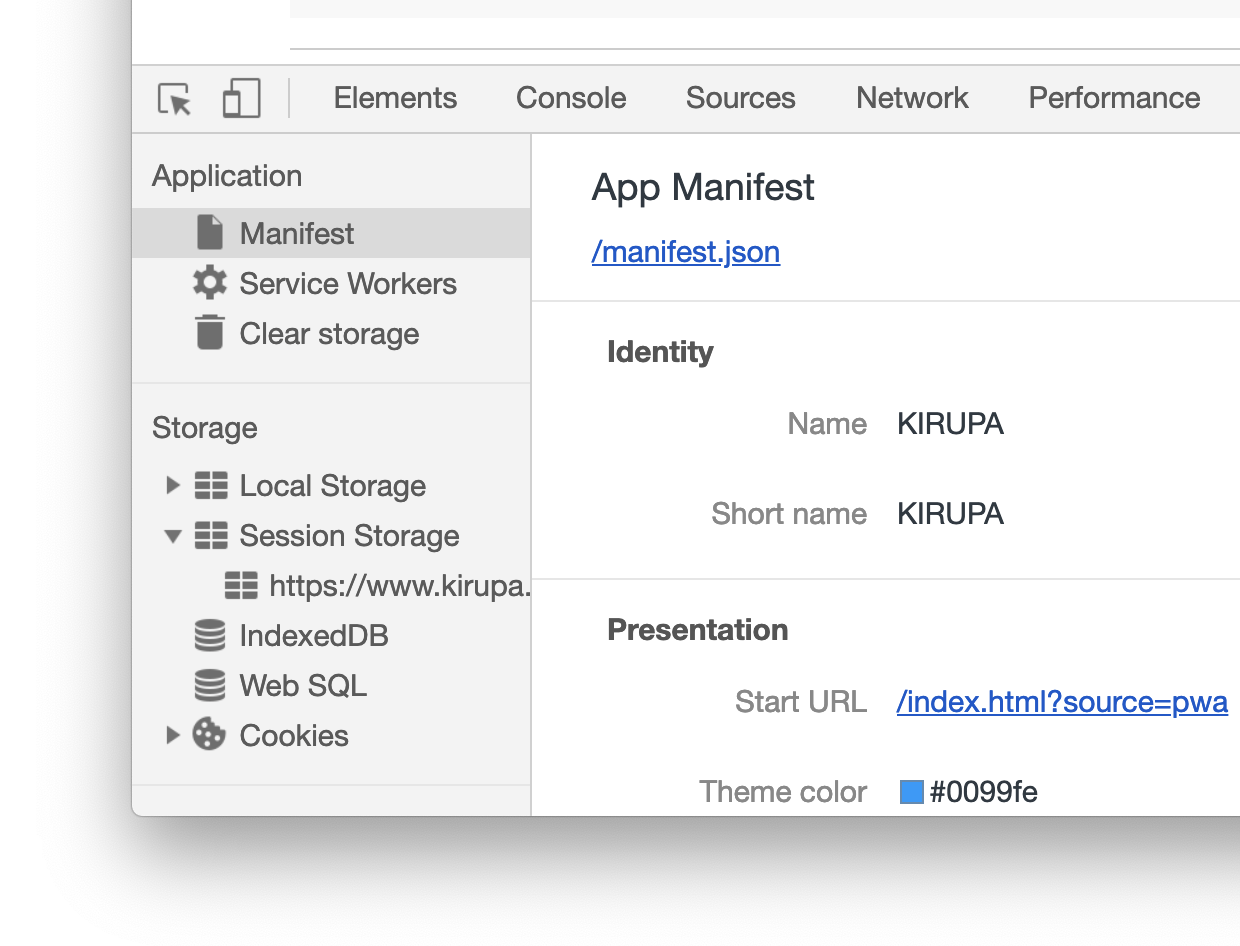
When you click on the Manifest entry (it may be selected by default), you will see the values from our web app manifest populated. It should all look good, and you can also see the icons you specified getting displayed. This is just one extra sanity check to ensure the image paths you specified in the manifest resolve properly and everything loads without any issues.
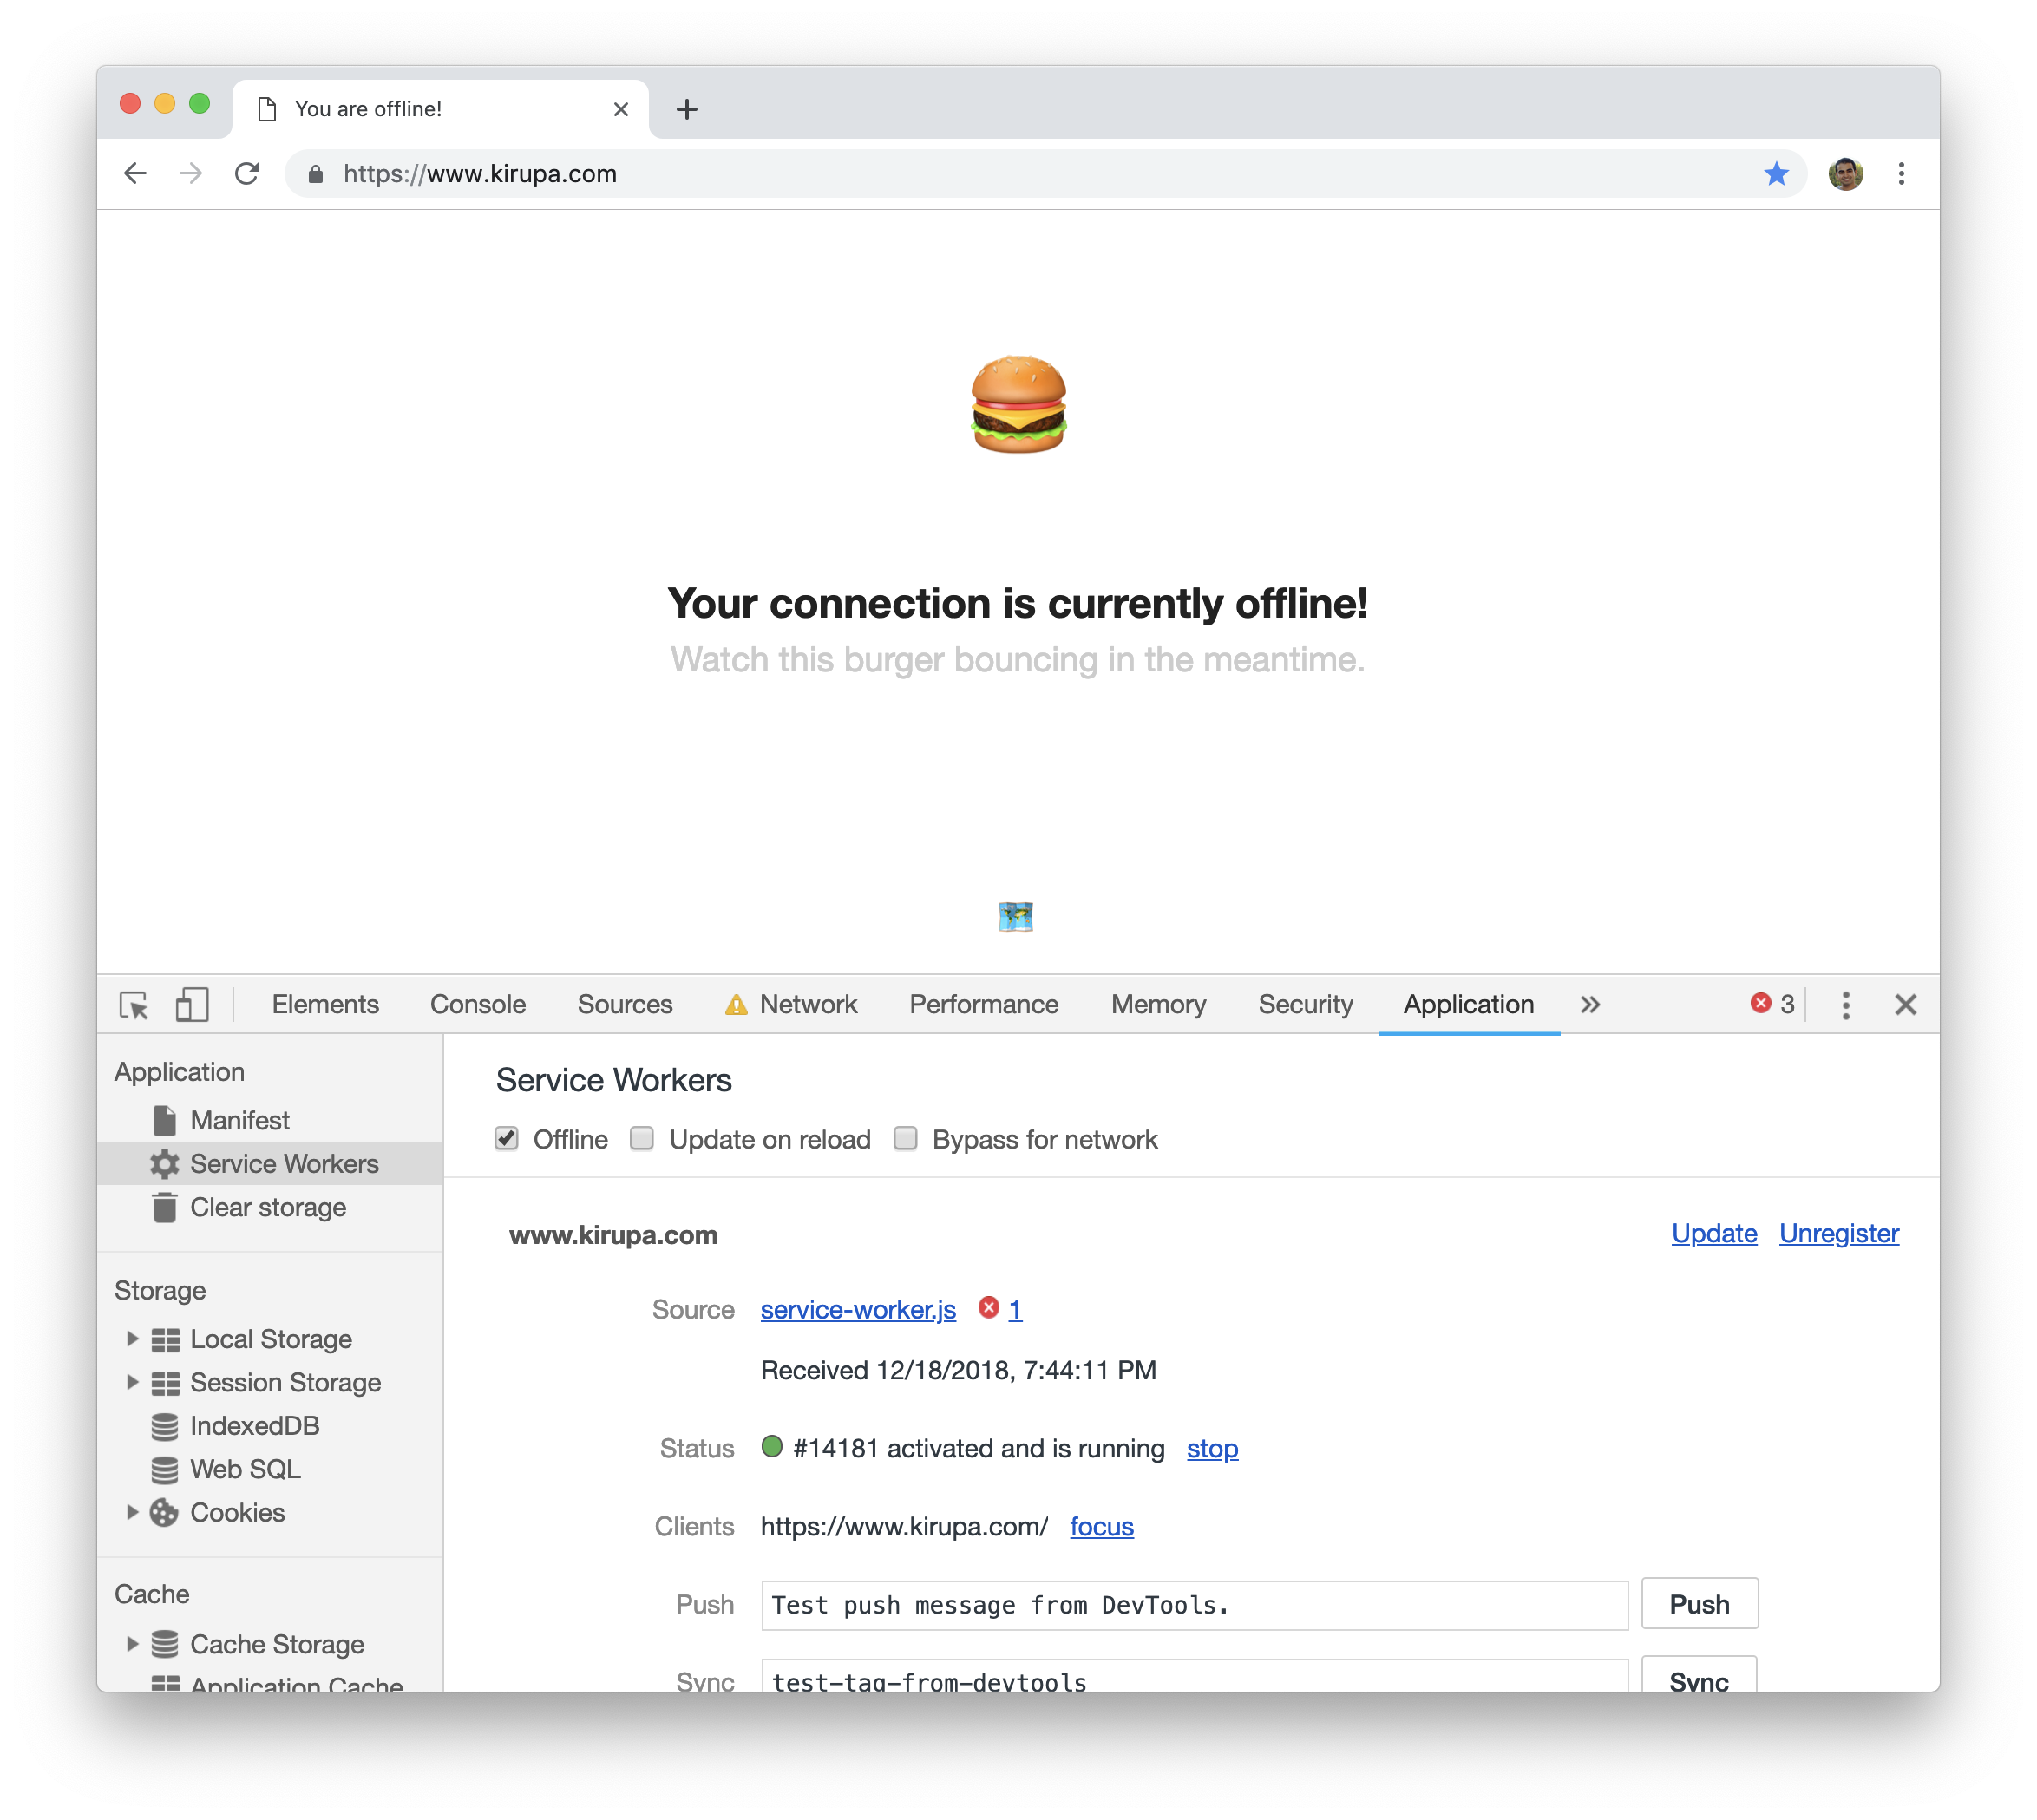
The Service Worker entry will display details related to the service workers that are active on your site.

You can see that our service worker is activated and running. That is a good sign. To test the offline capabilities of our service worker, check the Offline box and reload the page. This will simulate what offline mode where you don't have a network connection will look like:
If you aren’t seeing what I'm describing, then go back to the appropriate section in this tutorial and see if everything has been setup properly. It is very easy to misspell a filename or make some other easily-overlooked mistake that causes something to break. The other common mistake is to create the manifest and service worker files but forget to reference them in the HTML. I've done that far too many times to count!
What we have done in this tutorial is take a lightning fast tour in creating a PWA by ensuring SSL/HTTPS is enabled on your domain, adding web application manifest, and configuring a service worker. The goal was to focus on efficiency and less on comprehending what is going on. We didn't exactly talk in detail about what the code does or a bunch of other details that we kinda conveniently glossed over. That's OK. We'll cover those details later, but I just wanted to show you that a PWA isn't scary or complex. It is just a few simple steps that you need to perform on your existing web app, and you are good to go!
Just a final word before we wrap up. What you've seen here is freshly baked content without added preservatives, artificial intelligence, ads, and algorithm-driven doodads. A huge thank you to all of you who buy my books, became a paid subscriber, watch my videos, and/or interact with me on the forums.
Your support keeps this site going! 😇


:: Copyright KIRUPA 2026 //--